
Last updated November 17, 2026
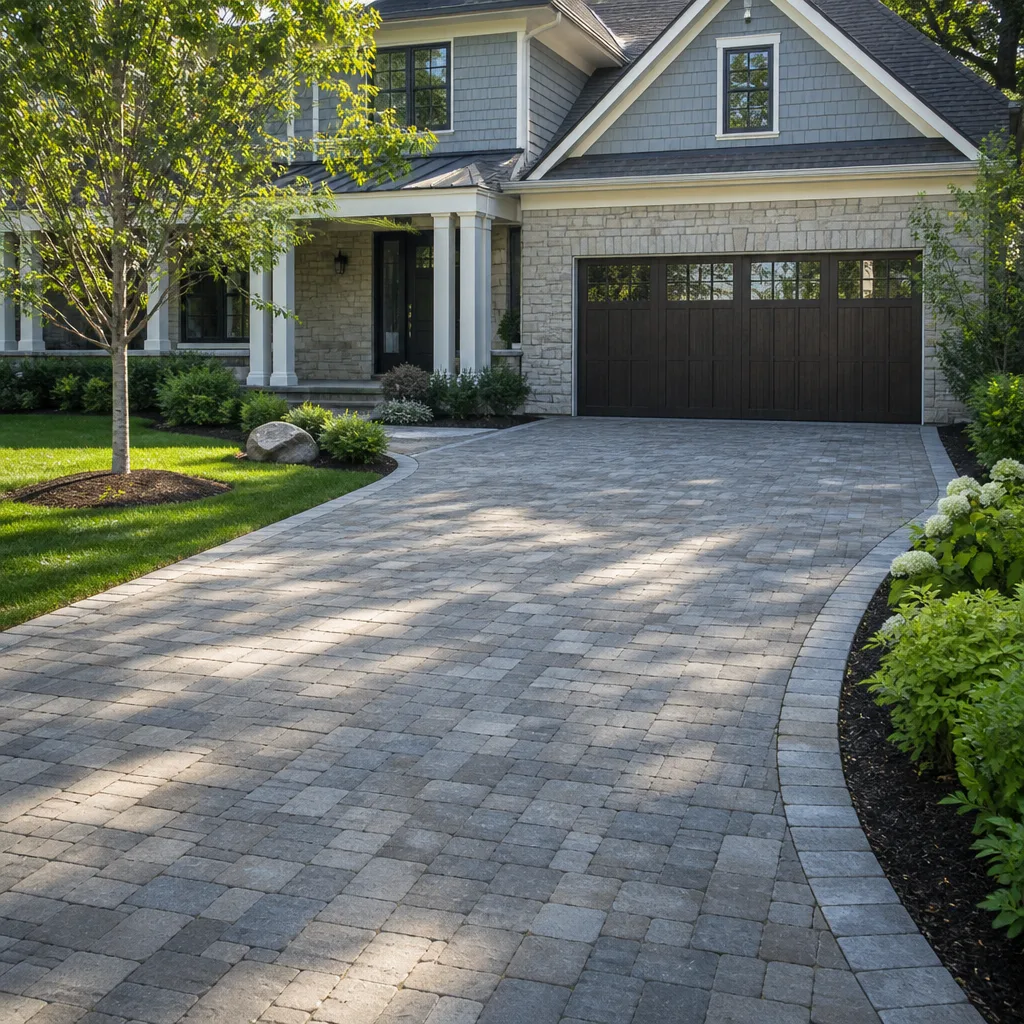 Driveway & pavers
 Kitchen remodeling
 Bathroom remodeling
 Home additions & ADU
 Roofing
 Windows & doors
 Fence
Free written scope consultation - allowances, timeline, and change-order rules on paper before a single trade is scheduled
DIY vs Professional Driveway & Pavers: What’s Safe to Do Yourself
The paver installation itself is learnable. We’ve watched homeowners on YouTube lay a genuinely straight herringbone field with a decent wet saw and a string line. What almost nobody can pull off at home is the part that happens before a single paver goes down: excavation to depth, base compaction with a plate compactor, and precise grading for drainage. That’s where weekend projects turn into professional redos. In our experience across Los Angeles, failed do-it-yourself driveways rarely fail at the surface. They fail at the base. This guide separates the phases a motivated homeowner can handle safely from the phases that need equipment most people don’t own and can’t run well on the first try, gives you the real numbers behind the decision, and explains how to split the work to save money without wrecking the structure underneath.
Quick Answer
You can safely handle the design, layout, cutting, and surface installation of a driveway paver project. You should not handle excavation, base compaction, or grading yourself unless you own a plate compactor and have run one before. Those phases are where structural failure starts, and in Los Angeles clay soil, they’re the difference between a driveway that lasts decades and a paved surface that shifts within two winters.
Styles & brands we work with
- Kitchen remodeling
- Bathroom remodeling
- Home additions & ADU
- Roofing
- Windows & doors
- Driveway & pavers
- Fence
Table of Contents
- Which Phases You Can Do Yourself and Which You Can’t
- The Equipment Question That Decides Everything
- The Real Cost Comparison (It’s Not Labor vs. Materials)
- Why Los Angeles Clay Soil Raises the Stakes
- Permit Triggers That Turn a DIY Project Into a Licensed Job
- The Hybrid Approach: Hire the Base, Finish the Surface
- What the Materials Side Actually Looks Like
- When to Call a Professional
Which Phases You Can Do Yourself and Which You Can’t
A driveway paver project breaks into six working phases. Three of them are within reach of a careful homeowner with patience and a free weekend. Three of them are not, and the three that aren’t all live underground where you can’t see the failure coming.
Phases you can handle:
- Layout and design. Drawing the field pattern, setting string lines, and calculating the quantity of pavers, base material, and edge restraint. This is planning work and it rewards time spent.
- Cutting. A wet saw and a steady hand handle most cuts. Cutting around curves, drains, and the apron takes care, but it’s a skill you can pick up.
- Surface installation. Setting pavers into a compacted and screeded sand bed, spacing them to the pattern, and placing edge restraints. This is the YouTube part, and yes, it’s learnable.
Phases that require professional judgment and equipment:
- Excavation to proper depth. A residential driveway needs roughly 8 to 10 inches of excavated depth to accommodate base, bedding sand, and paver thickness. That’s cubic yards of dirt you have to move, and in Los Angeles, some of it is likely to be hard clay and rock.
- Base compaction. The base goes in at 2 to 3 inch lifts, and each lift gets plate compacted before the next arrives. Skipping or spotty compaction is the number one cause of paver failure.
- Grading for drainage. A driveway must slope away from the house and toward the street at roughly 1 to 2 percent so water runs off instead of pooling. Getting that grade right across 30 or 40 feet requires either skill or laser-level equipment, ideally both.
If you can run a plate compactor safely and have moved more than a few yards of soil in your life, you can shift the line a little. If you’ve never done either, the contractor side of that line is where your driveway should live. Our team handles all three phases on every Driveway & Pavers in Los Angeles project, and it’s the underground work that determines whether the surface is still flat five years later.
The Equipment Question That Decides Everything
Here’s the counterintuitive truth about the DIY question: it’s not about skill, it’s about whether you can operate the right equipment. And the equipment that matters most, the plate compactor, is not the kind of tool most homeowners can rent and run effectively on the first day.
A plate compactor weighs anywhere from 130 to 200 pounds. It vibrates hard enough to rattle your fillings. It walks on you if you’re not prepared, and if your hand is the thing it walks onto, you get hurt. Operators learn to guide it in overlapping passes at consistent speed, and they learn the sound and feel of a base that’s reached compaction. You can’t learn that from a video before lunch. Rentals frequently come back damaged from first-timers, which is why rental yards sometimes charge extra handling fees on compaction equipment.
Beyond the compactor, the full DIY tool list looks like this:
- Plate compactor (rental, $90 to $150 per day in Los Angeles)
- Wet saw for paver cutting (rental or purchase, $80 to $200)
- Wheelbarrow or gas-powered soil mover, depending on volume
- Shovels, grading rake, and landscape fabric staples
- String line, stakes, and a laser level or transit for grade
- Rubber mallet, hand tamper, and edge restraint tools
The compactor is the linchpin. If your base isn’t compacted to spec, the pavers above it will move regardless of how perfect your field pattern looks. In Los Angeles, where a driveway gets full sun, dry spells, and then an occasional heavy rain that soaks the clay underneath, that movement shows up fast. It’s also why we never skimp on this phase: the 730-Day Done Right Promise is easy to keep when the base is built correctly in the first place.
The Real Cost Comparison (It’s Not Labor vs. Materials)
The popular framing of the DIY decision is that you save the labor cost by doing it yourself. That’s a partial truth that hides the real math. A fair comparison counts equipment rental, material waste, and what a warranty is actually worth. Here are real numbers from the Los Angeles market on a typical 400 square foot driveway.
| Line Item | DIY Estimate | Professional Estimate |
|---|---|---|
| Pavers (Belgard, 400 sq ft) | $2,400 – $3,200 | $2,200 – $3,000 (contractor pricing) |
| Base material (Class II, 4-6 inches) | $400 – $600 | $400 – $600 |
| Bedding sand | $150 – $250 | $150 – $250 |
| Plate compactor rental (3-4 days) | $300 – $600 | Included in labor |
| Wet saw rental or purchase | $80 – $200 | Included in labor |
| Waste from over-cutting (typically 10-15%) | $250 – $450 | $0 (professional cut plan) |
| Labor | Your weekends, 40-80 hours | $4,000 – $7,000 |
| Permits where required | Same either way | Pulled and managed by contractor |
| Warranty | None | Written workmanship guarantee |
| Total out of pocket | $3,600 – $5,300 plus your time | $6,800 – $10,800 |
So DIY saves somewhere between $3,000 and $5,000 on paper. But that figure assumes the base holds. If it doesn’t, the redo runs $8,000 to $12,000 in Los Angeles, and you eat all of it. The warranty on the professional side is worth real money because it transfers the risk of base failure off your shoulders. When we quote a job, the number you see is the number you pay, and if something underneath goes wrong in the first 730 days, we come back.
That risk transfer is underappreciated. On paper, DIY saves. On paper. The problem is that the paper doesn’t include the 15 percent chance of a structural redo somewhere in the first three years.
Why Los Angeles Clay Soil Raises the Stakes
Not every U.S. market plays by the same rules, and the DIY decision is more consequential in Los Angeles than it is in, say, Phoenix or Denver. The reason is clay.
Much of the Los Angeles basin sits on expansive clay soil. Clay swells when it gets wet and shrinks when it dries. During the dry months, it contracts and creates voids under improperly compacted base. During winter rains, it swells and pushes against whatever sits on top. In neighborhoods like Encino, Sherman Oaks, and much of the San Fernando Valley, we see this repeatedly: a paver driveway that looks flat in July and has visible undulation by the following February.
The base does two jobs. It spreads the load from vehicle traffic, and it moves water away before the clay underneath can absorb it and swell. Both jobs depend entirely on compaction and grading. A hand tamper will not compact base to the density the physics require. A plate compactor, run in proper lifts, will.
There’s a secondary Los Angeles issue too: the region’s irregular rainfall. Long dry stretches let clay shrink and settle. A big winter storm then dumps two inches in an afternoon. The driveway that handled the dry season fine suddenly has a channel carved along its edge, and the base has lost its edge restraint. In our experience, that pattern explains more DIY failures than any other single factor in Los Angeles. The base was never right to begin with.
None of this means the surface installation is unsafe to do yourself. It means the decision lives downstream of the base. If you’re going to handle the paver field yourself, that’s the phase to outsource first.
Permit Triggers That Turn a DIY Project Into a Licensed Job
Some driveway work is a surface refresh. Some of it is a permitted construction project. The difference is defined in the Los Angeles Municipal Code and the county’s building regulations, and it’s easy to cross the line without realizing.
Triggers that usually require a permit:
- Regrading. If you change the driveway grade by more than a foot, or you change where water drains, plan review likely applies.
- Adding a driveway where none exists. A new curb cut or apron requires approval, and in Los Angeles, a Department of Transportation permit is part of the package.
- Working in a public right-of-way. The apron where the driveway meets the sidewalk or street is usually city property. That’s not a DIY zone.
- Expanding the paved area. A driveway that widens past a trigger point may require review as an impervious-surface increase.
- Structural changes. Retaining walls over a certain height, drainage systems tied into city infrastructure, or any change that touches a structure on the property.
Permits matter for two reasons. The first is legal. If you build unpermitted and later sell, the discovery can stall a sale. The second is practical. When a job crosses into permitted work, most homeowners find they’re required to hire a licensed professional, and a DIY scope shrinks to nothing. In our experience in Los Angeles, homeowners frequently assume a paver driveway lives entirely outside the permit system, then discover a right-of-way issue halfway through. Checking permit requirements before you lift a shovel is the cheapest hour you’ll spend on the project.
When we handle a driveway in Los Angeles, permit pulling and inspection scheduling are part of the scope. That probably doesn’t matter to you on a project that requires no permit. It matters a lot when the project crosses the line, and the line is closer than most people think.
The Hybrid Approach: Hire the Base, Finish the Surface
If you’re motivated, careful, and have more weekends than budget, the hybrid approach is the smartest way to keep the savings without rolling the dice on the base. It splits the job at the right seam.
- Hire out excavation, base installation, and compaction. A crew with a plate compactor and laser level handles the underground work. You pay for labor, but you pay for the phase that carries the structural risk. In Los Angeles, expect roughly $3,000 to $5,500 for the excavation and base work on a 400 square foot driveway, depending on how much hard clay needs breaking.
- Specify the grading target and confirm it. Ask for a final grade that drains 1 to 2 percent away from the house and toward the street. Ask for compaction to be done in lifts, not one pass over the whole bed. A good contractor wants you to ask.
- Handle the paver field yourself. Once the base is done and the bedding sand is screeded, you can set the pavers, cut the edges, and install the restraints. This is the phase that lends itself to a motivated DIYer.
- Do your own sand sweep and final clean. The polymeric sand and the final surface prep are the last bit you can own. Take your time. Sweep it in thoroughly and cure it per the manufacturer’s spec.
What you give up in the hybrid model is the warranty on the surface installation. Contractors warranty the work they perform, and your field won’t carry the same coverage. What you keep is the structural warranty on the base, which is the part that actually fails. That’s the right trade to make. The paver field is visible, easy to inspect, and easy enough to repair in a few pavers. The base is invisible and expensive.
In our experience, hybrid projects land somewhere between $4,500 and $7,000 out of pocket on a 400 square foot job, which is meaningfully below the full-service average and doesn’t compromise what holds up the drive. It’s the option we’d recommend to any neighbor who called us and said “I want to do most of this myself.” If your interest is broader home construction and additions, it’s the same logic that governs how we run a Home Additions & ADU in Los Angeles project: put the skill where the risk lives, and let the visible work fall where it can.
What the Materials Side Actually Looks Like
One under-discussed advantage on the professional side isn’t labor at all. It’s material access. The catalog you can buy at a home center as a homeowner is a small slice of what’s actually available, and the quality of pavers varies more than most people realize.
Belgard produces a broad line of concrete pavers, retaining wall systems, and coordinating accents, and it’s one of the brands we lean on for strength and color options. The product that a homeowner can buy through a retail channel is often the same brand family but a narrower selection. Professional partners get access to the full line, contractor pricing, and consistency across pallets, which matters when you’re working a project of any size. The last thing you want mid-install is a color variation between pallet four and pallet five.
Surface installation with a quality brand matters. So does the coordinated base and edge restraint system that locks it all together. The same principle shows up in our other outdoor work: the fence you install with a proper post depth and concrete setting is the fence that survives a windstorm, and we bring the same standard to Fence Installation in Los Angeles. When the materials and the installation method line up, the finished work holds for decades instead of years. That’s the “built to last, backed in writing” line in action. If you’re curious how the company handles the full scope of a home project, our Groundwork Construction Co. of Los Angeles home lays out the seven service lines and the standing promotions.
See the difference
 Before
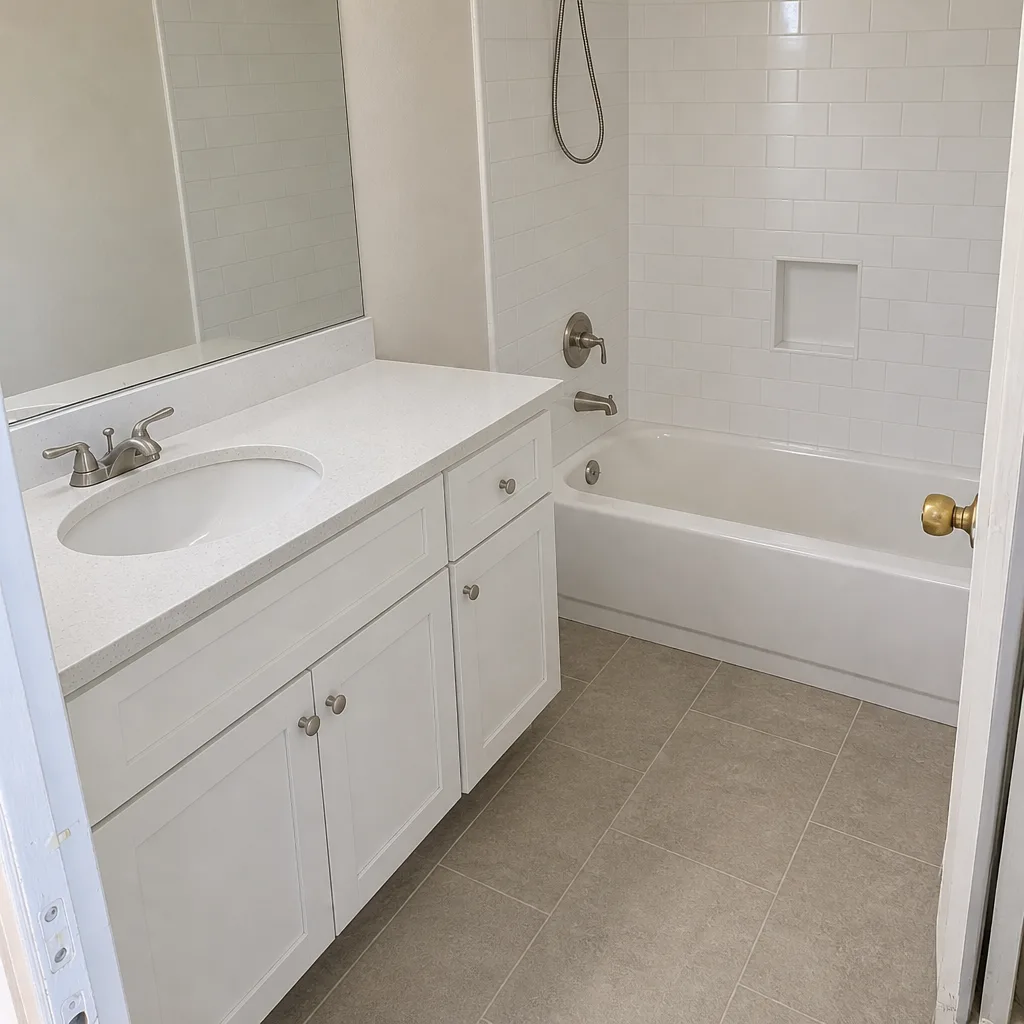 After
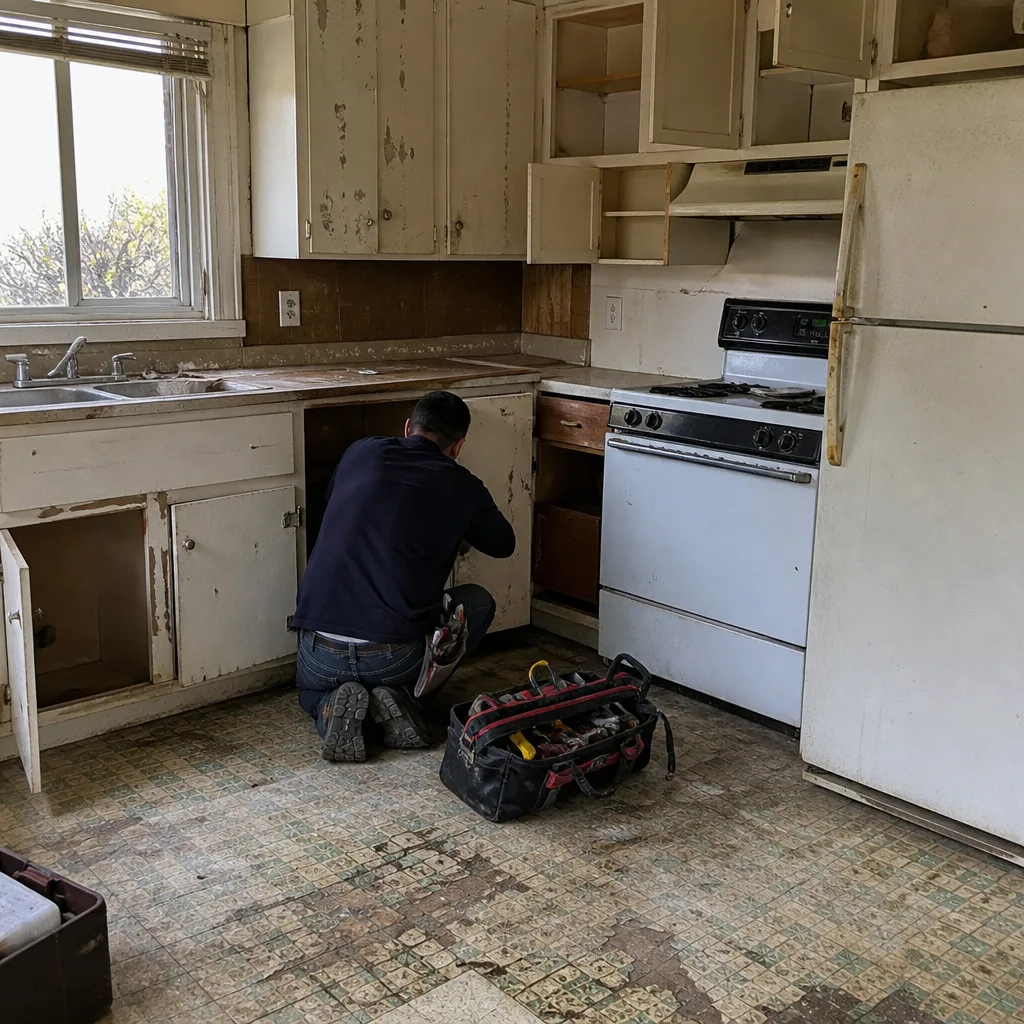 Before
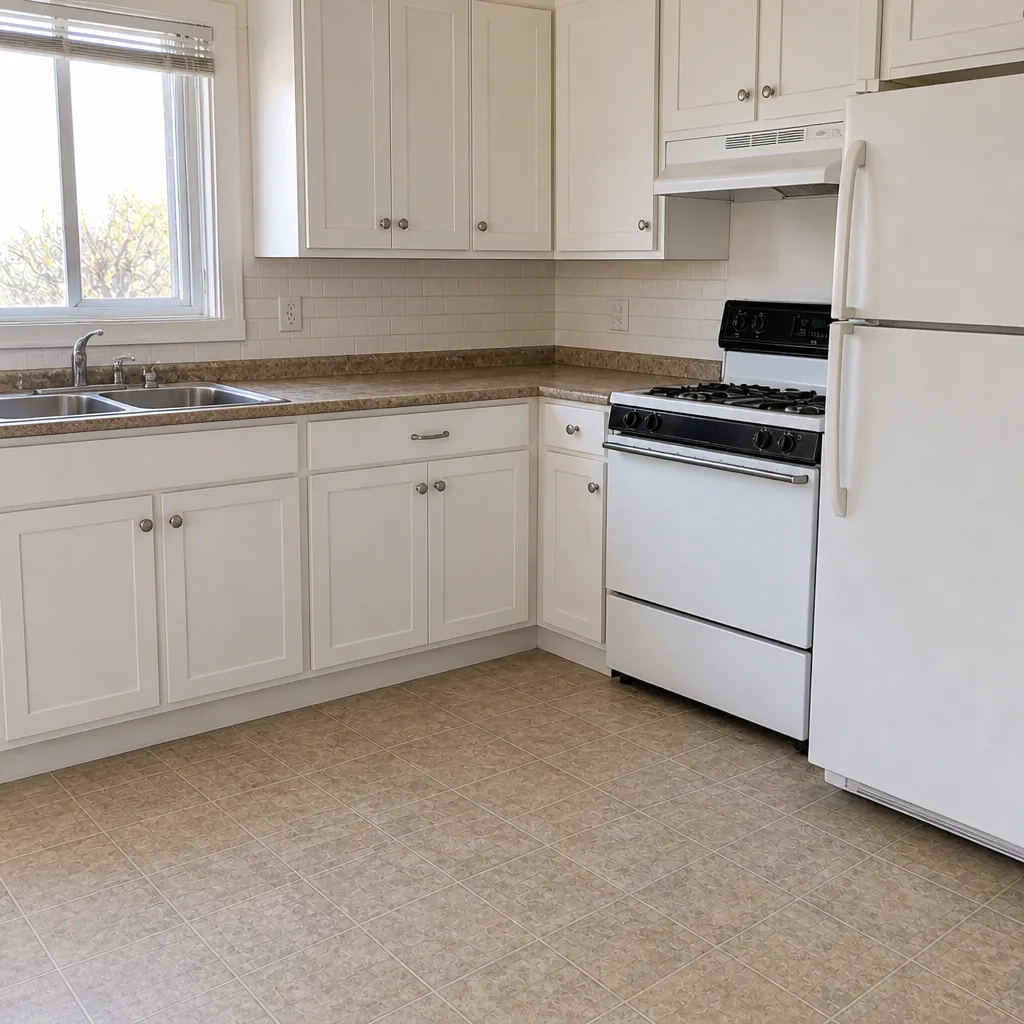 After
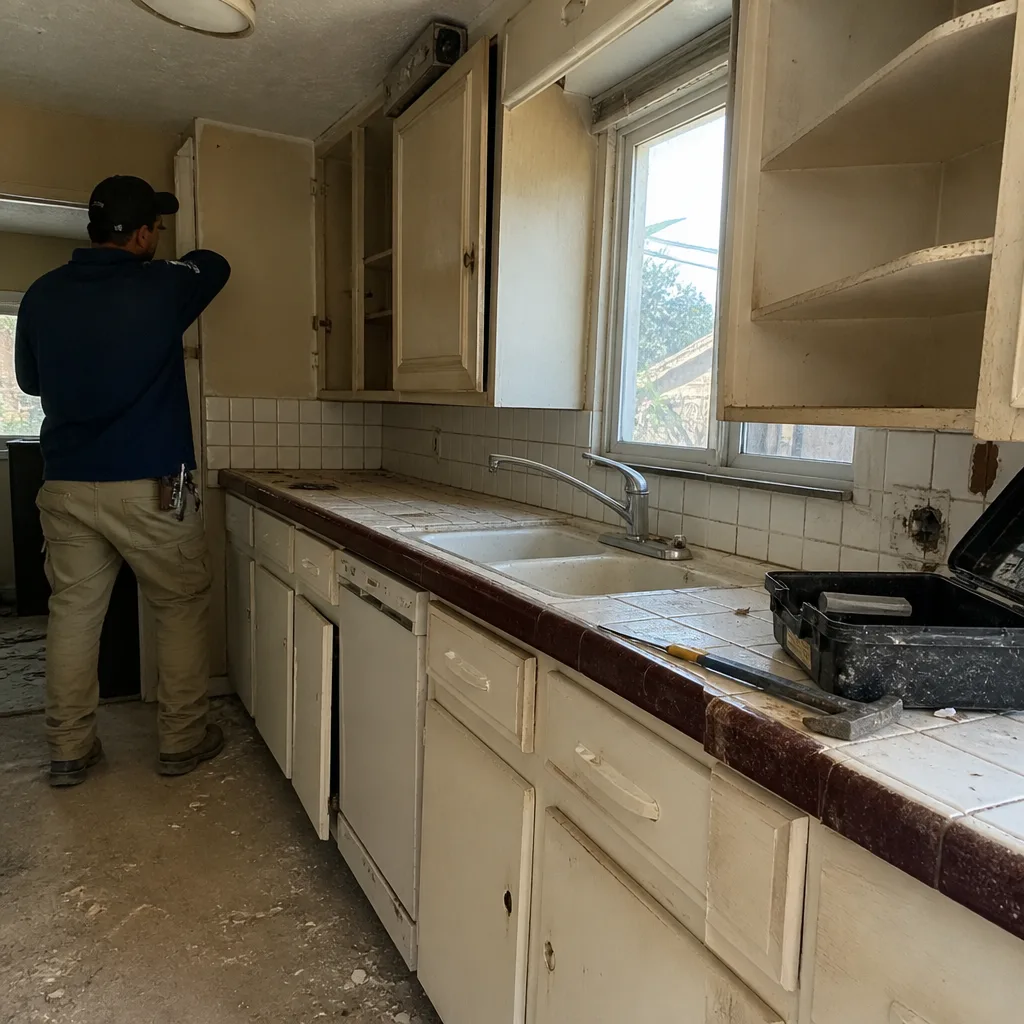 Before
 After
Common Mistakes to Avoid
- Skipping the plate compactor to save a rental day. We’ve seen this on dozens of failed driveways in Los Angeles. The base hasn’t compressed to the density the soil needs, and the pavers move within months.
- Excavating too shallow. An 8 to 10 inch depth is not optional. If you only dig 6 inches because the digging is hard, the drive has no room for proper base and paver thickness together.
- Ignoring drainage grade. Grading toward the house because it’s easier is the most common DIY error we see, and pooled water along the foundation is expensive to fix afterwards.
- Cutting pavers dry with a circular saw. The dust is silica-laden and the cut edges chip. A wet saw is the right tool and worth the rental.
- Laying pavers directly on soil or insufficient bedding sand. The bedding layer exists for a reason. Without it, the base and the paver have no way to nest together.
- Discovering the right-of-way issue halfway through. The apron at the street may be city property, and a DIY paver apron there without approval can be an expensive problem.
- Underestimating the volume of soil. In Los Angeles clay, excavation is the single biggest time sink on a DIY driveway. Most homeowners budget for half the hours this phase actually takes.
When to Call a Professional
You should call a professional if any of the following are true: the driveway requires excavation of more than a few inches, the grade needs to change, the project touches the public right-of-way, the base needs to accommodate clay soil with a history of movement, or you want a written workmanship warranty that outlasts the paver field. Those aren’t edge cases; in Los Angeles, they describe most driveway projects. The paver field itself is a judgment call based on how much time you have and how comfortable you are with a wet saw. When you want a professional partner for the underground phases and someone to walk the finish with you, Groundwork Construction Co. of Los Angeles offers free estimates in Los Angeles. Call (888) 427-1733 and we’ll put the numbers on paper in front of you.
Frequently Asked Questions
You can install the surface field yourself. You should not handle the excavation, base compaction, or grading unless you own a plate compactor and have run one before. Those three phases are where structural failure starts in Los Angeles clay soil, and the cost of a redo is four to eight times what a professional base would have cost.
A professionally installed paver driveway in Los Angeles runs roughly $6,800 to $10,800 for 400 square feet, including excavation, base, pavers, and installation. A hybrid approach, where you hire out the base and install the surface, lands between $4,500 and $7,000. Call (888) 427-1733 for a free estimate on your specific yard. Estimates are free.
It depends on scope. A surface refresh on an existing driveway usually doesn’t require a permit. Regrading, adding a new driveway where one didn’t exist, working in the public right-of-way, or expanding the paved area past a trigger point does. When a permit is required, most homeowners find they need to hire a licensed professional. Call (888) 427-1733 to walk through your specific situation. Estimates are free.
With us, no. No-hassle upfront pricing is a standing commitment: the number you see is the number you pay, and there are no change orders buried in the middle of the job. If the scope genuinely changes because something unexpected is found under the soil, we discuss it before we ever lift a tool. Call (888) 427-1733 to schedule a free estimate.
A professional crew typically installs a 400 square foot driveway in three to five working days, including excavation, base, pavers, and finish. A DIY job takes most homeowners four to eight weekends, assuming no base redo. Call (888) 427-1733 to get a schedule estimate for your project. Estimates are free.
A paver driveway typically costs more up front than a concrete pour, but pavers can be individually lifted and replaced if a utility or a paver is damaged, which concrete doesn’t allow. In Los Angeles, pavers also handle the region’s heat better and stay cooler underfoot. The value comes down to how long you plan to stay and how much you care about repairability. Call (888) 427-1733 for a free comparison on your property. Estimates are free.
The Bottom Line
The DIY decision on driveway pavers isn’t a test of skill. It’s a tool question, and the tool that matters is the plate compactor you probably don’t own and can’t run well on a first try. In Los Angeles clay soil, the base is what makes or breaks the project. Surface installation is genuinely learnable and the strong option for a motivated DIYer. Base work belongs with a crew that does it every week. If you want the savings without the risk, the hybrid approach is the smartest play: hire the excavation and base, finish the surface yourself. And if you want the whole thing handled with a written workmanship guarantee, call (888) 427-1733 for a free estimate.
Written by the team at Groundwork Construction Co. of Los Angeles.