
Last updated November 17, 2026
 Bathroom remodeling
 Kitchen remodeling
 Home additions & ADU
 Roofing
 Windows & doors
 Driveway & pavers
 Fence
Free written scope consultation - allowances, timeline, and change-order rules on paper before a single trade is scheduled
Bathroom Remodeling Troubleshooting: Common Problems and How to Fix Them
Grout cracking within six months of a bathroom remodel isn’t a grout problem. It’s a substrate or setting-bed problem that was sitting there before the first tile went down, and knowing the difference is the gap between a free warranty repair and a bill for work that should never have been needed. In our experience across Los Angeles, that one distinction – symptom versus root cause – decides most remodel disputes before anyone picks up the phone. Bathroom failures fall into three buckets: water, tile, and scope. This guide gives you the diagnostic framework to trace each problem back to its source and have the conversation with your contractor from a position of knowledge, not frustration.
Quick Answer
Most bathroom remodel problems trace to one of three root causes: water getting where it shouldn’t (failed pan liner, bad caulk joints, or a valve body leak), a tile system built over a bad substrate (cracked grout, lippage, or tiles lifting), or a scope problem where something was left out of the contract. The fix starts with diagnosis, not demolition. Identify which category you’re in, document it with photos and dates, read your contract’s warranty, and if the contractor won’t make it right, escalate through the California Contractors State License Board.
Styles & brands we work with
- Kitchen remodeling
- Bathroom remodeling
- Home additions & ADU
- Roofing
- Windows & doors
- Driveway & pavers
- Fence
Table of Contents
- How to Diagnose Tile Failure by Crack Pattern
- Shower Leak Troubleshooting: Grout, Caulk, Pan Liner, or Valve
- What to Do When Your Bathroom Fails Rough Inspection
- Exhaust Fan Performance Problems After a Remodel
- How to Document and Escalate a Contractor Dispute in California
- When to Call a Professional
How to Diagnose Tile Failure by Crack Pattern
The pattern of a crack tells you where the failure started. Hairline cracks running along grout lines in a straight grid usually mean normal deflection in the floor or a slightly under-cured grout – cosmetic, and often fixable by raking and re-grouting. Cracks that run diagonally through tiles, or that start at a corner and radiate outward, point to movement underneath: a subfloor that flexes, a missing backer-board seam tape, or thinset that was mixed too dry and never bonded. Tiles that pop loose and come up whole tell you the setting bed never gripped; that’s an installation failure, not wear-and-tear.
Lippage – one tile edge sitting higher than its neighbor – is the sneaky one. Small lippage is tolerance. But lippage paired with hollow spots when you tap the surface means the thinset coverage was thin or the tiles were set over a surface that wasn’t flat. On a Los Angeles slab-on-grade home, a contractor who skipped self-leveling compound before setting large-format tile gets lippage every time.
Here’s how to run a five-minute diagnosis:
- Photograph the cracks with a ruler or coin for scale.
- Tap across the floor with a coin or screwdriver handle. A hollow ring versus a solid thud tells you where the thinset didn’t bond.
- Check whether cracks run in a straight line or radiate – straight means grout or joint, radiating means movement.
- Note when it started: within the first 30 days, that’s cure. After 90 days, that’s structural.
- Look for a repeating grid pattern matching your backer-board seams – that’s a seam tape failure.
Write those observations down with dates. They matter when you ask for a warranty repair, and they’ll be the difference between a contractor who shows up and a contractor who argues. If you’re preparing for a bigger scope down the line, our Groundwork Construction Co. of Los Angeles home page covers the full-range approach we bring to jobs like this.
Shower Leak Troubleshooting: Grout, Caulk, Pan Liner, or Valve
Shower leaks get expensive fast, and the temptation is to tear out tile before you know what’s leaking. Don’t. Water intrusion has four common sources, and each one has a different test. Work through them in order before anybody touches a hammer.
- Grout: Grout is porous and cracks with age. If water shows up on the ceiling below only after a shower, and the shower wall is older or poorly sealed, start here. The test: tape off the drain and fill the shower pan with an inch of water for 24 hours. If the ceiling below stays dry, grout or caulk is likely the culprit.
- Caulk joints: The joints where the wall meets the pan, and where the wall meets the floor outside the shower, move with the framing. Caulk fails at 3-5 years even with good material. Look for shrinking, black mold behind the bead, or gaps.
- Pan liner: The pan liner is the waterproof membrane below the tile. A failed liner shows as damp subfloor, a soft spot at the shower threshold, or water staining on the adjacent baseboard. The pre-slope test: if the pan liner was installed without a pre-sloped mortar bed, water pools and eventually works through. This is a rebuild, not a repair.
- Valve body: A leak at the valve body only shows when the shower is running, and typically drips down the wall behind the tile or onto the wall below. Pull the trim plate and look for water at the shower valve body.
In Los Angeles, the common shower leak story we see is a 1960s-era tract home in the San Fernando Valley where the original mud-bed shower was tiled over without a new waterproofing layer. In that case the leak isn’t a leak – it’s a shower that was never waterproof to begin with, and it’s a full rebuild.
One safety note: shower valve bodies and the plumbing behind them are pressurized. If you’re not sure whether the leak is at the valve or the tub spout, shut off the water at the main and call a licensed plumber. Water damage from a neglected valve body can run into five figures in wall and flooring repair.
What to Do When Your Bathroom Fails Rough Inspection
A failed rough inspection isn’t a crisis. In Los Angeles, it’s usually a correction notice with a short list, and it almost always traces to one of a handful of plumbing or building code items. The City of Los Angeles Department of Building and Safety issues a correction sheet on-site; the items are numbered and each one names the code section. Your contractor is obligated to correct them at no charge, and the re-inspection is typically scheduled within a week.
The most common LA bathroom rough-in corrections we see:
- Ventilation: No exhaust fan, or a fan ducted into the attic instead of out the roof or wall. Code requires the fan to exhaust outside, not into unconditioned space.
- Water heater strapping or pan: If the remodel moved the water heater, LA requires seismic strapping and a drain pan for the replacement.
- GFCI protection: Bathroom receptacles need GFCI protection, and the inspector will check the test button.
- Shower pan flood test: A recorded 24-hour flood test of the pan liner before tile. If it wasn’t done, the inspector can require it.
- Drain and trap arm: Rough plumbing slope, venting distance, and trap placement. These fail often when a homeowner’s “handyman” touched the plumbing.
Read the correction notice carefully. If your contractor says “the inspector is wrong,” that’s a red flag – the inspector cites code, and the contractor either fixes it or loses access to the permit. Ask for the corrected work and the passing re-inspection signature before you release any final payment. If you’re planning the rebuild rather than troubleshooting it, our Home Additions & ADU in Los Angeles page covers how we handle permitting on larger scope, and the same permit discipline applies on bathrooms.
Exhaust Fan Performance Problems After a Remodel
You remodeled the bathroom, and now the mirror fogs up, the ceiling paint peels around the fan, and you can smell last week’s humidity. That’s not a cosmetic issue – it’s a ventilation problem, and in Los Angeles it shortened the life of every coat of paint in the room. Bathroom exhaust fans are supposed to move enough cubic feet per minute (CFM) to fully exchange the room’s air 8 times an hour. Here’s how to check yours.
- Calculate the required CFM. Multiply the bathroom’s length x width x height and divide by 7.5. A 5′ x 8′ x 8′ bathroom is 320 cubic feet, so 320 / 7.5 = roughly 43 CFM minimum. Most dimestore fans are 50 CFM; older or smaller units lag.
- Verify the duct path. The fan must be ducted to the outside, ideally in a straight run. Every 90-degree elbow, flexible duct sag, or screen cuts airflow. If the fan was ducted with the flexible corrugated hose that snakes up into the attic, its effective CFM is well below the rating on the box.
- Test the airflow. Hold a piece of toilet paper near the grille. If it doesn’t pull taut, the fan is underperforming. There are also cheap airflow meters on the market now that give you a CFM reading directly.
- Check the timer and the code. LA’s current residential ventilation code expects the fan to have either a timer or a humidistat control. A fan run by a wall switch that gets turned off with the light is functionally useless even at the right CFM.
- Look at the roof or wall termination. A fan ducted to a flapper that’s stuck closed is moving nothing. That’s a common LA post-remodel failure when the roof was capped with a shingle product like CertainTeed or Owens Corning but the vent was never properly flashed.
If the fan doesn’t clear fog in 10 minutes, it’s underperforming. A replacement fan and properly routed rigid duct is a half-day of work – much cheaper than repainting that ceiling twice a decade.
How to Document and Escalate a Contractor Dispute in California
In California, you have real leverage when a contractor’s work fails, and it’s less about confrontation than paperwork. The California Contractors State License Board (CSLB) licenses contractors, and the license is what backs the work. When a dispute goes past a conversation, three escalation lanes open up: the CSLB complaint process, small claims court, and a formal demand letter.
The steps:
- Document first. Photograph and date every defect. Save every email, text, receipt, and contract. Write a chronological narrative one page long.
- Make a written warranty request. Send the contractor an email or certified letter describing the defect, citing the contract warranty language, and asking for a repair date. Give a reasonable deadline – 14 days is a standard.
- Check the CSLB license status. Look up the license number at cslb.ca.gov. If the contractor was unlicensed, or the license lapsed, that changes the dispute completely – California lets you recover through the CSLB’s judgment enforcement process.
- File a CSLB complaint if the warranty request fails. The CSLB can investigate, mediate, and revoke a contractor’s license if the work isn’t corrected. There’s no fee to file.
- Send a demand letter. If the total is more than small claims allows – $12,500 in California as of the 2024 threshold for a business defendant, $6,250 for a natural person – a demand letter on letterhead from a construction attorney gets a response before a lawsuit does. Most disagreements settle at this stage.
- Small claims court. Under the current threshold, file in small claims for the difference, with the documentation you’ve already gathered. The filing fee is small and the hearing is typically under 60 days out.
The important thing a homeowner should know about California: a contractor who built the bathroom without permits, or who performed work that failed inspection, doesn’t get to walk away. That’s not an inconvenience; it’s a security risk to your home’s value. And the CSLB exists precisely because this happens. The best contractors write a workmanship warranty that prevents the situation – our 730-Day Done Right Promise exists because “call us and we’ll argue about it” is not a warranty. From foundation to finish line, the work should stand on its own.
Common Mistakes to Avoid
- Ripping out tile before diagnosing the leak. Demolition without a diagnosis is gambling with your remodel budget. Run the pan test and the valve check first – both take an afternoon.
- Skipping the permit to save two weeks. In Los Angeles, an unpermitted bathroom fails at resale and the correction is always more expensive than the permit was. Pull the permit.
- Letting a handyman touch the plumbing or electrical. A bathroom remodel involves both, and California requires a licensed plumbing and electrical contractor for the rough work. The handyman is a real source of failed rough inspections.
- Choosing the exhaust fan by box price. A $30 fan in a humid bathroom – in LA’s marine layer months, no less – will shorten the paint and drywall life of the room. Spend the extra $40 for a fan rated to the room’s CFM.
- Living with lippage on new tile. A tile that rocks or sounds hollow within the first year is a failed bond. It doesn’t heal. Get it on record with the contractor immediately.
- Accepting “that’s how it’s always done.” A presloped shower pan and taped backer seams are code, not craft. If a contractor says the drain doesn’t need a pre-slope, get a second bid.
- Not checking the contract’s warranty terms before signing. A warranty with a 1-year labor clause and a 3-year water intrusion exclusion isn’t worth the paper. Read it before the first tile is set.
See the difference
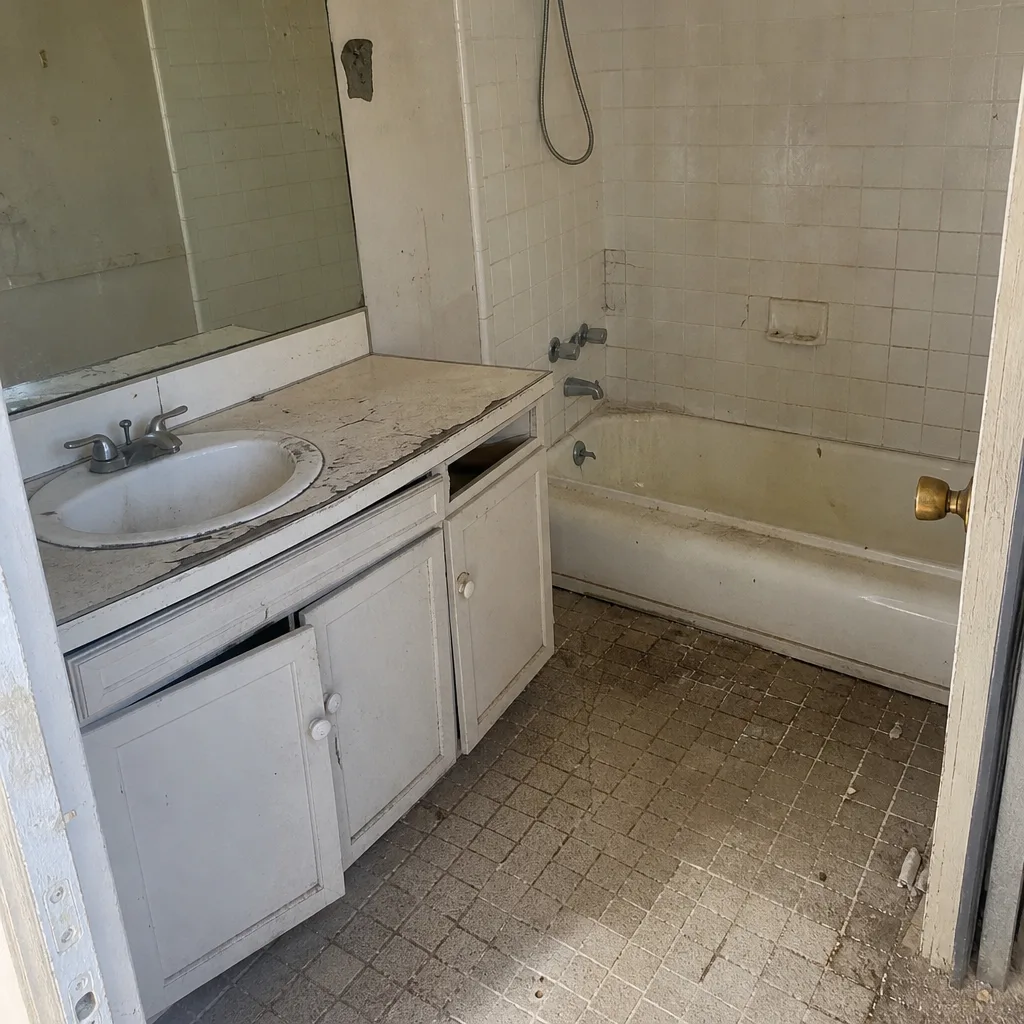 Before
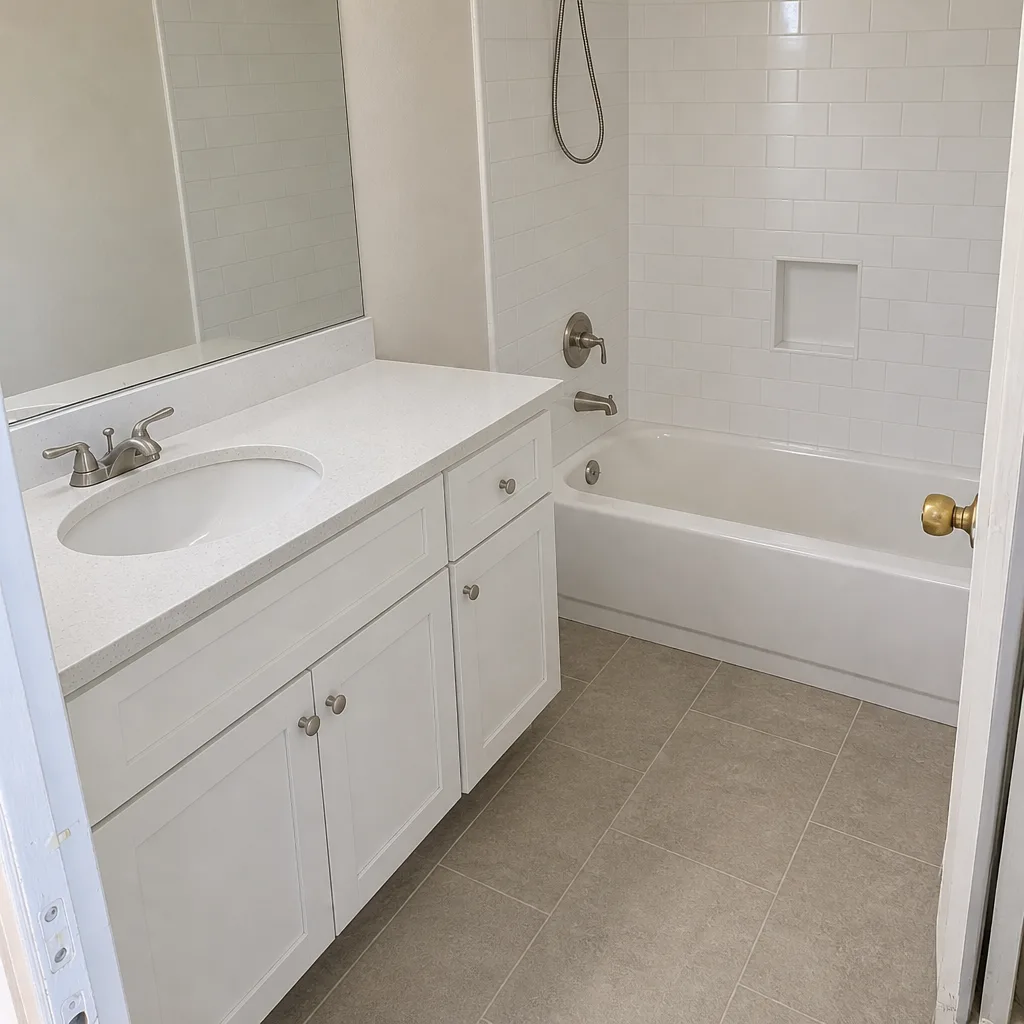 After
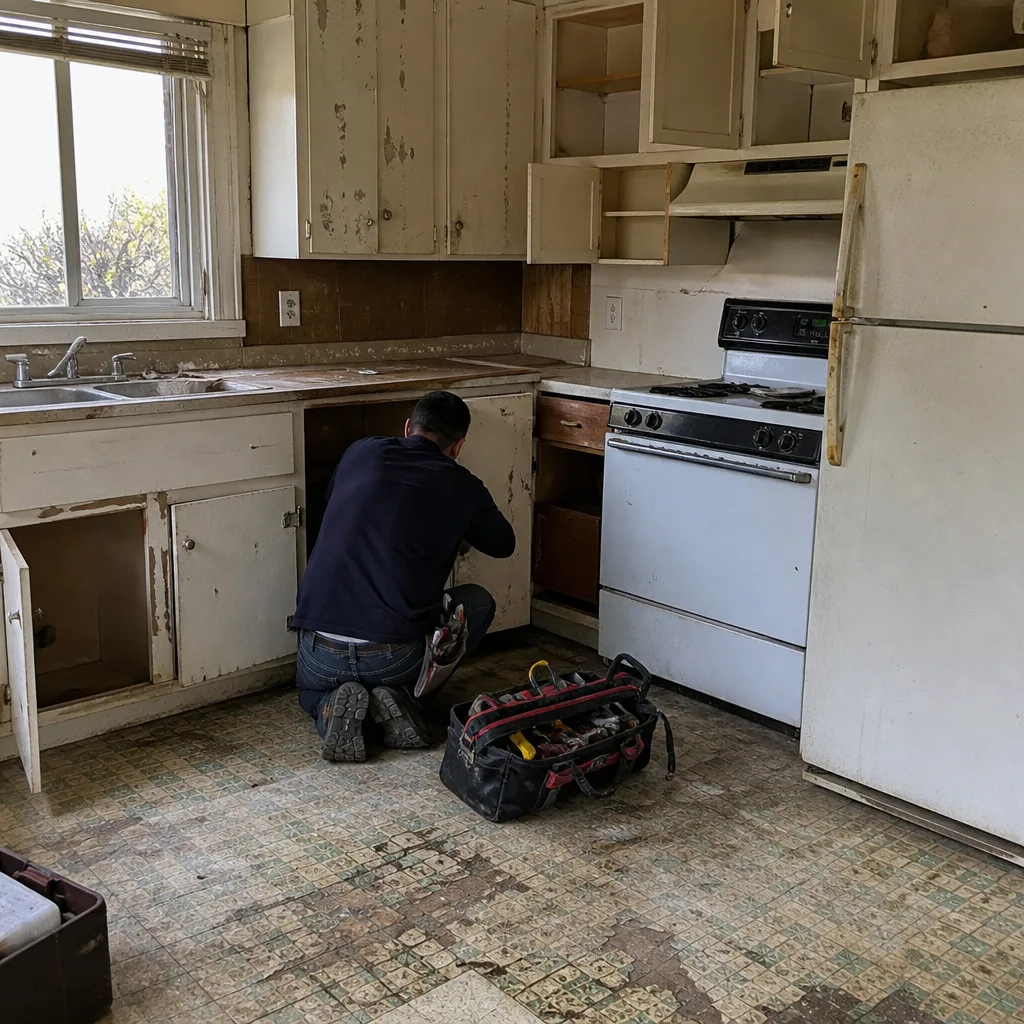 Before
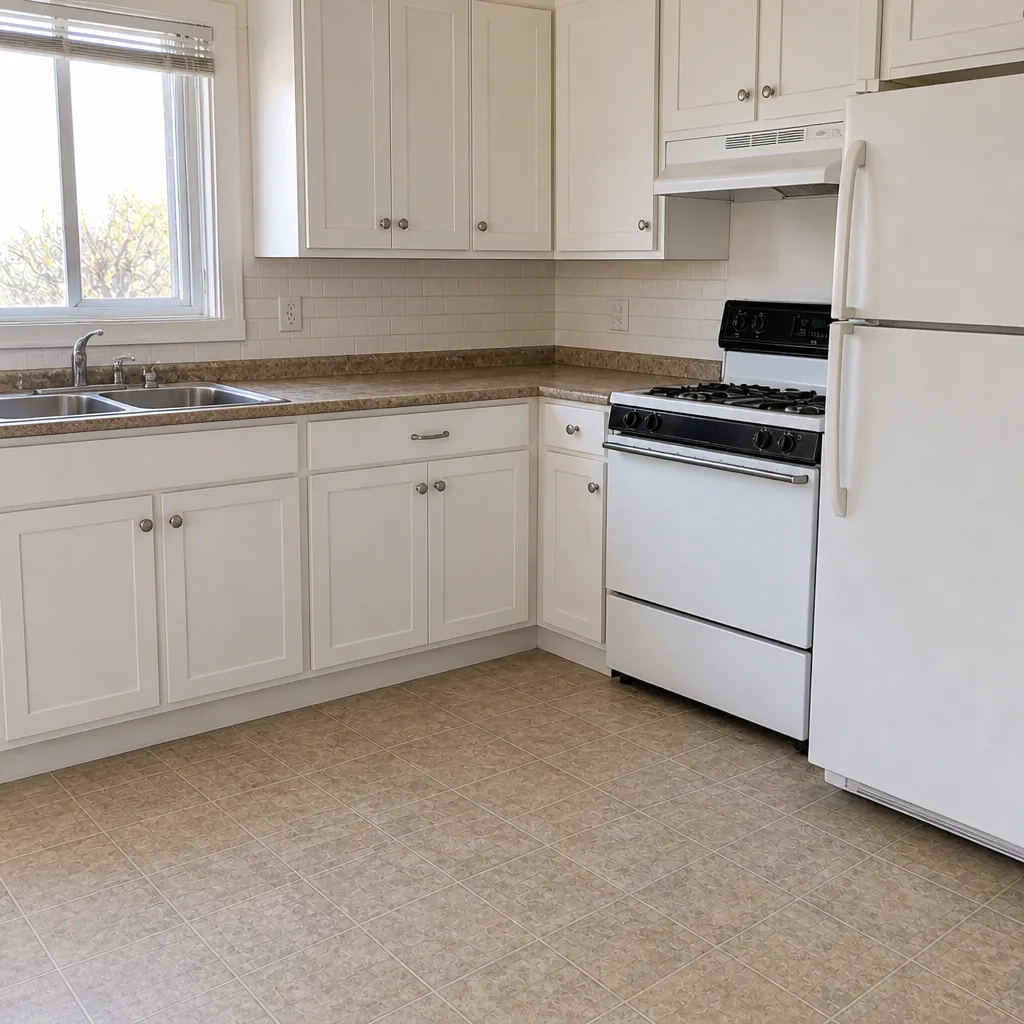 After
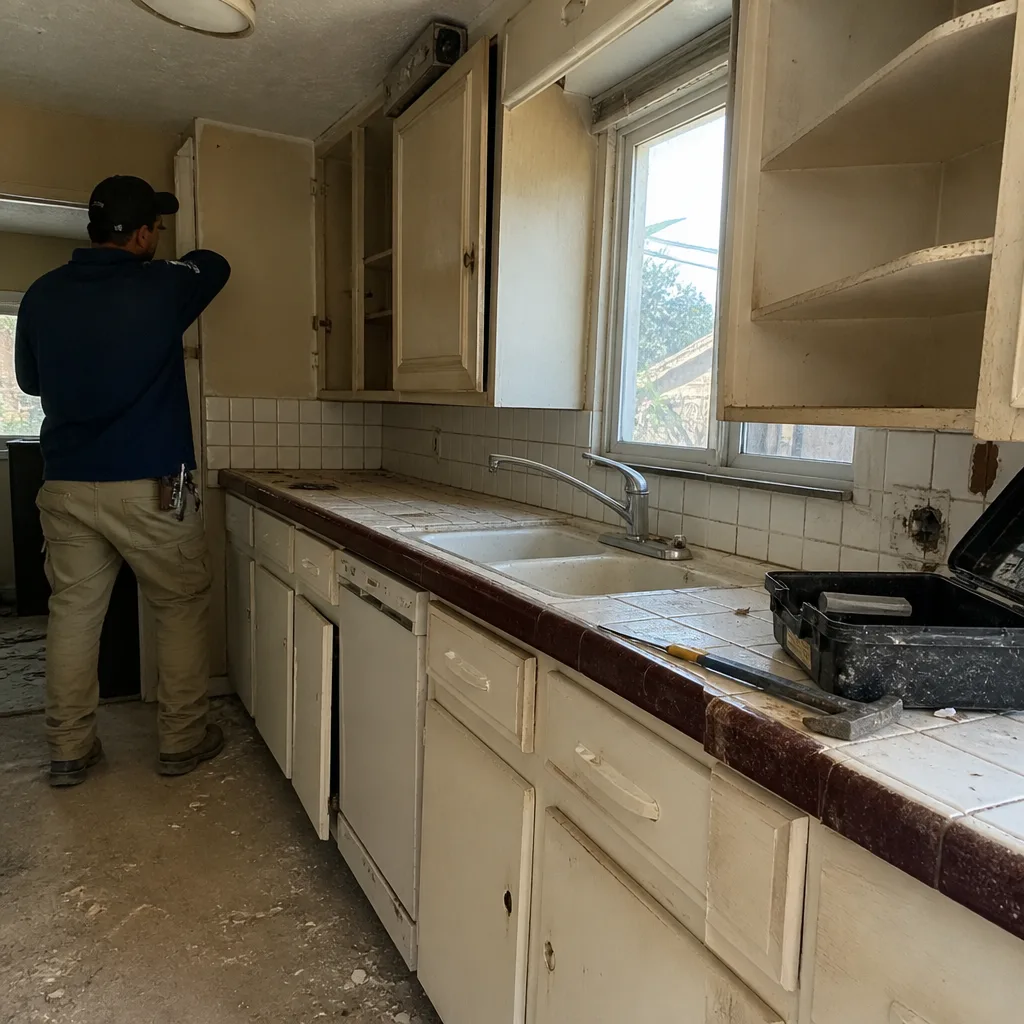 Before
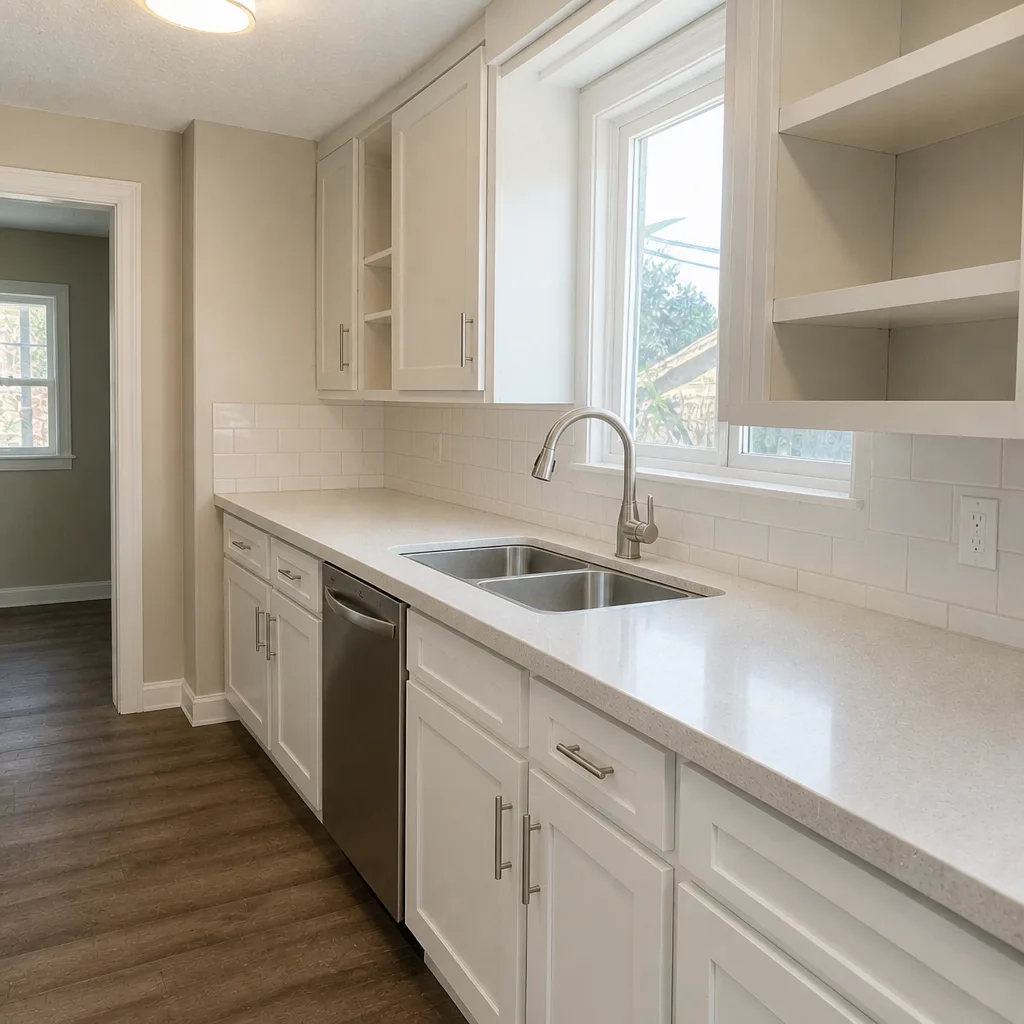 After
When to Call a Professional
Call a licensed professional when you’re dealing with active water intrusion – a leak onto the ceiling below, a soft spot in the subfloor, or a shower valve leaking into the wall. Call when a tile floor has developed movement or serious lippage after a remodel. Call when your contractor has disappeared or is refusing to honor the warranty. And call if the bathroom was never permitted; the fix always starts with a permit and an inspector. Do not open a wall next to a shower valve or an exhaust duct to “take a look” yourself. The plumbing behind that wall is pressurized, the electrical in that ceiling is live, and mistakes there cause real damage or real injury. Groundwork Construction Co. of Los Angeles offers free estimates in Los Angeles – call (888) 427-1733. Our technicians have up to 12 years of experience, all background-checked and uniformed on every job.
Frequently Asked Questions
Most cost overruns come from scope found behind the walls, not from line items the contractor forgot. A bathroom discovered to have no waterproofing, rotted subfloor, or pre-code plumbing is an entirely new scope. The way to prevent it is a written line-item quote with an explicit allowance for hidden damage discovered after demolition. “Contract change order” should be a defined process, not a surprise. Ask any Los Angeles contractor for written pricing before work starts, and if there’s a fixed-price structure, get it in the contract. Call (888) 427-1733 for an exact quote on a fresh bathroom project – estimates are free.
A full gut bathroom in Los Angeles typically takes 4-6 weeks of construction time once permits are issued, with permit review adding 2-4 weeks at the Department of Building and Safety. A cosmetic refresh (tile, vanity, fixtures) can run 2-3 weeks. Anything quoted as “one week” is either not pulling permits or not including a waterproofing and tile cure schedule. Ask for the job schedule in writing.
Yes, if the crack is the result of installation – a pan that was set without a pre-slope, a liner not sealed at the drain, or a liner damaged during tile install. A workmanship warranty covers the failure. If the crack is caused by age or a puncture from after the job, that’s usually outside warranty. This is where a long warranty period matters; our 730-Day Done Right Promise covers workmanship for two years and we make it right if it wasn’t done right. Call (888) 427-1733 to discuss warranty questions on a bathroom we’ve worked on.
In Los Angeles, you can pull a homeowner permit for work on your own primary residence, but the plumbing and electrical rough work is inspected and code-enforced at the same standard as a licensed contractor’s. Most homeowners who fail inspection do so on waterproofing, venting, and drain slope. If you go this route, budget for a licensed plumber and electrician for the rough-in portions – that’s where the inspection is won.
A leaky shower loses water through grout or caulk joints and can often be sealed. A failed pan releases water through the waterproof membrane and requires the shower to be rebuilt from the pan up. The test is a 24-hour water test on the pan: if water appears below after taping off the drain and filling the pan, the liner is compromised and tile has to come out. Do this before any cosmetic repair. Call (888) 427-1733 if you need an inspection – our free estimate covers leak diagnosis.
Use a licensed construction company for anything that involves plumbing, electrical, waterproofing, or permits – which is nearly every bathroom remodel. Handymen are appropriate for paint, trim, and mounting fixtures. The reason is warranty and inspection: a licensed contractor carries the bond and license that backs the work, and a handyman does not. In Los Angeles, unpermitted or unlicensed work becomes a problem at resale. Our full-scope approach covers the trades from foundation to finish line, with a curated set of brand partners – Kohler, CertainTeed, Owens Corning, and dozens more – and a written 730-Day Done Right Promise. Call (888) 427-1733 to schedule a free estimate.
The Bottom Line
Bathroom remodel problems almost always fall into one of three buckets – water, tile, or scope – and each one has a root cause you can trace before demolition starts. Cracked grout is a substrate problem, ceiling stains are a waterproofing problem, and a failed inspection is a code problem your contractor is obligated to fix. Document everything with dates and photos. Read the warranty before you sign the contract, not after the leak shows up. And when a contractor can’t or won’t make it right, the CSLB and small claims court are stronger tools than a frustrating phone call. If your bathroom is due for a remodel – or a remodel that went wrong – a written line-item quote with a fixed price and a warranty behind it is the better conversation to start.
Groundwork Construction Co. of Los Angeles offers free estimates across Los Angeles – call (888) 427-1733 to schedule yours. Live person, 24/7. Upfront pricing, no surprises. No-hassle pricing paired with 0% financing for 18 months and $1,000 off projects over $10,000. Contact us today – we’ll help you plan the bathroom, pull the permits, and back the work in writing.
If your next project stretches beyond the bathroom, we also handle Driveway & Pavers in Los Angeles and Fence Installation in Los Angeles, and the same upfront pricing, permit discipline, and 730-Day Done Right Promise apply across every service line.
Written by the team at Groundwork Construction Co. of Los Angeles.