
Last updated November 17, 2026
 Driveway & pavers
 Kitchen remodeling
 Bathroom remodeling
 Home additions & ADU
 Roofing
 Windows & doors
 Fence
Free written scope consultation - allowances, timeline, and change-order rules on paper before a single trade is scheduled
Driveway & Pavers Troubleshooting: Common Problems and How to Fix Them
If your pavers are sinking, shifting, or cracking, buying new pavers is probably the wrong fix. The paver is almost never the problem. It’s the ground underneath it, the water moving through it, or the way it was put down in the first place. That matters because a contractor who only offers to replace the pavers is telling you something about their diagnostic skills: they’re selling you a product when you need a diagnosis. We’ve pulled apart driveways all over Los Angeles where the surface looked fine a year ago and now reads like a topographical map. This guide shows you how to read those patterns like a contractor does, so you can tell a half-day re-sand from a full base excavation before anyone quotes you.
Quick Answer
Most paver problems come down to three root causes: a failed base, a drainage failure, or missing or broken edge restraint. The pattern of the damage tells you which one you’re dealing with. Small, even settlement with sand washing out usually means re-sanding and re-sweeping. Widespread rocking, spreading at the edges, or deep depressions almost always mean the base or the edge restraint needs to be rebuilt, not just topped off. Fixing the surface without fixing the cause means you’ll be fixing it again within 18 months.
Styles & brands we work with
- Kitchen remodeling
- Bathroom remodeling
- Home additions & ADU
- Roofing
- Windows & doors
- Driveway & pavers
- Fence
Table of Contents
- How to Read Your Driveway Like a Contractor
- Base Failure vs. Drainage Failure vs. Tree Roots: Telling Them Apart
- Why Edge Restraint Failure Is the Most Common Culprit
- Re-Sanding vs. Full Base Excavation: The Visual Cues
- The Garden Hose Test: Check Your Drainage Before You Call Anyone
- What Los Angeles Rainy Season Reveals That Dry Months Hide
- Efflorescence, Stains, and the Cosmetic Problems That Aren’t Structural
- Repair or Replace? How to Decide
How to Read Your Driveway Like a Contractor
When we walk up to a driveway, we’re not looking at the pavers. We’re looking at the joints, the edges, and the shadows. The pavers are just the messenger. A joint that’s wider than the one next to it tells you something moved. A shadow under a paver edge tells you it’s rocking. Sand piled in a corner tells you where water is pushing it. None of that shows up in a photo on a contractor’s website, and none of it shows up if you’re standing at eye level looking down at a flat surface.
Here’s how to look at your own driveway the way we do:
- Get low. Crouch at the top of the driveway and look across the surface at a shallow angle. High spots and low spots that are invisible from standing height become obvious.
- Check the joints. Walk the whole surface and note any joint that’s noticeably wider or narrower than its neighbors. Uniform joints mean the field is stable. Wildly uneven joints mean sections are moving independently.
- Look at the edges. The outer perimeter is where most failures start. If pavers at the edge are loose, spread out, or wandering past the original line, the restraint is the first suspect.
- Step on it. Rocking pavers, or a hollow sound underfoot, mean the bedding layer has lost contact with the base.
- Follow the water. After rain or a hose test, note where puddles sit and where sand has washed. Water tells you the truth about your slope and drainage.
In Los Angeles, we see this pattern constantly in older neighborhoods where driveways were poured or laid decades ago and the clay-heavy soil underneath has moved with every wet winter. A driveway in Highland Park or Eagle Rock that looks fine in August can show a whole different story in February. Reading the driveway correctly at the start saves you from paying for a cosmetic fix on a structural problem. If you want the full picture of what a proper install looks like from the bottom up, our Driveway & Pavers in Los Angeles page walks through the base, bedding, and restraint layers that make the difference.
Base Failure vs. Drainage Failure vs. Tree Roots: Telling Them Apart
These three problems can look similar from standing height, but they call for completely different repairs. Getting the diagnosis right is the whole job. A drainage failure that gets treated as a base failure means you pay for excavation and the water still has nowhere to go. A base failure that gets treated as a drainage problem means you add a drain to a driveway that’s still going to heave next winter.
Drainage failure
Drainage problems show up as a consistent low spot where water pools, usually in the middle or at the low end of the driveway. The sand between pavers washes out in that area and piles up downhill or against the garage door. You’ll see mud tracked onto the garage floor after storms, and sometimes a line of dirt at the base of the garage door where water has been sitting. The pattern is localized to where water collects, not spread across the whole field.
Base compaction failure
Base failure shows up as broad, uneven settlement across a large area, often with pavers rocking or dipping in a wide saucer shape. It happens because the gravel base wasn’t compacted in thin enough lifts, or the subgrade soil underneath was never properly prepped. In Los Angeles, the expansive clay soil in areas like Sherman Oaks and Encino is especially prone to this: it swells when wet and shrinks when dry, and a base that wasn’t built to handle that movement will telegraph every season change up through the pavers.
Tree root intrusion
Tree roots announce themselves differently. You’ll see linear heaving along a specific path where a root runs under the driveway, or a single ridge of lifted pavers that traces a line. The damage is directional, not a broad saucer. Ficus and eucalyptus roots are the usual suspects in Los Angeles, and both are common in older residential neighborhoods. Root intrusion sometimes can’t be fixed without addressing the tree, which is a conversation with an arborist before it’s a conversation with a paver contractor.
- Pooled water in one spot, sand washing downhill: drainage failure.
- Broad settlement, rocking pavers across a wide area: base compaction failure.
- A straight line of lifted pavers tracing a path: tree root intrusion.
- Loose pavers spreading outward at the perimeter: edge restraint failure.
Most driveways have more than one of these going on at once. A base that’s failed in one corner often has a drainage problem feeding it. That’s why a proper diagnosis looks at all four before recommending a fix.
Why Edge Restraint Failure Is the Most Common Culprit
Edge restraint is the least glamorous part of a paver driveway and the one that fails most often. It’s the concrete curb or aluminum edge that locks the outer row of pavers in place. Without it, or with a restraint that’s cracked, settled, or was never installed deep enough, the whole field slowly spreads outward. Each paver nudges its neighbor a fraction of an inch, and over a few seasons the joints widen, sand washes out, and the driveway starts to look like it’s melting toward the street.
We’ve seen this on countless driveways across Los Angeles, and it’s especially common where the original install used a plastic edge restraint that’s since cracked, or where the concrete curb was poured too shallow and got pushed out by the same clay soil movement that affects the base. The tell is at the perimeter: pavers that overhang the edge, a visible gap between the last row and the curb, or a restraint that’s tilted or broken.
Spotting edge restraint failure before the whole field shifts is the goal. Walk your perimeter and check for:
- Pavers sitting proud of or overhanging the edge restraint
- A visible gap or sand trail between the outer row and the curb
- A concrete curb with cracks running through it, or one that’s tilted away from the driveway
- Widening joints that get progressively worse toward the edges
If you catch it early, replacing or resetting the edge restraint is a modest repair. If you wait until the whole field has spread, you’re looking at resetting and re-sanding a much larger area, and sometimes rebuilding the base under the loosened section. This is the single most cost-effective thing to check on your driveway every spring.
Re-Sanding vs. Full Base Excavation: The Visual Cues
This is the fork in the road that determines whether your repair is a half-day job or a week-long job, and the price difference is substantial. Homeowners often get quoted for a full excavation when they only needed re-sanding, or vice versa. Here’s how to tell which side of the line you’re on before you call anyone.
Signs you likely need re-sanding only (half-day fix)
- The pavers themselves are tight and don’t rock when you step on them
- Sand has washed out of the joints but the pavers haven’t moved
- Weeds are sprouting from joints because the sand barrier is gone
- The surface is flat with no visible settlement or high spots
- The edge restraint is intact and the perimeter row is tight
Re-sanding means sweeping fresh polymeric sand into the joints, compacting it, and letting it cure. It restores the interlock between pavers and stops water from getting under the surface. Most driveways need this every few years, and it’s a normal part of paver maintenance, not a sign of a failed install.
Signs you likely need base excavation (week-long job)
- Pavers rock or flex when you step on them, especially in a saucer-shaped area
- Visible settlement, high spots, or a wavy surface
- Joints that have widened significantly and uniformly across a section
- The edge restraint is broken, tilted, or missing
- Water consistently pools in the same spot after storms
Excavation means lifting the pavers, removing the old bedding and base, re-grading the subgrade, re-compacting in proper lifts, and relaying. It’s a real job, and it’s the right job when the base has failed. Putting new sand on a failed base is like painting over rot: it looks better for a season and then it doesn’t.
If you’re unsure which camp you’re in, our team at Groundwork Construction Co. of Los Angeles walks driveways and gives a straight diagnosis with a written scope before any work starts. Upfront pricing, no surprises means you know which repair you’re paying for and why. You can read more about how we approach the full scope of home projects at our Groundwork Construction Co. of Los Angeles home page.
The Garden Hose Test: Check Your Drainage Before You Call Anyone
You can pressure-test your drainage hypothesis in about 15 minutes with a garden hose and no tools. This isn’t a substitute for a professional assessment, but it tells you a lot about whether water is the root cause before you spend money on a fix. Run this test on a dry day, ideally after a stretch of dry weather so the driveway isn’t already saturated.
- Pick a starting point. Set the hose at the highest point of the driveway, usually near the garage.
- Run a moderate flow for 10 to 15 minutes. Not a full blast; you want to simulate a steady rain, not a pressure washer.
- Watch where the water goes. It should sheet evenly toward the street or a designated drain. If it pools in one spot for more than a minute or two, that’s a low spot.
- Note where sand and sediment collect. Water carries sand, and the pile tells you where the flow is concentrating and where joints are losing material.
- Check the garage door base. If water reaches the garage door and sits against it, your slope is inadequate and you have a water-intrusion risk on top of a drainage problem.
- Repeat at the low end. Run the hose at the bottom of the driveway and see whether water backflows or drains away cleanly.
What the test reveals is straightforward. Water that pools in a broad low area suggests settlement or a failed slope. Water that runs off the edge and doesn’t drain suggests a missing or clogged drain. Water that disappears into a joint fast suggests the sand barrier is gone and you’re due for re-sanding. In Los Angeles, where the rainy season is short but intense, a driveway that sheds water well for 10 months can still flood in a January storm if the slope and drainage aren’t right. Testing in the dry season is how you find out before the water does.
What Los Angeles Rainy Season Reveals That Dry Months Hide
Los Angeles gets most of its rain between November and March, and that window is when your driveway tells the truth. The dry months hide everything. A base that’s marginally compacted, a slope that’s slightly off, an edge restraint that’s barely holding: all of that looks fine in July and fails in a wet January. That’s not a Los Angeles-specific quirk of pavers; it’s how water works on any paver surface. But the combination of long dry spells and intense winter storms is what makes LA driveways fail in a specific way.
Here’s what the rainy season exposes:
- Clay soil movement. The expansive clay under much of Los Angeles swells when it finally gets saturated, lifting and shifting a base that was built for a drier regime. Driveways in the hills and the Valley are especially prone to this.
- Poor surface slope. Water that sits on the surface in a storm is water that will find its way into joints and under pavers. If your driveway floods in a downpour but looks flat in August, the slope was never right.
- Clogged or missing drainage. Debris from dry months (leaves, dust, grit) washes into drains in the first big storm and can back them up. A drain that worked last winter can stop working this winter.
- Edge restraint failure. Saturated soil pushes against the outer restraint, and a weak or broken curb gives way. This is when spreading becomes obvious.
- Efflorescence. That white, chalky bloom on paver surfaces shows up after wet weather as moisture moves through the concrete and deposits salts on the surface. It’s cosmetic, not structural, and it’s more common after a wet winter.
The practical takeaway: do your driveway inspection in late fall, before the rains, and again in early spring, after them. The late-fall check catches problems before they get worse. The spring check reveals what the winter exposed. If you’re in the middle of a bigger home project and trying to sequence the work, our Home Additions & ADU in Los Angeles page covers how we handle grading and drainage on projects where the driveway ties into a larger build.
Efflorescence, Stains, and the Cosmetic Problems That Aren’t Structural
Not every paver problem is a structural problem, and one of the most common calls we get is about a driveway that looks bad but is structurally sound. Efflorescence is the classic example: a white, powdery bloom that appears on the surface of concrete pavers after wet weather. It’s salt migrating to the surface as moisture evaporates, and it’s cosmetic. It doesn’t mean your paver is failing. It usually clears with a proper cleaning and, in stubborn cases, a breathable sealer.
Other cosmetic issues that get mistaken for structural problems:
- Rust stains from lawn fertilizer, irrigation water, or metal furniture. Treatable with a paver-safe cleaner; not a sign of failure.
- Oil and tire marks from cars. Cosmetic; a degreaser and a stiff brush handle most of it.
- Color fading or mottling from UV exposure. Normal over time, and it doesn’t affect the structure.
- Moss and algae in shaded joints. A sign of persistent moisture, which is worth investigating, but the growth itself is surface-level.
What separates cosmetic from structural is simple: if the pavers are tight and flat and the edges are bound, you have a cleaning problem. If the pavers are loose, rocking, settled, or spreading, you have a structural problem. Cleaning a structurally failed driveway doesn’t fix it, and excavating a cosmetic stain is money wasted. Knowing the difference is the whole game.
Repair or Replace? How to Decide
Homeowners ask us this constantly, and the honest answer is that it depends on how much of the driveway has failed and how the base is holding up. A localized repair on a driveway that’s otherwise sound is almost always the right call. A full replacement is right when the failure is widespread, the base is compromised across the field, or the pavers themselves are at the end of their life.
Here’s the decision framework we use:
- Is the failure localized or field-wide? A single settled section or one broken edge can be repaired. Widespread settlement across the whole driveway points to a base problem that needs excavation.
- Is the base intact where the pavers are sound? If most of the driveway is flat and tight, the base is working. Repair the failed section and leave the rest.
- Are the pavers themselves reusable? Concrete pavers are durable and often can be lifted, cleaned, and relaid on a corrected base. Clay brick and natural stone vary. If the pavers are intact, the cost of a base rebuild is lower than a full replacement because you’re reusing the surface.
- Is the drainage fixable without a rebuild? Sometimes adding a channel drain or correcting a slope at the low end solves the water problem without touching the base. Get that diagnosed first.
- What’s the budget and timeline? Repair is faster and cheaper when it’s the right fix. Replacement is worth it when the alternative is a patchwork of repairs over the next five years.
For homeowners weighing a driveway project against other improvements, the decision is often about sequencing. Our Fence Installation in Los Angeles page covers how we coordinate perimeter work with driveway and hardscape projects so grading and drainage are handled as one plan rather than three separate ones. That kind of sequencing is what keeps a repair from becoming a re-do.
Common Mistakes to Avoid
- Replacing pavers on a failed base. This is the most expensive mistake we see. New pavers laid over a base that’s already moving will fail in the same way within a season or two. Diagnose the base before you buy a single paver.
- Ignoring a broken edge restraint. A cracked or tilted curb at the perimeter is the early warning sign of a much bigger spread. Fixing it early is a modest repair; ignoring it means resetting the whole outer field later.
- Power-washing the joints out. A high-pressure washer blasts the polymeric sand out of the joints and undermines the interlock. Use a moderate nozzle and keep the wand moving, or hire it done.
- Treating efflorescence as a structural failure. White bloom on the surface is cosmetic and cleanable. Excavating a driveway for efflorescence is money wasted.
- Skipping the drainage diagnosis. If water pools after a storm, adding sand or replacing pavers won’t fix it. The water has to go somewhere, and until it does, the driveway will keep failing in the same spot.
- Hiring on price alone. A quote that’s significantly lower than the others usually means a thinner base, a shallower restraint, or no drainage correction. In Los Angeles, where clay soil and winter storms punish shortcuts, the cheap install is the one that fails first.
- Waiting until spring to inspect. The rainy season is when damage happens and the dry season is when it’s cheap to fix. Inspect in the fall, before the water finds the weak points.
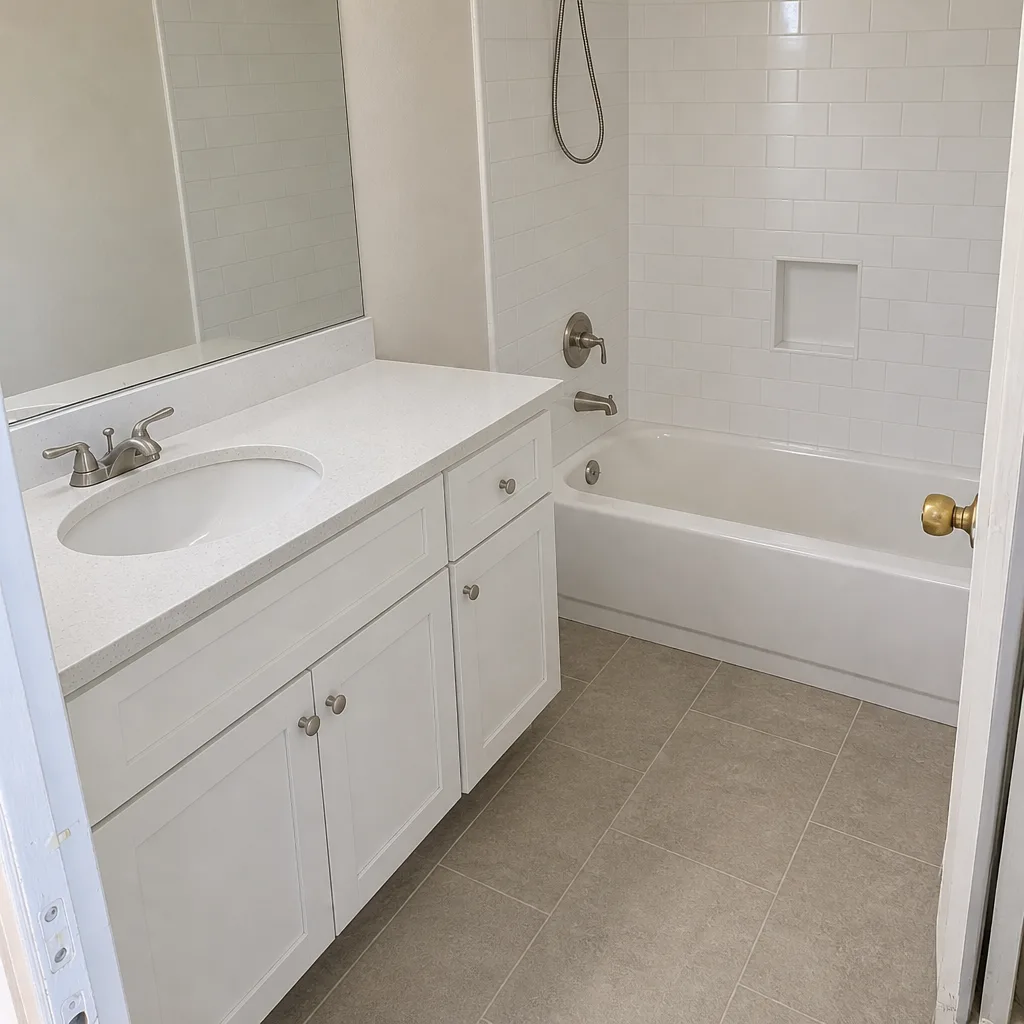
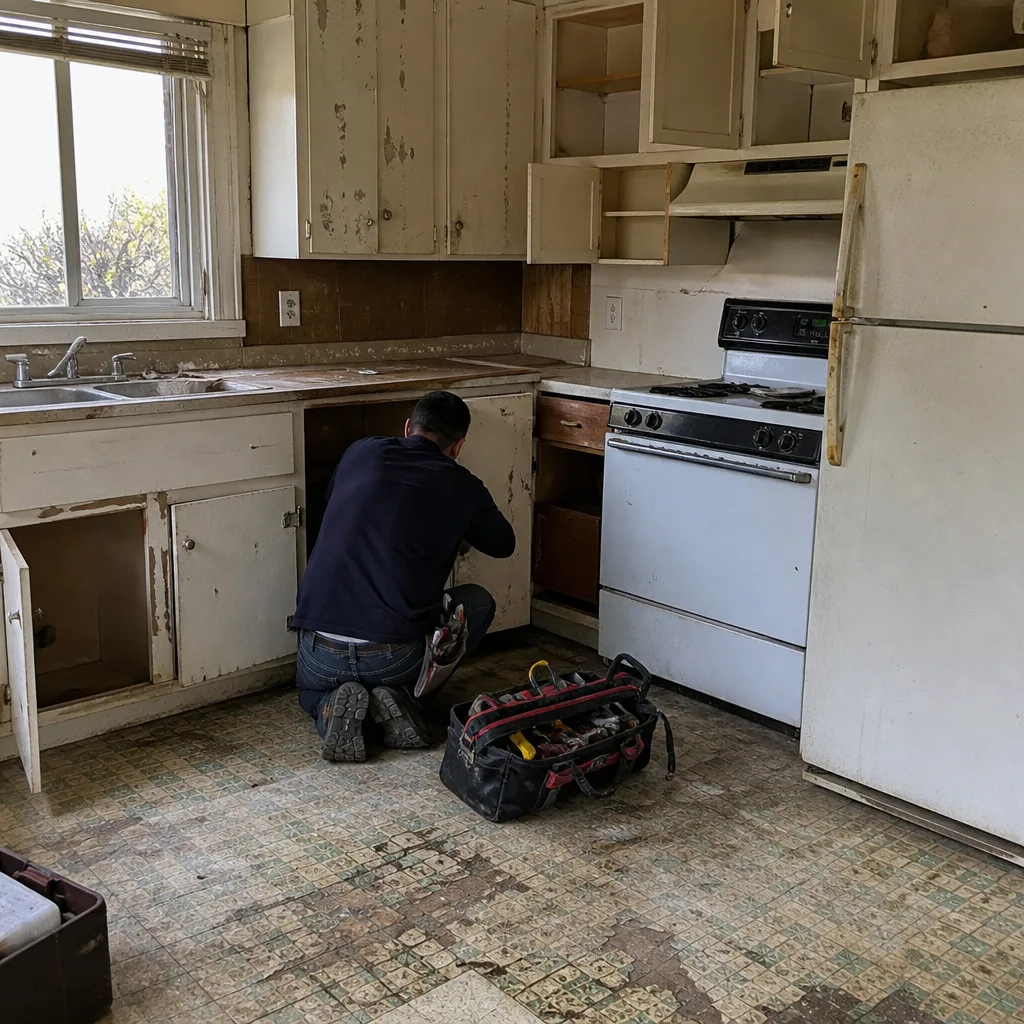
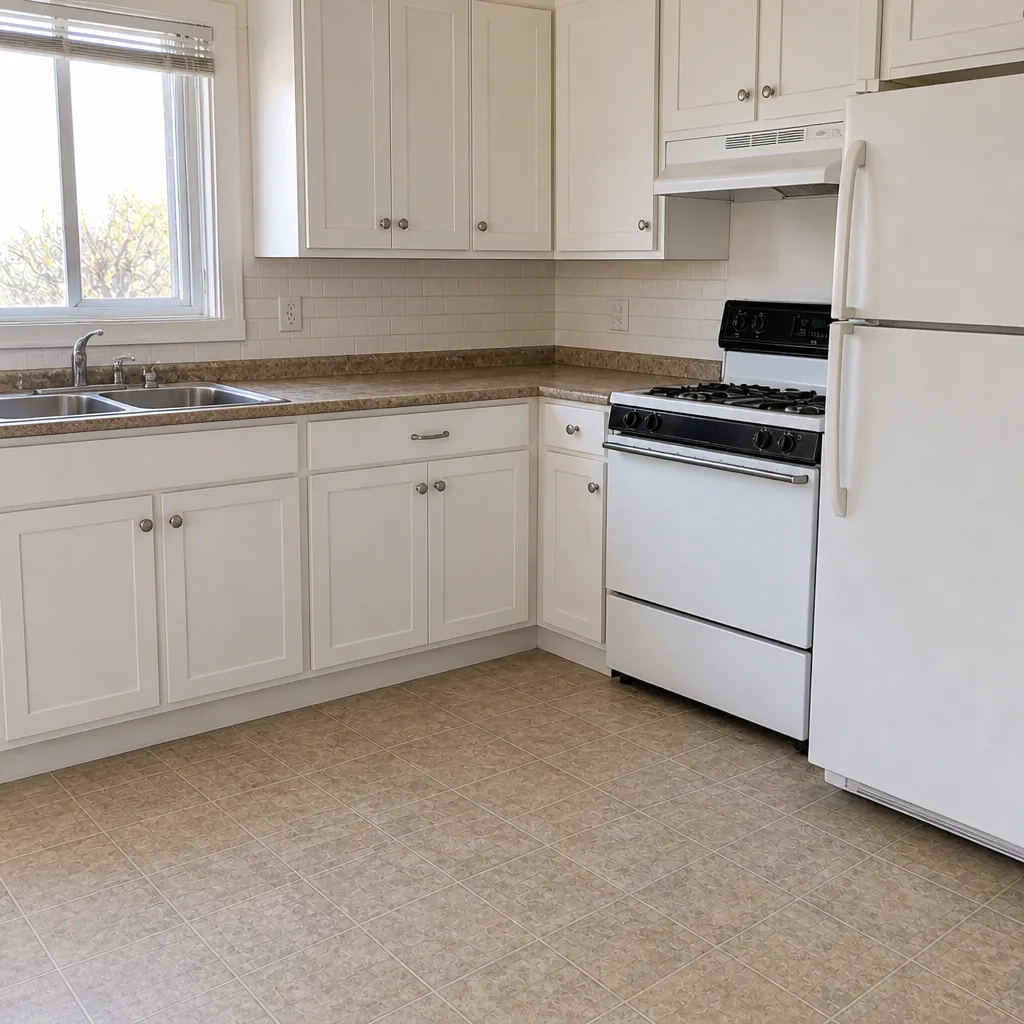
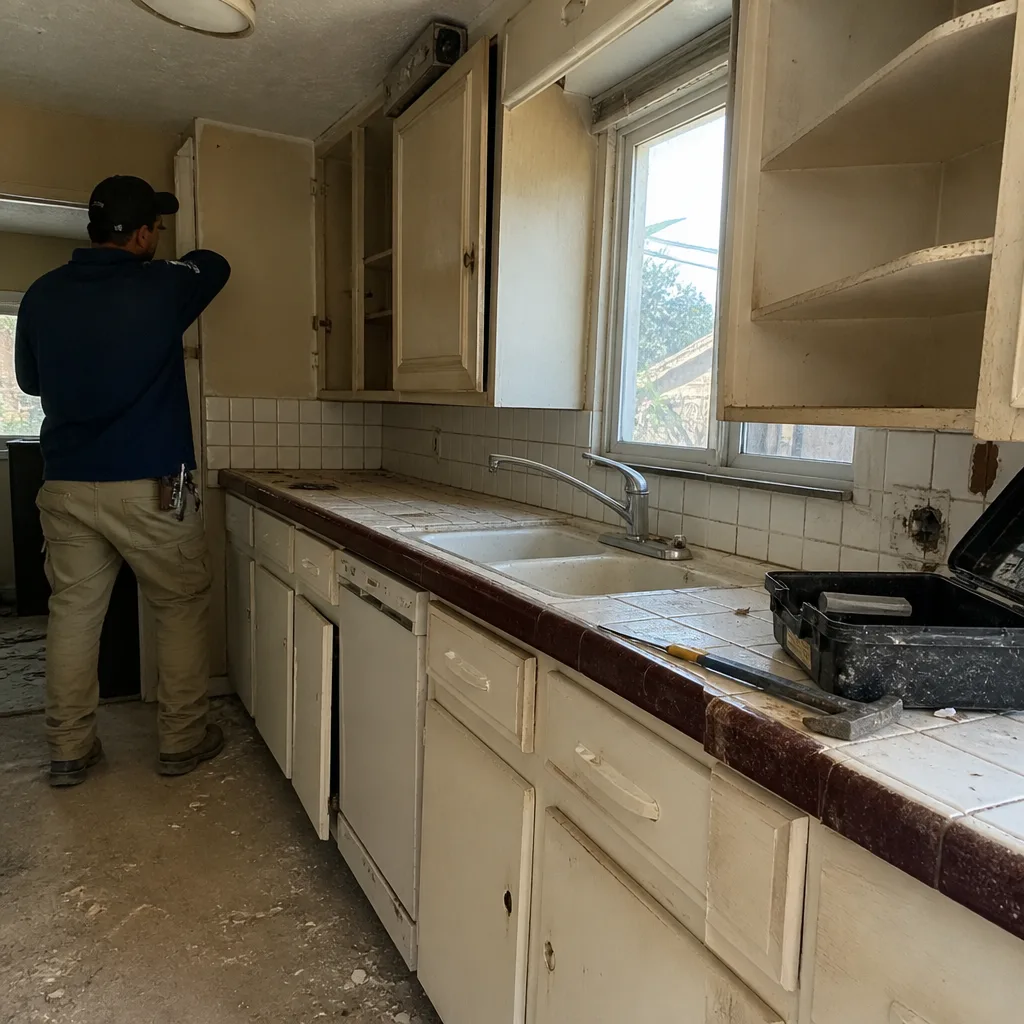
See the difference
 Before
 After
 Before
 After
 Before
 After
When to Call a Professional
Some paver problems are homeowner-fixable, and some aren’t. Call a professional when the pavers are rocking or settled across a section, when water pools consistently after storms, when the edge restraint is broken or the perimeter row is spreading, or when you have a tree root heaving a line of pavers. Those are the signs of a base, drainage, or restraint problem that a surface fix won’t solve. Also call if you’re planning a repair and want a written scope before anyone touches the driveway, so you know whether you’re paying for re-sanding or excavation. Groundwork Construction Co. of Los Angeles offers free estimates in Los Angeles. Call (888) 427-1733 to schedule yours, and we’ll walk the driveway with you and tell you what we see. Our technicians have up to 12 years of experience reading exactly these failure patterns, and every project is backed by the 730-Day Done Right Promise: if it’s not done right, we make it right.
Frequently Asked Questions
Re-sanding a driveway typically runs a few hundred to about a thousand dollars depending on square footage, while a localized reset of a settled section runs more, and a full base excavation and relay is a significantly larger project priced by square footage. The honest answer is that the price depends entirely on which repair you actually need, which is why a diagnosis comes first. Call (888) 427-1733 for a free estimate with a written scope so you know which repair you’re paying for.
Pavers spread at the edges because the edge restraint has failed. The concrete curb or aluminum edge that locks the outer row in place has cracked, tilted, or was installed too shallow, so the whole field slowly moves outward. Fixing the restraint early is a modest repair; waiting until the field has spread means resetting a much larger area. Call (888) 427-1733 and we’ll check the restraint on your driveway for free.
You can, but plain sand washes out faster than polymeric sand and won’t restore the interlock the way a proper re-sand does. If the pavers are tight and flat and the joints are just low on material, a re-sand with polymeric sand is the right fix and usually a half-day job. If the pavers are rocking or settled, sand won’t fix it. Call (888) 427-1733 for an estimate if you’re not sure which problem you have.
You need a base excavation when the pavers are rocking or settled across a broad area, the surface is visibly wavy, or water pools in the same spot after every storm. Those are signs the base underneath has failed, and re-sanding won’t fix a failed base. Isolated problems in an otherwise sound driveway can usually be repaired section by section. Call (888) 427-1733 for a free diagnosis before you commit to either repair.
Los Angeles driveways look worse after the rainy season because the long dry spell hides base and drainage problems, and the intense winter storms expose them. Expansive clay soil swells when saturated, weak edge restraints get pushed out, and water that pools on an under-sloped surface finds its way under the pavers. Inspecting in late fall before the rains and again in early spring is how you catch problems before they get expensive. Call (888) 427-1733 to schedule a free inspection.
With upfront pricing, no surprises, the number you see on the written estimate is the number you pay. We diagnose the driveway, write a line-item scope for the repair you actually need, and stick to it. If we find something during the work that genuinely changes the scope, we stop and talk to you before anything changes. Call (888) 427-1733 to schedule your free estimate and get the number in writing first.
The Bottom Line
Every driveway paver problem has a root cause, and it’s almost never the paver. It’s the base, the drainage, or the original installation, and fixing the symptom without diagnosing the cause means you’ll be doing it again. Read the pattern: pooled water in one spot is drainage, broad settlement is base, a line of lifted pavers is roots, and a spreading perimeter is edge restraint. Test with a hose, inspect before and after the rainy season, and know the difference between a half-day re-sand and a week of excavation before you buy a single paver. In Los Angeles, where clay soil and winter storms punish shortcuts, that diagnosis is the difference between a repair and a re-do.
Groundwork Construction Co. of Los Angeles offers free driveway and paver estimates with written, upfront pricing, and every project is covered by the 730-Day Done Right Promise: if it’s not done right, we make it right. Call (888) 427-1733 for a free estimate and a straight diagnosis of what your driveway actually needs.
Written by the team at Groundwork Construction Co. of Los Angeles.