
Last updated November 16, 2026
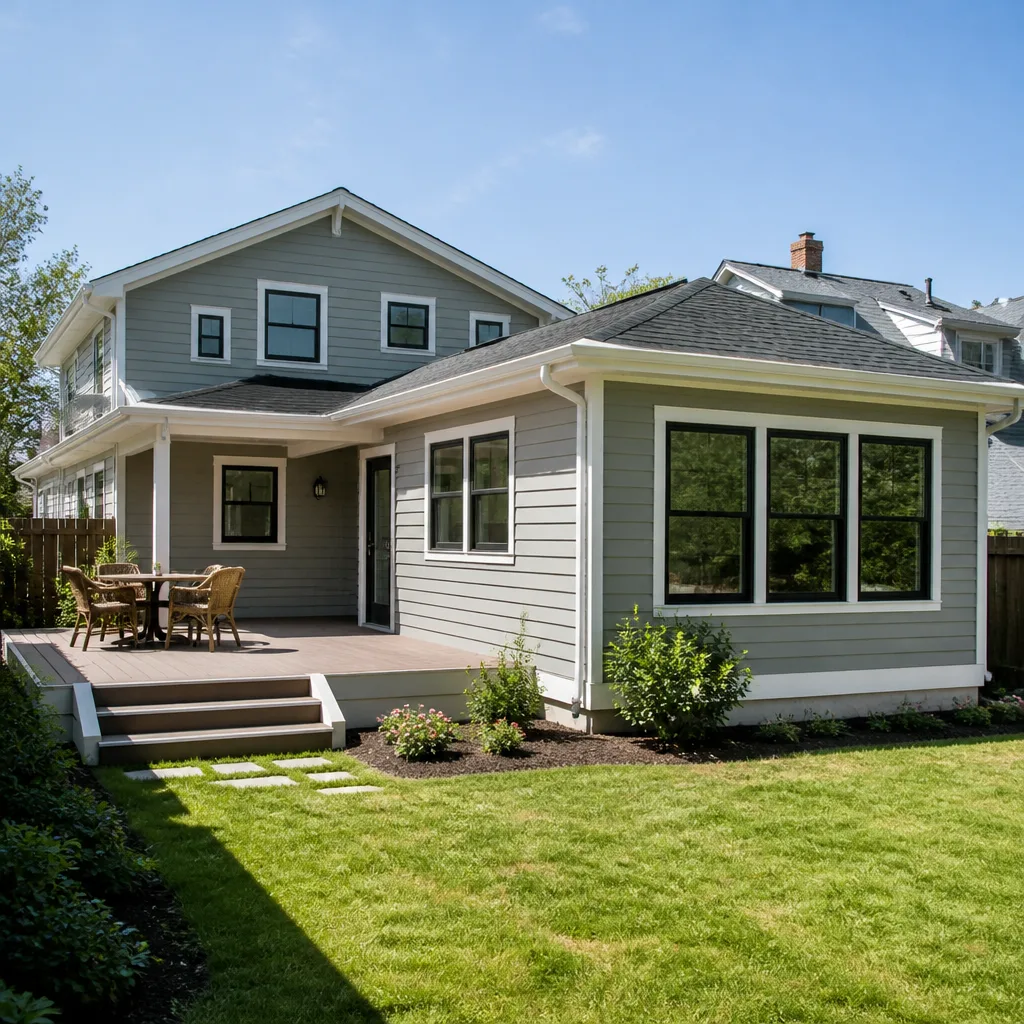 Home additions & ADU
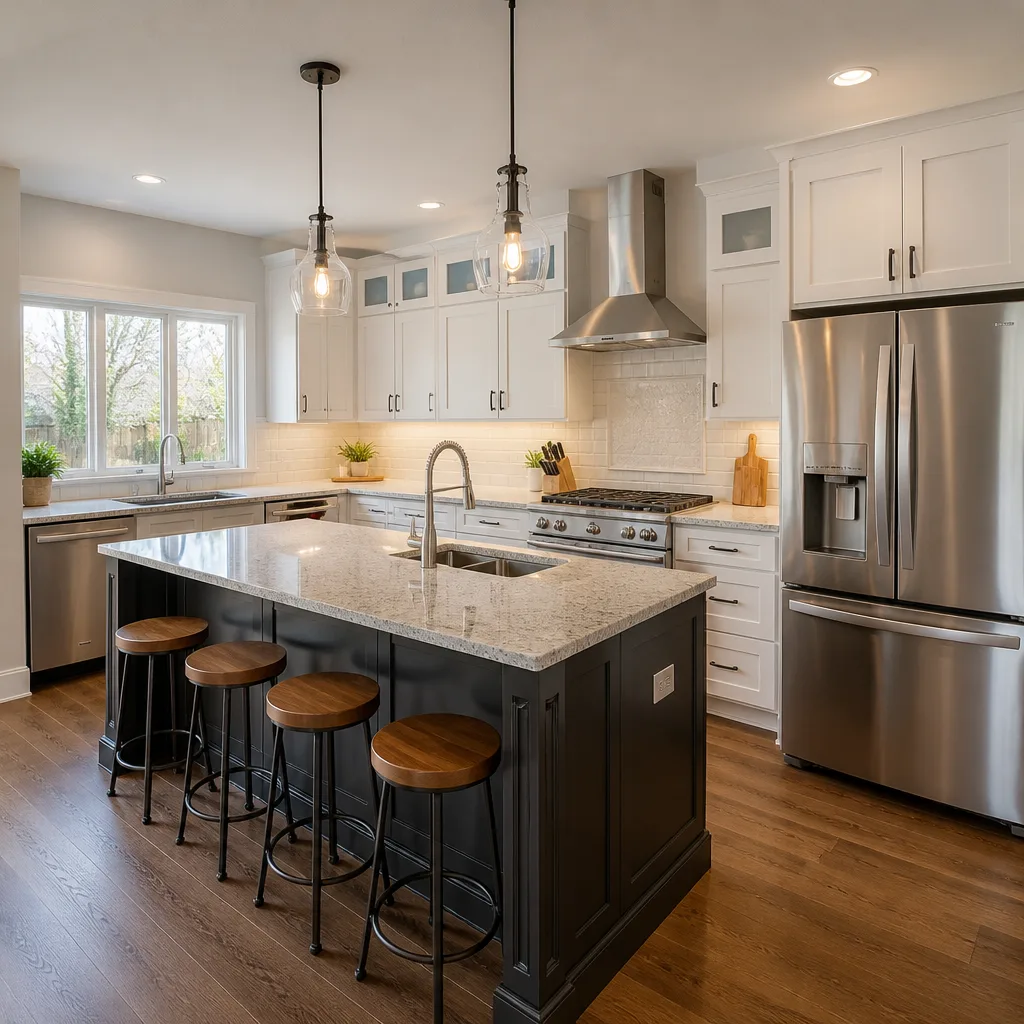 Kitchen remodeling
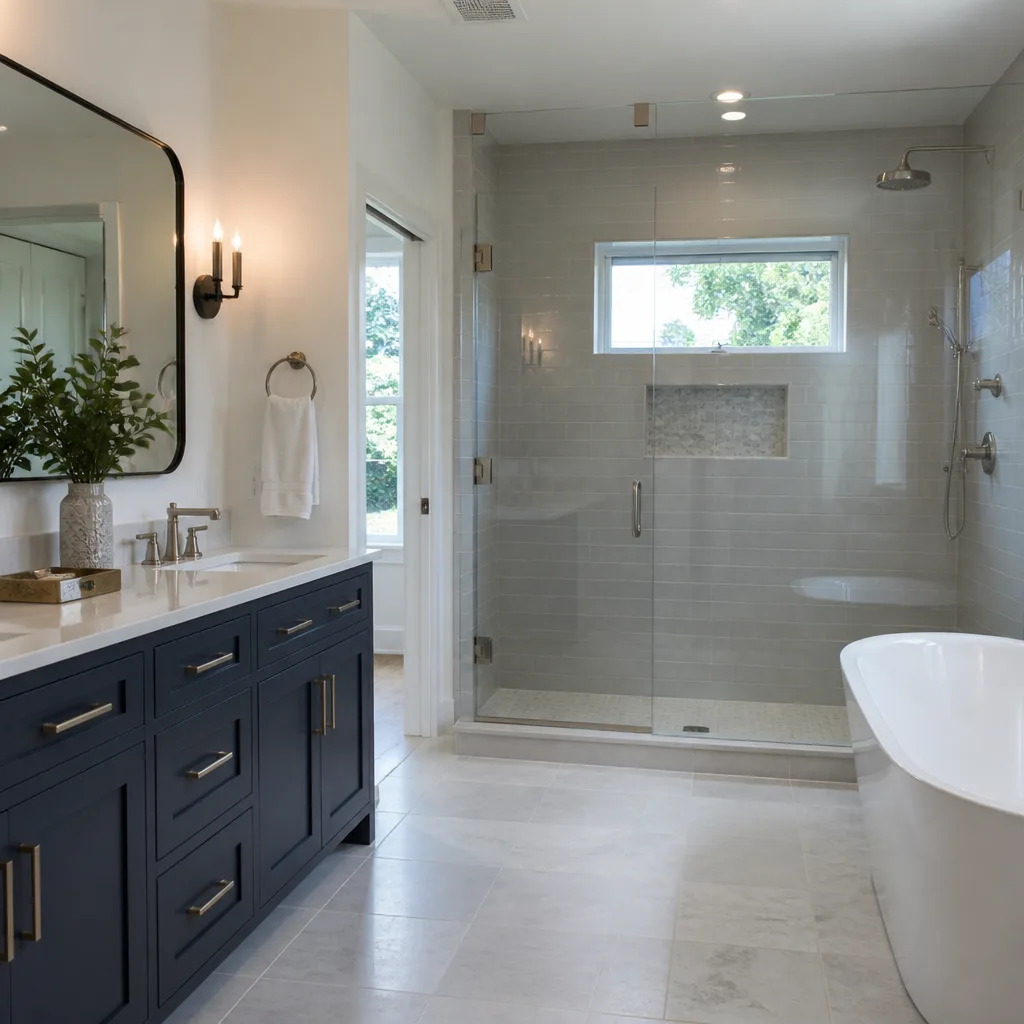 Bathroom remodeling
 Roofing
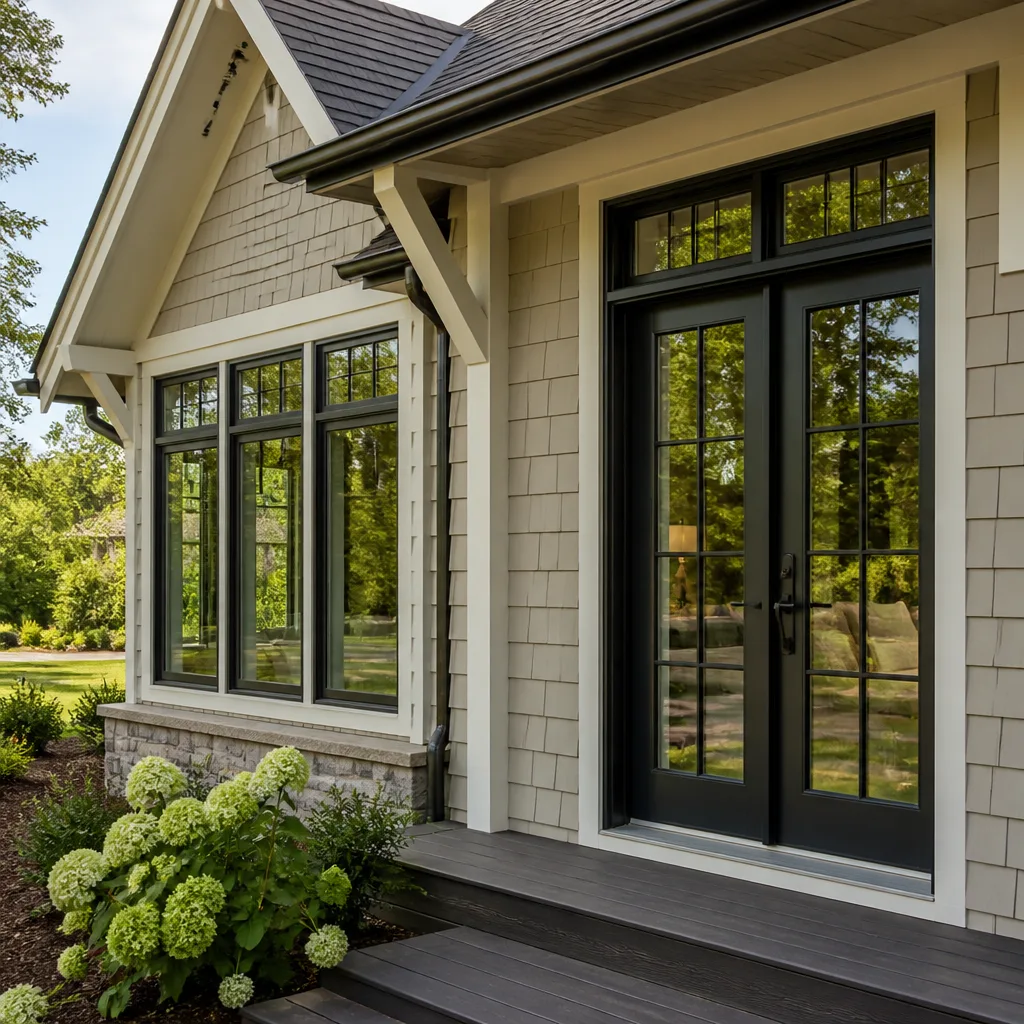 Windows & doors
 Driveway & pavers
 Fence
Free written scope consultation - allowances, timeline, and change-order rules on paper before a single trade is scheduled
Home Additions & ADU Maintenance Schedule: What to Do and When
The junction where a new addition meets your original house is the most vulnerable seam on the whole property, and almost no homeowner is told to watch it. That’s where moisture sneaks in, where movement shows up first, and where energy leaks start. It’s also where we’ve seen the costliest avoidable repairs in Los Angeles: a $90 caulk and flashing check at month 12 that turns into a $9,000 wall rebuild by year four. We’ve watched it happen on Los Angeles ADUs that were built beautifully and then treated like an appliance with no service schedule at all. This guide gives you one: what to check at 30, 90, and 365 days after construction, how our climate zones change the list, and how to protect an ADU rental’s income and your permits. Read it before year three.
Quick Answer
An ADU or home addition needs its own maintenance schedule because the new-to-old connection points (flashing, caulk lines, settlement gaps, and roofline transitions) fail differently than either structure alone. Check those seams at 30, 90, and 365 days post-construction, then run exterior and HVAC checks twice a year and a structural walkthrough once a year. That schedule, done faithfully, is what keeps an ADU rental profitable and a permitted addition clean at resale.
Styles & brands we work with
- Kitchen remodeling
- Bathroom remodeling
- Home additions & ADU
- Roofing
- Windows & doors
- Driveway & pavers
- Fence
Table of Contents
- Why the Junction Is the Whole Game
- The First Year: 30, 90, and 365-Day Checks
- Los Angeles Climate Zones and Your Maintenance Priorities
- Protecting ADU Rental Income
- Keeping Permitted Work Clean for Resale
- Annual Structural Checks in a Seismic Zone
- The Full Maintenance Calendar
Why the Junction Is the Whole Game
An ADU or an addition is a new structure grafted onto an existing one. The original house has been settling, drying out, and finding its equilibrium for decades. The new structure hasn’t. Those two buildings move at different rates, and the seam between them is where the mismatch shows up first. Most post-construction guides talk about the new roof or the new walls as if the addition were freestanding. It isn’t. The connection point is the part that deserves the most attention, and it’s usually the part nobody inspects.
Three things happen at that junction, predictably:
- Differential settlement. The new foundation and the old one move differently in the first 18 months. Small gaps open at the wall-to-wall joint and around the door or window where the addition ties into the existing wall.
- Moisture entry. Flashing at the roofline transition is the single most important detail on the whole build. When it’s right, water sheds away. When it’s compromised, water finds the inside of a wall.
- Energy loss. The thermal break between old and new construction is where air leaks concentrate. In a Los Angeles ADU, that matters most at the roofline transition and around any door that connects the addition to the main house.
We’ve seen what “treat it like an appliance” costs. In Sherman Oaks and Studio City, two-story additions that start with a beautiful flashing detail and get zero follow-up attention are the ones that show up with interior drywall stains around month 40. The fix when you catch it early is a reseal and re-flash. The fix when you catch it late is a wall opened up from the inside and rebuilt from the sheathing out. If you had us build your addition through Home Additions & ADU in Los Angeles, you already know the details matter. The schedule below is how you protect that work long after we’ve walked off the site.
The First Year: 30, 90, and 365-Day Checks
Year one is where the building tells you everything it’s going to do. Do these checks on schedule and you’ll catch the small stuff before it becomes structural. Skip them and year three is when the invoice shows up.
Day 30: Watch, Don’t Touch
At 30 days, you’re building a baseline. Don’t caulk anything yet, because the building is still moving and caulk placed too early just cracks. Photograph everything on the list below so you have a before picture to compare against later. Note the date and keep the files together with your permits.
- Walk the entire exterior perimeter of the addition and photograph the wall-to-wall joint where new meets old, all the way up.
- Photograph the roofline transition, including the flashing detail and the first 3 feet of new roof on both sides.
- Photograph the interior seam line where the new wall meets the existing wall in every room.
- Note any hairline cracks at the corners of doors and windows in the new space.
- Check that all exterior outlets, hose bibs, and drains are working and draining.
- Confirm the water heater, mini-split, and electrical panel are labeled and you have the manual for each unit.
Day 90: First Real Inspection
At 90 days, the building has moved enough to show you where problems are going to live. This is when you do a full visual pass and compare against your day-30 photos. Cracks that grew from hairline to visible (roughly the width of a dime) need a builder’s eye. Caulk lines that have pulled away from the wall need resealing once the building has settled. The 90-day mark is also the right time to reseal exterior caulk joints around the addition windows and doors. Use a paintable exterior caulk that matches the trim, and don’t stretch it across the wall-to-wall joint; that joint needs a backer rod and a joint sealant that can flex, not a bead of caulk stretched thin.
Day 365: The Annual Reset
At one year, you’re running your first full annual maintenance check. This is when you establish the rhythm you’ll keep every year after: exterior envelope, roof transition, HVAC service, water heater flush, and a look at every seam.
- Inspect the flashing at the roofline transition. Look for lifting edges, gaps, or visible sealant cracking. Don’t try to re-flash this yourself. This is trained-professional territory.
- Reseal exterior caulk lines around windows, doors, and the wall-to-wall joint if the joint sealant is showing cracks.
- Check settlement at the wall-to-wall joint. Hairline is fine. A gap you can slip a dime into, especially one that’s widening, needs a builder to look at it.
- Service the HVAC system, whether it’s a central unit or a mini-split. Change filters, clean coils on the mini-split, and have a technician check the refrigerant and the condensate line.
- Flush the water heater. If the ADU has its own heater, this is critical and nobody does it. Sediment builds up, the heater runs hotter, and you lose years off its life.
- Walk the roof transition and check the gutters that serve the new roof section. Los Angeles rarely gets rain, but when it does, the transition is where it’ll find any weakness.
Los Angeles Climate Zones and Your Maintenance Priorities
Los Angeles has two very different maintenance profiles crammed into one city, and the zone your ADU sits in changes what you should check first. This is one of those facts most post-construction guides gloss over. We don’t, because it changes the priority list.
The coastal marine layer. If your ADU is west of the 405, from Santa Monica through the South Bay and up into Malibu, you’re in the marine layer most mornings. That means salt air, persistent moisture on exterior surfaces, and faster corrosion on metal flashing and fasteners. Your priorities here are the flashing detail at the roofline transition and the caulk lines at the wall-to-wall joint. Moisture that sits overnight on a cold surface does different damage than moisture that dries by 10 a.m. Our advice: check caulk lines and flashing twice a year instead of once, and pay attention to any fastener that shows rust.
The inland valley heat. If your ADU is in the San Fernando Valley, the Porter Ranch area, or further out toward Santa Clarita, your building sees real heat cycling. That means more movement in the new structure, more thermal stress on caulk joints, and much more demand on the HVAC system. Your priorities here are the wall-to-wall joint settlement check, the mini-split condition, and the roof surface itself, which takes more UV than a coastal roof does. We’ve seen inland ADUs whose mini-split filters go from clean to clogged in 60 days flat during a hot August. If you’re running a rental in the Valley, put filter changes on a 60-day rotation, not a seasonal one.
Two more things Los Angeles owners should put on the calendar:
- Santa Ana wind season. Before the first wind event of the fall, walk the perimeter and check that no exterior trim, vent cover, or fence panel serving the addition is loose. Loose trim in a 60-mph gust becomes a projectile.
- The single rain season. Los Angeles gets its rain in a tight window, usually between November and March. Two weeks before that window opens, do your exterior caulk and flashing check. The week after a heavy rain, walk the interior seam line and look for any stain or moisture at the wall-to-wall joint.
Protecting ADU Rental Income
An ADU is often a rental, which makes maintenance a revenue question, not just a property question. The three biggest income killers we’ve seen are all avoidable: a tenant walking over a $25 fix that turns into a $600 repair, a failed water heater on a Sunday that costs emergency rates plus a night of lost rent while the tenant scrambles, and a mini-split that dies in July. Each of those can cost you two weeks of rent plus the repair bill.
Here’s the maintenance schedule that keeps that from happening:
The separate utility meter. If the ADU has its own electrical or gas meter, the meter and the panel it feeds need an annual inspection. Not the electrical work itself, which is licensed-professional territory, but a visual check that no breaker is warm, no knockouts are open, and the panel label matches the circuits. Mislabeled breakers waste a technician’s time every single visit. Correct them once and note it in your file. If a tenant notices the meter turning over with nothing on, that’s an electrical leak to chase down, not a billing error to ignore.
The water heater. Flush it once a year and replace the anode rod every three to five years. In Los Angeles, the hard water in many areas accelerates sediment build-up, so annual flushing is the floor, not the ceiling. A $2,000 replacement avoided is worth a lot more than the half-hour flushing takes. While you’re there, check the pressure-relief valve and the drain pan. If your ADU is inside a garage or below grade, a failed heater without a drain pan and drain line can do thousands in water damage within hours.
The mini-split system. Clean the filters every 60 days, more often in the Valley. Have a technician clean the coils and check the refrigerant once a year. A mini-split that’s been neglected for two years loses efficiency, runs longer, and can freeze up. If it fails on a tenant, you’re making a decision under pressure with a stranger in your unit, which is never the way to buy a repair.
One more thing: build a tenant channel for reporting problems. A simple written routine (tenant texts you when the filter light comes on, when water is pooling anywhere, or when the unit makes any new noise) turns most of these from emergencies into scheduled maintenance. This is the difference between a $400 yearly service visit and a $3,000 unplanned repair.
Keeping Permitted Work Clean for Resale
A permitted addition is an asset that has to be provable when you sell. The buyer’s inspector and the buyer’s lender are both going to ask for documentation. If you have it in one place, that’s a two-hour conversation. If you’re hunting through your garage for a 4-year-old permit card, it’s a week of anxiety and possibly a re-inspection. We’ve seen deals get renegotiated over exactly this. The fixes worth making are simple and cheap.
What to keep, and where:
- The permit itself, in digital form. Scan the approved plans, the permit card, and every inspection sign-off the day you get them. Keep them in cloud storage and a physical folder labeled “ADU.”
- The final inspection sign-off. This is the document that proves the addition was signed off before you occupied it or rented it. Lenders and buyers want this specific paper.
- The contractor’s warranty documentation. Every licensed builder worth their salt provides written warranty coverage on the work. Groundwork backs its work with a 730-Day Done Right Promise: if it isn’t right, we make it right. Keep that paperwork with the permits and scan it. If you sell within that window, the warranty can transfer or at least reassure a buyer it was covered.
- Material and finish records. The exterior paint brand and color, the caulk and sealant product used at the joint, the roof flashing material, and the mini-split model and serial numbers. Every one of these saves a future owner hours, and every one of them makes your ADU look documented and well-kept.
- A maintenance log. A single page, kept current, of every service, repair, and inspection with the date and who did it. This log is worth more than any single repair receipt when it’s time to sell.
One last point: maintain the work to match the permits. If the approved plans show a specific window size, flashing detail, or HVAC capacity, don’t let a handyman swap it for whatever’s cheapest at the hardware store. Keep the addition as-built on its permits and your future re-inspection is a formality, not an issue.
Annual Structural Checks in a Seismic Zone
Los Angeles is earthquake country, and the annual check that matters most is the one that looks at how the addition is tied to the house. We’re not asking you to inspect structural hardware yourself. We’re asking you to know where it lives, to look for the visible signs of trouble, and to call a licensed structural professional the moment something looks off. Anchor bolts, shear wall connections, and expansion joints are the three areas that matter most.
Anchor bolts. These are the bolts that tie the wood framing of the addition to its concrete foundation. You usually can’t see them without opening a wall, but you can look for the signs that something is moving. Any horizontal crack in the stucco or drywall above a foundation line, a crack that runs in a consistent direction, or a door in the new space that’s suddenly hard to close are all reasons to bring in a professional. Don’t try to tighten or inspect anchor bolts yourself.
Shear wall connections. Shear walls are the walls designed to resist lateral movement. The hardware (hold-downs, straps, and fasteners) is generally concealed in the framing. What you can see is how the walls are behaving. Check the framing where the addition meets the existing house at the roof, and check that all visible framing connections at the ceiling and floor lines are tight and showing no separation. If the addition was built to current Los Angeles code, this hardware was inspected during construction. It’s built to last. Your job is to flag any visible change.
Expansion joints. These are the deliberate gaps between the new structure and the old, designed to let them move separately. Watch them. A joint that’s widening by more than a hairline, or that shows cracking pattern changes, deserves a professional look. The point of the joint is to take the movement so the rest of the building doesn’t. A joint doing its job is invisible; one that’s been packed with rigid caulk by mistake stops doing its job and passes the stress along to the walls.
Our advice: once a year, walk the interior perimeter of the addition with a flashlight and a camera during daylight, and take photos of every seam line, every door frame corner, and every window corner. Compare against the prior year. Any visible change more than a hairline goes to a structural engineer for a look. This is the kind of check that costs almost nothing and catches the rare issue while it’s still a fix and not a rebuild. A professional structural inspection every three to five years is also worth the modest cost, especially if the addition was built before a substantial earthquake in your area.
The Full Maintenance Calendar
Here’s the schedule in one place, by season, for Los Angeles ADU and addition owners. Adapt the timing to your zone (coastal owners will want to check caulk and flashing twice a year, valley owners will want a tighter mini-split filter rotation), but don’t drop a task. Every one of these has a reason behind it.
- Spring (March through May): Full exterior walk. Inspect flashing at the roofline transition. Reseal caulk lines around windows and doors. Check the wall-to-wall joint for any change. Test all exterior outlets and drains. Service HVAC and mini-split coils. Inspect the roof surface for UV wear (especially important inland).
- Summer (June through August): Change mini-split filters every 60 days if you’re inland. Check that all HVAC drains are clear. Walk the perimeter for any loose trim or fence panel serving the addition (see our Fence Installation in Los Angeles guide for the fence-specific version of this). Water the new landscaping in a way that sheds away from the addition foundation, not toward it.
- Fall (September through November): Pre-rain season check on the roof transition and exterior caulk. Clear gutters and downspouts. Check the foundation perimeter for pooling or framing changes. Do the Santa Ana wind-season perimeter walk and tighten or have someone repair any loose exterior fixtures. Test smoke and carbon monoxide detectors.
- Winter (December through February): Walk the interior seam line after every heavy rain. Flush the water heater. Replace the anode rod if it’s due. Look for any new staining or drywall separation. Do the seasonal HVAC filter change. Confirm the pressure-relief valve on the water heater is clear.
- Once a year, any season: Structural walkthrough of the interior perimeter of the addition. Photograph all seams. Compare to prior years. Service the electrical panel visually and correct any mislabeled breakers. Update the maintenance log. Check the documents file for the permit and inspection records.
- Every three to five years: Professional structural inspection. Professional roof inspection. Replace the water heater anode rod if you haven’t been doing it yearly.
This calendar assumes the work was done right to begin with. When you’re planning the build, talking to a contractor who documents details, pulls permits, and inspects the work is the foundation of everything above. That’s what we do at Groundwork Construction Co. of Los Angeles. We answer the phone 24/7 with a real person, we do free estimates, and every addition we build is covered by the 730-Day Done Right Promise. If you’re planning, start with a walkthrough from our Groundwork Construction Co. of Los Angeles home page.
Common Mistakes to Avoid
- Never inspecting the junction. Most owners watch the new walls and roof but skip the wall-to-wall joint and the roofline transition. That’s where trouble shows up first. Put these at the top of every checklist.
- Caulking over a gap that hasn’t finished moving. If a gap is widening, a fresh bead of caulk hides it but doesn’t fix it. Call a builder and have the joint evaluated first. In a Valley addition, we’ve seen a homeowner caulk a moving joint three times in one year before calling us.
- Skipping the water heater flush. Los Angeles hard water accelerates sediment build-up. An annual flush costs very little; a heater that fails on a tenant costs real money in repairs and lost rent.
- Running the mini-split without filter changes. Filters on a neglected mini-split clog in weeks during summer. Change them on a schedule, not when the system starts struggling.
- Losing the permit documentation. Scan and store the approved plans, permit card, and final inspection sign-off the day they arrive. If you sell, unproven ADU work is a negotiation point or a problem.
- Treating the marine layer like it’s no big deal. Coastal ADUs west of the 405 see persistent morning moisture and salt air. Check caulk lines and metal fasteners twice a year, not just in the spring.
- Assuming an annual inspection is enough. It isn’t. The heavy lifting happens at 30, 90, and 365 days. After year one, the calendar keeps the building in good shape, but the first year is when the building tells you what’s going to fail.
See the difference
 Before
 After
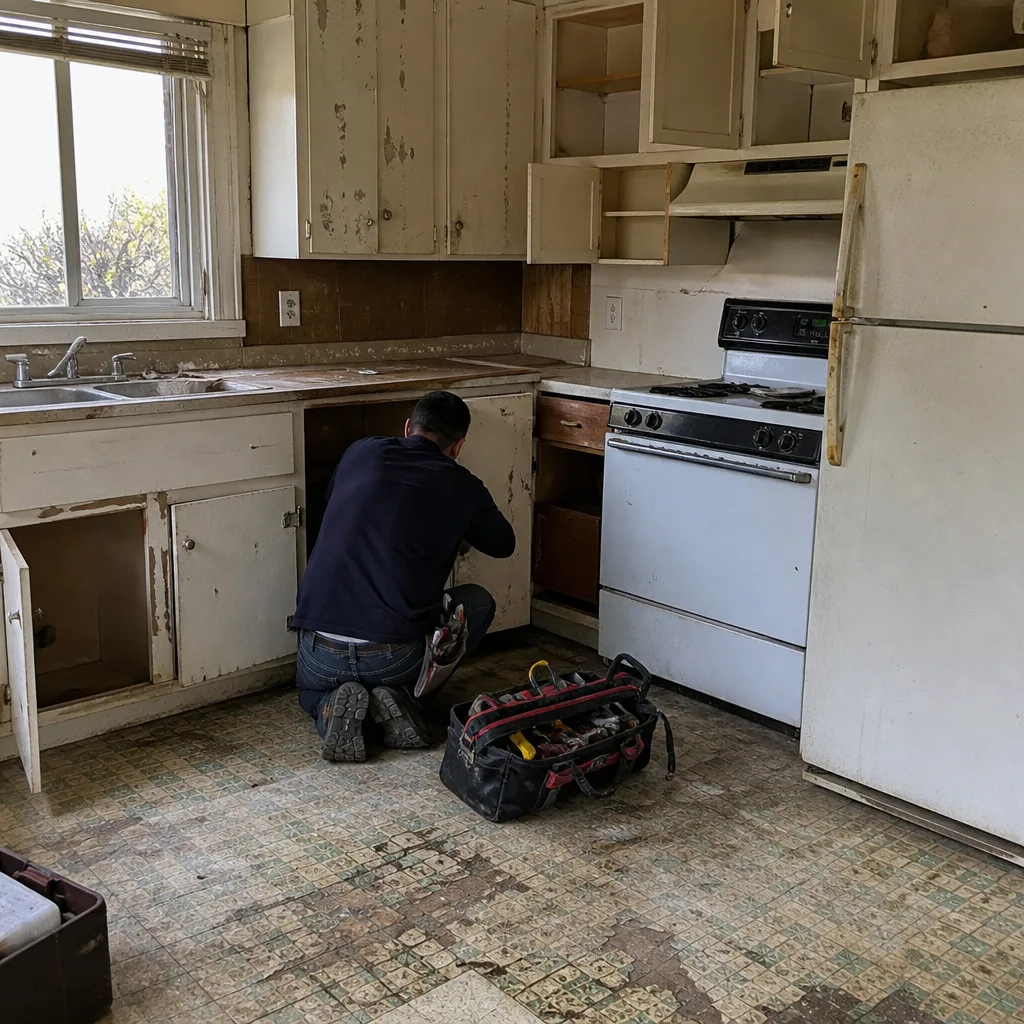 Before
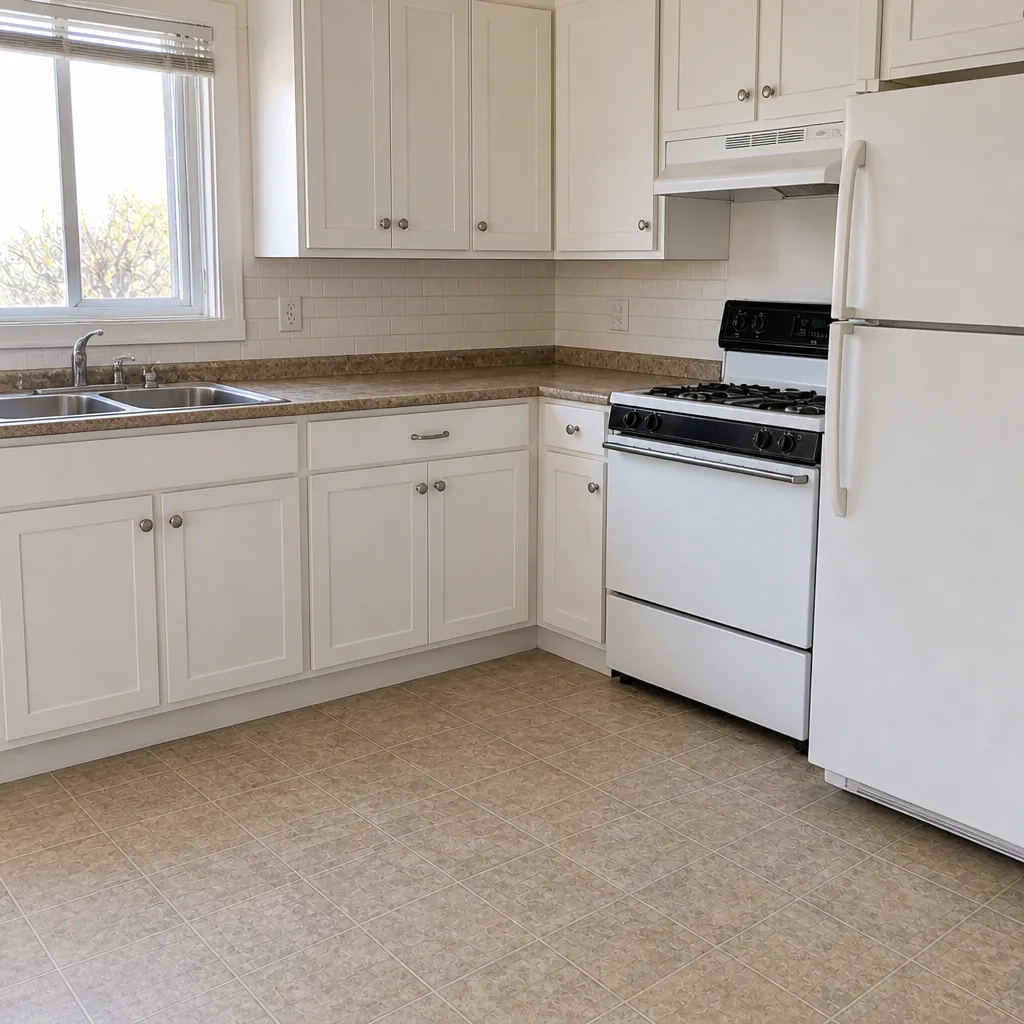 After
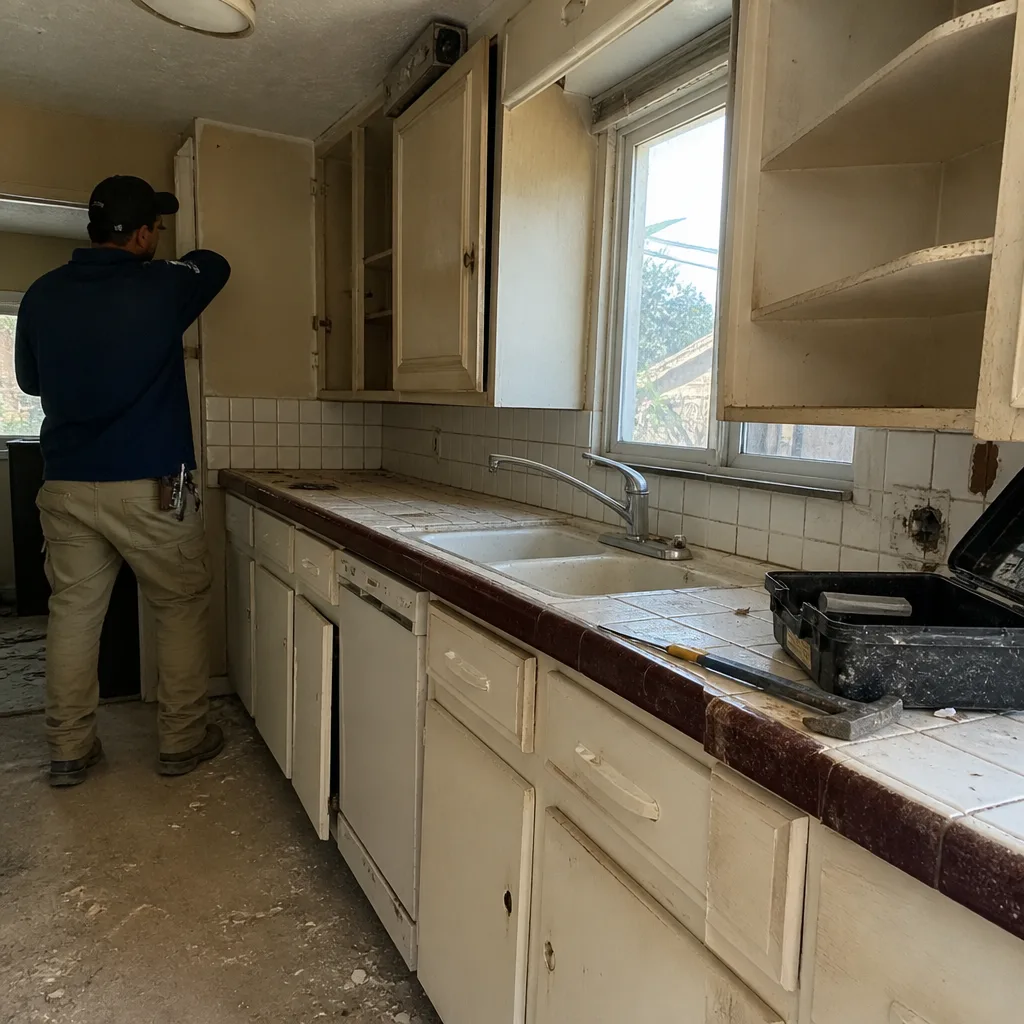 Before
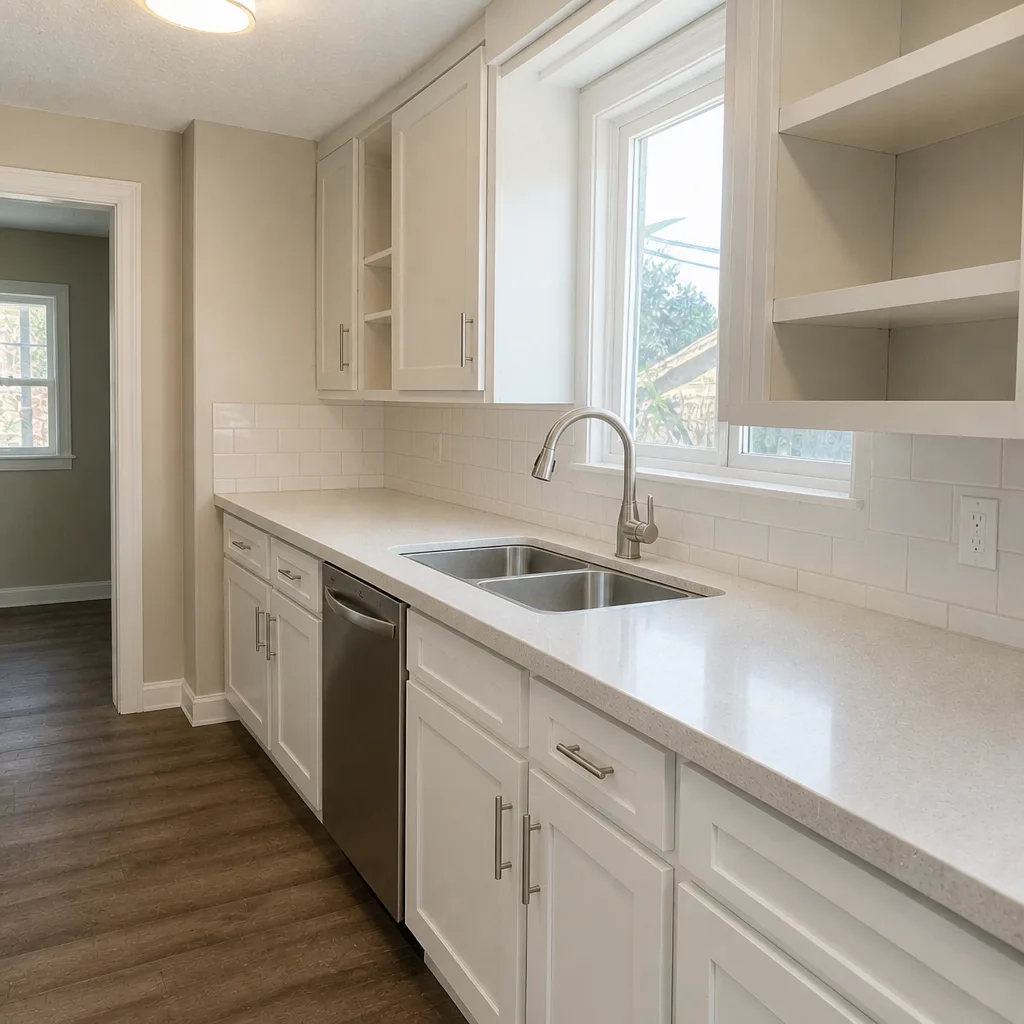 After
When to Call a Professional
Call a licensed professional, not a handyman, for any of these: a wall-to-wall joint gap that’s widening more than a hairline, any vertical or stair-stepped crack in the stucco or drywall, any visible change in the roof flashing or a new stain at the roofline transition, any visible movement at anchor bolts or shear wall hardware, any water pooling around the addition foundation, a water heater that’s leaking, a mini-split that’s freezing or making new noises, and any electrical problem at the ADU’s panel. Don’t open the flashing or the framing yourself. That’s trained-professional work, and a wrong move can turn a small fix into a wall rebuild. We’ve also seen ADU owners try to re-flash a roofline transition on a Saturday and end up with a bigger problem on Monday.
Groundwork Construction Co. of Los Angeles offers free estimates in Los Angeles. Call (888) 427-1733. We answer the phone 24 hours a day with a real person, the estimate doesn’t cost anything, and we walk the property with you and put a written scope in front of you before any work starts. If the work is worth doing, we’ll tell you. If it’s a $90 reseal you can handle with a trip to the hardware store, we’ll tell you that too. One more thing: if the ADU driveway is showing its own wear, we handle that too through Driveway & Pavers in Los Angeles.
Frequently Asked Questions
Check the addition at 30, 90, and 365 days post-construction, then do an exterior walk twice a year and a full annual inspection. Coastal Los Angeles ADUs should get the caulk and flashing check twice a year instead of once because of the marine layer and salt air. Inland Valley ADUs should rotate mini-split filters every 60 days during summer.
The roofline transition and the wall-to-wall joint where the new structure meets the existing house. That’s the junction where moisture, movement, and energy loss show up first. Nothing else on the addition needs your attention as regularly, and most owners skip it entirely.
Minor issues caught early cost a few hundred dollars (resealing a joint, resecuring flashing). A neglected flashing failure that gets into a wall costs several thousand dollars in drywall, framing, and exterior repair, and a failed water heater with no drain pan can do thousands in water damage in a single night. A yearly service routine costs far less than one emergency.
No. Do your own yearly visual walkthrough with a flashlight and camera and compare photos to the prior year. Hire a licensed structural engineer every three to five years, or any time you notice a crack that’s growing, a door that’s suddenly hard to close, or a visible change at the joint. Seismic-zone additions in Los Angeles benefit from the professional check; it catches rare issues while they’re a repair, not a rebuild.
Scan the approved plans, permit card, and final inspection sign-off into cloud storage the day you get them. Keep the contractor’s warranty paperwork with them, keep a one-page maintenance log, and don’t let anyone swap out approved equipment or windows for cheaper versions. When a buyer’s inspector asks, you hand them a folder, not a story.
Yes, with two additions: build a written channel for tenant reporting and put the water heater, mini-split, and meter on a fixed service schedule. Tenant-reported problems are the difference between a scheduled $400 service visit and a $3,000 emergency repair. Los Angeles rental ADUs need filter changes on a tighter rotation in the Valley than on the coast.
The Bottom Line
An ADU or addition is a new structure tied to an old one, and the connection between them is where maintenance matters most. Handle the 30, 90, and 365-day checks, keep a twice-a-year exterior rhythm (adjusted for the Los Angeles marine layer or the inland Valley heat), and protect the rental systems with a real service schedule. Keep the permits and the warranty in one folder, do the yearly structural walk, and know when to hand it to a professional rather than a handyman. That schedule protects your investment in a way a single construction project never does on its own.
Contact
Groundwork Construction Co. of Los Angeles builds additions and ADUs that hold up, and we back every project with a 730-Day Done Right Promise. Our technicians have up to 12 years of experience, they’re background-checked and arrive in uniform, and our calls are answered by a live person around the clock. Upfront pricing, no surprises; 0% financing for 18 months; $1,000 off projects over $10,000; free project estimate and design consult. We pull permits and we pass inspections. If you’re planning an addition in Los Angeles or want a maintenance walkthrough on an existing one, call (888) 427-1733 for a free estimate. We keep the number you see the number you pay, and we’re glad to talk through the schedule on your property.
Written by the team at Groundwork Construction Co. of Los Angeles.