
Last updated November 17, 2026
 Windows & doors
 Kitchen remodeling
 Bathroom remodeling
 Home additions & ADU
 Roofing
 Driveway & pavers
 Fence
Free written scope consultation - allowances, timeline, and change-order rules on paper before a single trade is scheduled
Windows & Doors Troubleshooting: Common Problems and How to Fix Them
A sticking door in a Los Angeles home is rarely just humidity. In our experience, it’s more often a foundation shift or frame racking that, if ignored, will make the door permanently inoperable within two years. Most window and door problems homeowners call us about have a specific, identifiable cause, and knowing that cause tells you whether you’re looking at a DIY fix, a warranty claim, or a professional repair before you spend a dollar. This guide troubleshoots by symptom, not by product category. You’ll learn how to diagnose drafts, sticking, fogged glass, water infiltration, and hardware failures, plus how to document what you find so you don’t get oversold on scope.
Quick Answer
Most window and door problems fall into three buckets: normal wear you can maintain yourself, product defects covered under warranty, and installation failures the contractor is accountable for. In Los Angeles, the symptoms that look like “bad windows” are frequently caused by expansive clay soils and seismic settling moving the frame rather than the glass. Diagnose by symptom and location first, then decide whether you need a $15 weatherstrip kit, a warranty call, or a professional on site. Knowing which bucket you’re in is the whole game.
Styles & brands we work with
- Kitchen remodeling
- Bathroom remodeling
- Home additions & ADU
- Roofing
- Windows & doors
- Driveway & pavers
- Fence
Table of Contents
- Drafts and Air Leaks: Diagnosing Where the Air Is Coming From
- Sticking Doors and Windows: Frame Movement vs. Swollen Wood
- Fogged Double-Pane Glass: Reseal or Replace?
- Water Infiltration: Finding the Actual Entry Point
- Hardware Failures: When to Repair and When to Replace
- Product Defect vs. Installation Failure vs. Normal Wear
- How to Document a Problem Before You Call Anyone
- Common Mistakes to Avoid
Drafts and Air Leaks: Diagnosing Where the Air Is Coming From
A drafty window almost never means the glass itself is failing. Air moves through five main paths: the gap between the sash and the frame, the weatherstripping along that interface, the rough opening where the window meets the wall, the exterior caulk joint, and the wall assembly around the frame. Finding which one is leaking saves you from replacing a window that was fine.
Here’s how to isolate the source:
- The incense test. On a windy day, hold a lit incense stick about an inch from the sash perimeter, moving slowly around the full frame. Watch for the smoke to waver or draw toward a gap. This tells you whether the leak is at the operable seam or elsewhere.
- The dollar-bill test. Close the window on a dollar bill at several points around the perimeter and pull gently. If the bill slides out with no resistance, your weatherstripping or sash lock is not pulling the sash tight. A sash lock adjustment or new weatherstrip is usually a small fix.
- Check caulk joints from outside. Cracked or missing caulk along the exterior trim lets air and water in. This is homeowner maintenance, not a warranty issue, and recaulking with a quality exterior sealant costs little.
- Look for rough-opening leaks. If you feel cold air coming from behind the interior trim or through gaps at the jambs, the problem is at the wall interface. That’s typically an installation issue, not a product issue.
In Los Angeles, the Santa Ana winds push air and dust through the smallest gaps, and homeowners in foothill neighborhoods like La Cañada Flintridge and Altadena notice drafts on north and west exposures far more than elsewhere. Duct tape and shrink-wrap kits are fine for one season, but a leak at the rough opening needs proper flashing and sealing. Ignoring it in an area with seasonal wind-driven rain means the same gap eventually lets water in. When the leak is deep at the frame-to-wall joint, we recommend having it evaluated before the next rainy season rather than patching over it.
Sticking Doors and Windows: Frame Movement vs. Swollen Wood
Before you sand anything, figure out why the door is sticking. There are three causes, and they demand completely different responses. Swollen wood from moisture resolves when it dries out. A frame that has racked out of square (from settling or soil movement) gets worse unless you address the structure. Paint buildup or a swollen jamb rub is a maintenance fix. Sanding a door that’s stuck because the frame is racking just delays the day it stops closing entirely.
Here’s the diagnostic sequence:
- Look for the rub mark. Open and close the door slowly and find where it actually contacts. Rub marks show you the geometry.
- Check the reveal. The gap between the door edge and the jamb should be even top to bottom and side to side. A reveal that’s tight at the top and wide at the bottom means the frame is out of square, or the hinge side has pulled.
- Check the head and the sill. A level across the door head reveals whether the opening has moved. A door that drags on the threshold is often a hinge or strike adjustment; a door that hits the header is almost always frame movement.
- Feel for moisture. On wood doors, run your hand along the bottom rail. If it’s soft, spongy, or dark, water is getting in and the door may be swelling or rotting.
Expansive clay soils are common across Los Angeles, and they swell and shrink with the seasons. That’s why so many doors here stick in summer and free up in winter, or stick after a wet spring. Seismic activity also nudges homes slightly. The result is frame movement that masquerades as “cheap doors.” A sticking door in a Los Angeles bungalow built on a raised foundation is a structural signal as often as a carpentry issue. We’ve seen it in Pasadena craftsman homes and in newer builds in the Valley alike. Adjusting the strike plate or planing the door is fine for a one-time rub. A door that keeps returning to the same stuck position is telling you something about the house. Our team at Groundwork Construction Co. of Los Angeles evaluates the opening rather than just shaving the door.
Fogged Double-Pane Glass: Reseal or Replace?
When a double-pane window fogs between the panes, the sealed unit has failed. The desiccant inside the spacer has taken on too much moisture and the seal has lost integrity. Fogging between the panes is the definition of a failed insulated glass unit (IGU), and it will not clear on its own. The question isn’t whether to fix it. It’s whether to replace just the IGU, replace the sash, or replace the whole window.
The decision breaks down like this:
- Replace the IGU only when the sash and frame are in good shape and the unit is still available. Most manufacturers can supply a replacement unit for a window under ten years old, and this is the least expensive path. The frame stays, which means no reframing, no drywall repair, and no new flashing.
- Replace the sash when the frame is fine but the sash has rot, damaged hardware, or an unavailable unit. This is common with older wood windows where the sash has taken on moisture.
- Replace the whole window when the frame is rotted, the rough opening is leaking, or you’re already planning to upgrade energy performance. If you’re replacing five or more windows, going to a full-frame replacement can make more economic sense than chasing individual IGUs.
Resealing or “defogging” the failed unit (drilling a small hole, purging the moisture, and plugging it) is a real service, but it rarely restores the insulating value and the fix doesn’t last as long as a new unit. We don’t recommend it for windows you expect to keep for the long term. In Los Angeles, sun exposure on south- and west-facing glass accelerates seal failure, and windows on those exposures in inland areas like the San Fernando Valley tend to fail first. Many manufacturers offer ten- to twenty-year warranties on IGUs; check yours before you spend money. If you’re deciding whether to redo multiple windows across the house, our Windows & Doors service in Los Angeles starts with the failed units before recommending wholesale replacement.
Water Infiltration: Finding the Actual Entry Point
Water almost never enters where the stain shows up. That’s the single most useful thing to know about window and door leaks. Gravity carries water down and inward, so a wet patch on the interior wall two feet below a window usually traces back to a joint higher up and to one side of the window. A wet door threshold often starts at a missing kick-out flashing above.
Trace a leak methodically:
- Start at the top. Inspect the exterior above the window or door: the trim, any overhang, the caulk joint at the frame head, and the flashing above the head trim. Most leaks start at the head, not the sill.
- Check the sill and the sloped sill pan. Water sitting on the sill due to missing weep holes or a blocked drainage path can work back inside.
- Look at the flanges and the housewrap. On new-construction windows, the nailing flange and the housewrap detail are the leak points. Improper flashing order (housewrap lapped over the flange instead of under it) causes a slow leak that shows up years later.
- Test with a hose, not a pressure washer. A gentle spray from a garden hose, started low and worked upward, helps isolate the entry point. Don’t blast it.
In older Los Angeles homes, we’ve found that leaks blamed on windows are actually roof-to-wall transitions, missing kick-out flashing, or a stucco crack above the opening. Stucco homes in neighborhoods like Sherman Oaks and Encino are particularly prone to hairline cracks that open during the dry season and let water in during the first rain. Fixing the window doesn’t fix that crack. Learning to trace a leak saves you from replacing windows that never leaked at all. If the plaster is soft or the trim is dark and spongy, stop and have it looked at. Hidden water damage spreads, and the cost of waiting is always higher than the cost of an inspection.
Hardware Failures: When to Repair and When to Replace
Hardware is the most fixable part of the whole system, and it’s also the most commonly replaced unnecessarily. If your window won’t lock, your door handle spins, or your multi-point lock won’t engage, the cause is usually a worn component rather than a dead window. Start by identifying the brand and model; most hardware is still available or has a direct replacement.
- Window won’t lock: check that the sash is seated evenly against the frame. If the lock still won’t engage, the keeper is misaligned. Adjusting the keeper is a small job.
- Casement crank is stiff or snapped: the operator is worn out. Replace the operator, not the window. Most casement operators are common parts.
- Sliding door handle sticks or door drags: worn rollers are the usual culprit. New rollers and a track clean-up restore most sliding doors.
- Multi-point lock on a patio door won’t throw: the door has moved in the frame. Have the door adjusted; forcing the lock risks breaking the mechanism.
- Rot or soft wood around a lock: that’s moisture and it needs a closer look. Replacing hardware over soft wood just delays the repair.
We lean toward repair first for hardware, and the time to replace is when a window or door is old enough that one fix leads to the next. A 25-year-old aluminum slider with three failing parts is telling you something; a five-year-old door that needs a roller is not. When our technicians evaluate hardware in Los Angeles, the question is always whether the fix restores function or just pushes the next failure down the road. We use Fence Installation in Los Angeles partners who see the same thing with gate hardware, and the logic is identical.
Product Defect vs. Installation Failure vs. Normal Wear
Knowing which of these you’re looking at is how you avoid paying for a repair that should be covered. It also tells you who to call. This is the part most troubleshooting guides skip.
Product defects are failures in the window or door itself. Fogged glass between the panes, a broken weld on a sash frame, failed locks out of the box, and premature seal failure are typical. Those are warranty issues. The manufacturer covers them, and you should file a claim with the brand directly. The big window brands have real warranty programs; check the paperwork that came with the home.
Installation failures are set-up problems that show up later. Water at the rough opening, a door that never latched correctly, gaps at the interior trim, drafts that were there from day one, and a window that’s out of square all point to how the unit was set. Installation failures are the installing contractor’s accountability, and they are the reason we insist on proper flashing and sealing on every job. If you bought a home with poorly installed windows, that’s not a warranty claim against the manufacturer.
Normal wear is everything you maintain yourself: weatherstripping, caulk, gaskets, roller tracks, and finish. These components age and you replace them.
The single best filter: when did the problem start? A defect you notice within the first two years is likely a product or installation issue. A problem that shows up ten years in, at the moving parts, is usually wear. A problem that arrives all at once and repeatedly after you fix it is usually the house moving, not the window. In Los Angeles, that distinction matters more than in much of the country because frame movement in clay soils produces symptoms that look like product failure but aren’t. Whether the original installer or the brand stands behind it, keeping your documentation is how you make a fair claim.
How to Document a Problem Before You Call Anyone
Good documentation protects you from being oversold. A contractor who shows up to a clear symptom list, dated photos, and measurements can price the job accurately. A vague complaint about “drafts” lets anyone price anything.
- Photograph the problem, not the room. Take close-ups of the failed glass, the leak trace path, the rub mark, the hardware. Then take a wider shot that shows where it sits in the wall.
- Put a tape measure against the symptom. Measure the reveal gap on the sticking door, the length of the wet patch, the width of the failed seal on the IGU. Numbers translate to labor.
- Mark the date and the weather. “Wet patch 6 inches below the frame head, appeared during last week’s rain” is more useful than “leaking window.”
- Check the paperwork you have. Find the installation invoice or the builder’s file. Note the brand and any model numbers on the window or door frame.
- Test once and write it down. Did the dollar-bill test fail? Did the incense smoke waver? Write down what you found so the contractor can reproduce the diagnosis.
We ask homeowners to do this before we arrive, and it saves everyone a second visit. It also means the estimate reflects what’s actually wrong. Our Home Additions & ADU in Los Angeles projects start the same way, with photos and measurements, because the scope should match the evidence. Good documentation is the difference between a contractor who respects the problem and one who sells you the biggest job they can justify.
Common Mistakes to Avoid
- Replacing glass to fix a draft. Drafts live at the perimeter, not the glass. The dollars you save by fixing the weatherstrip or caulk first can go elsewhere.
- Sanding a door that’s actually racking. If the frame is out of square, sanding just delays the day the door stops closing. Diagnose the reveal before you sand.
- Ignoring a slow leak after the first rain. In Los Angeles, a slow leak that appears in November and seems to vanish in May is still causing rot. Fix it before the next rainy season.
- Paying for defogging when a new IGU is covered. Check the unit warranty before you pay a service to reseal a window that the manufacturer will replace.
- Replacing all windows to solve one failed unit. One failed IGU out of twelve isn’t a reason to refit the house. Start with the failed unit and evaluate performance one window at a time.
- Assuming the original installer used proper flashing. In older Los Angeles homes, the flash detail is often the leak point. Have the interior trim opened up before you blame the window.
- Over-tightening sash locks to stop a draft. Cranking a sash lock past its design point can bend the hardware. Adjust the weatherstrip instead.
See the difference
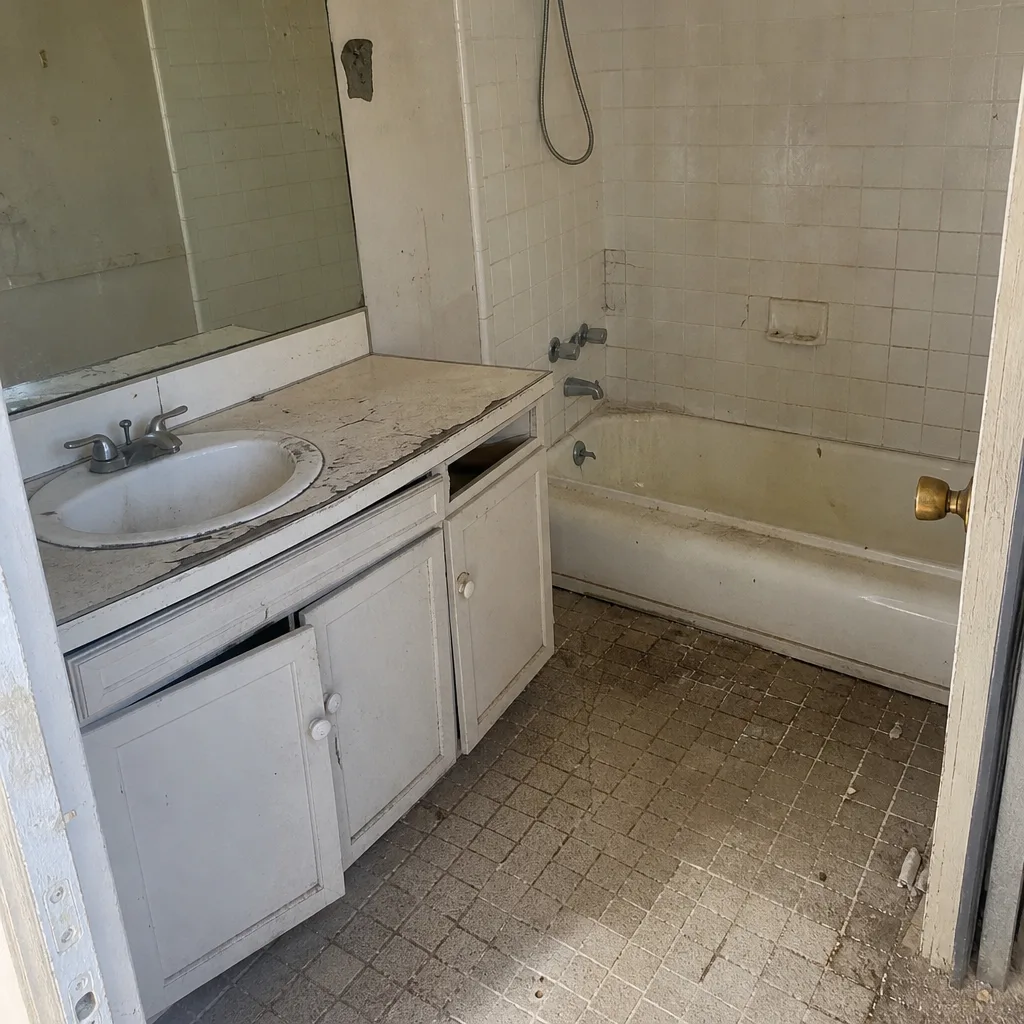 Before
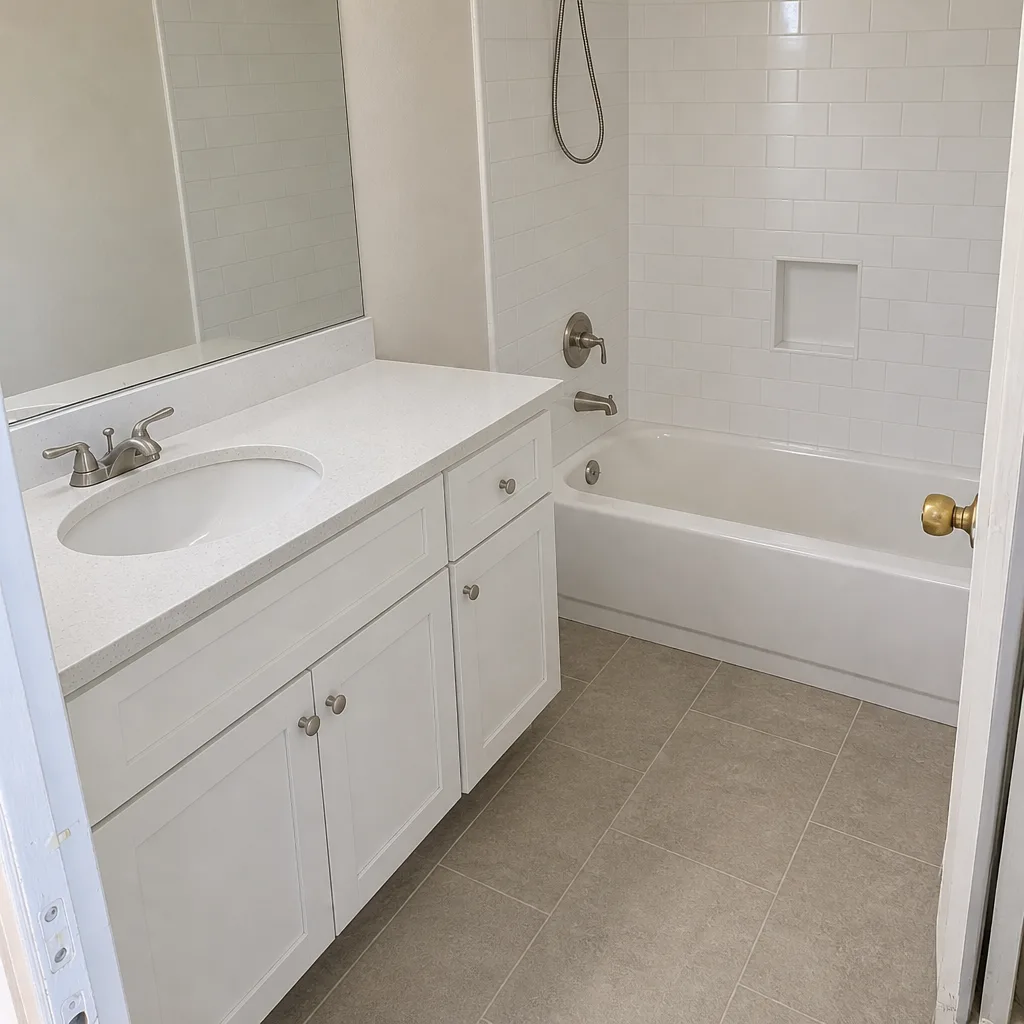 After
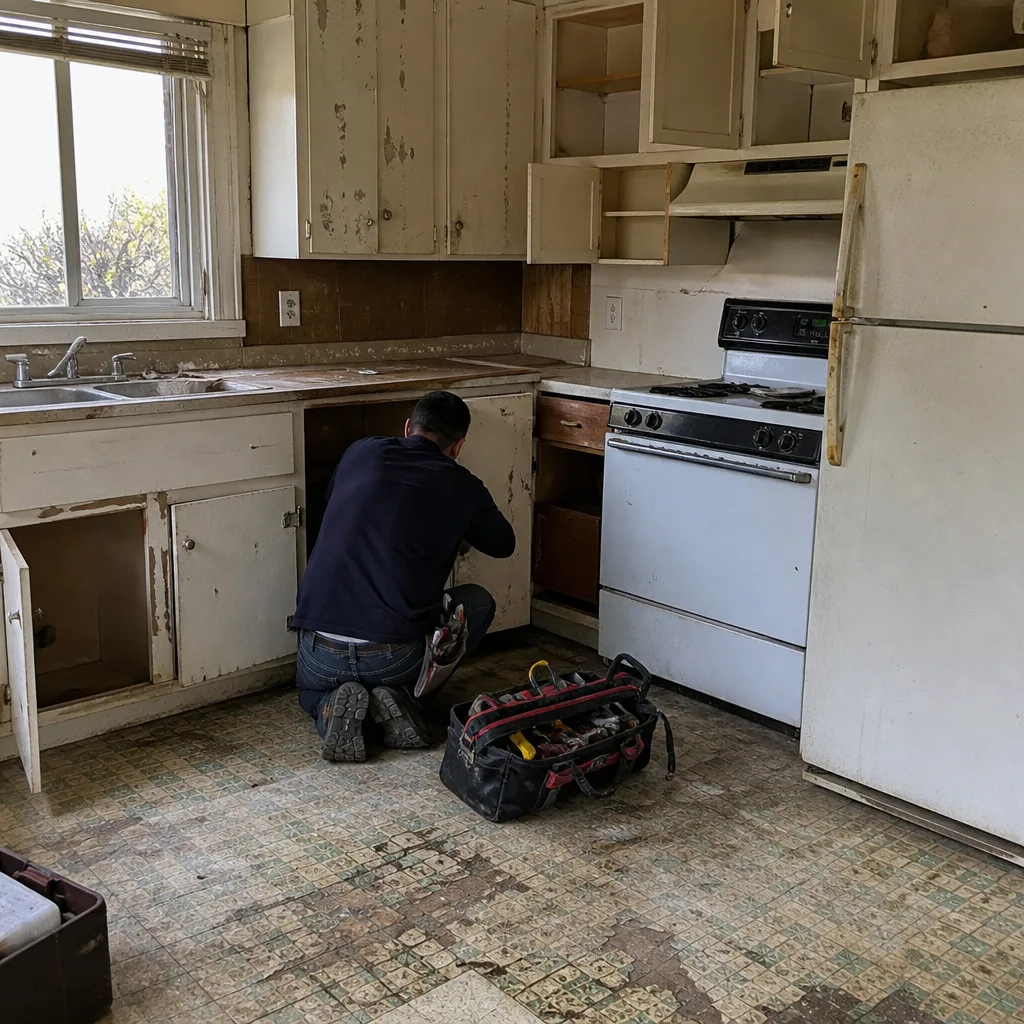 Before
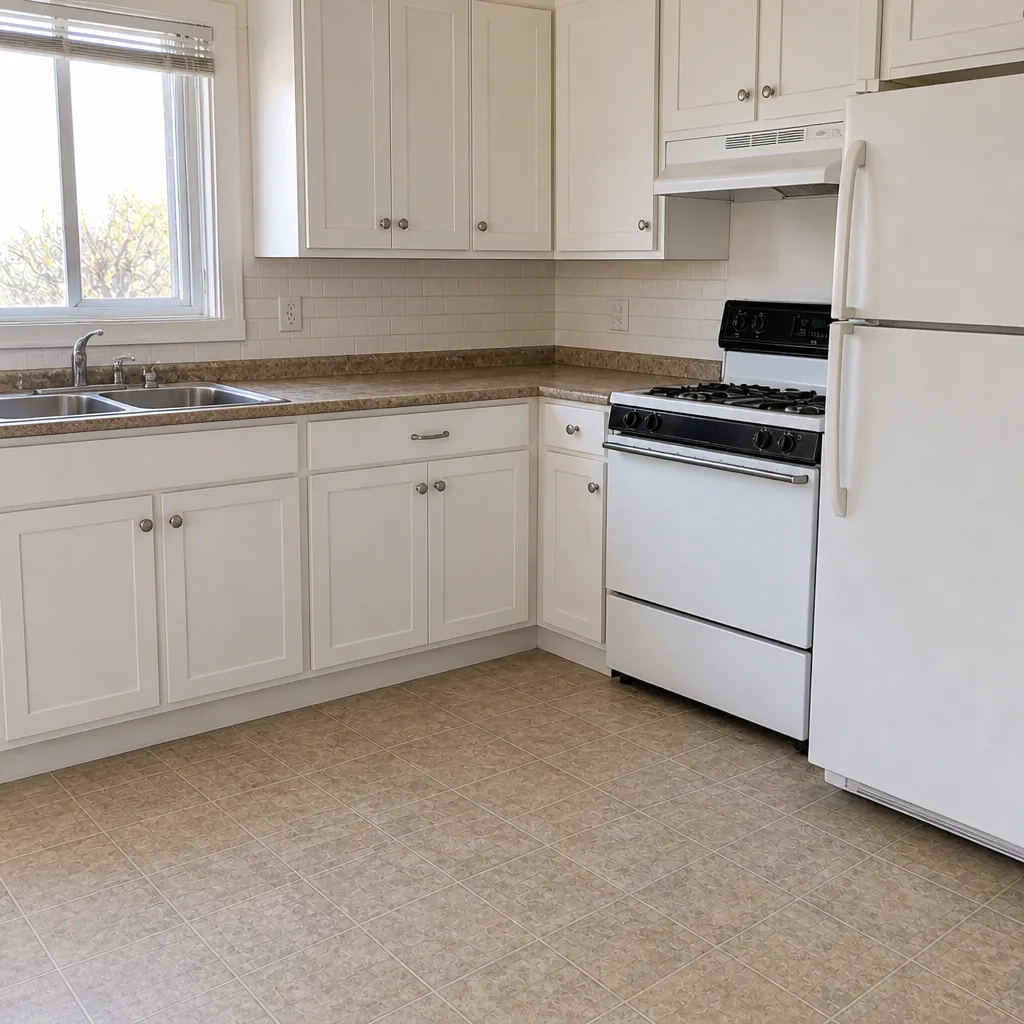 After
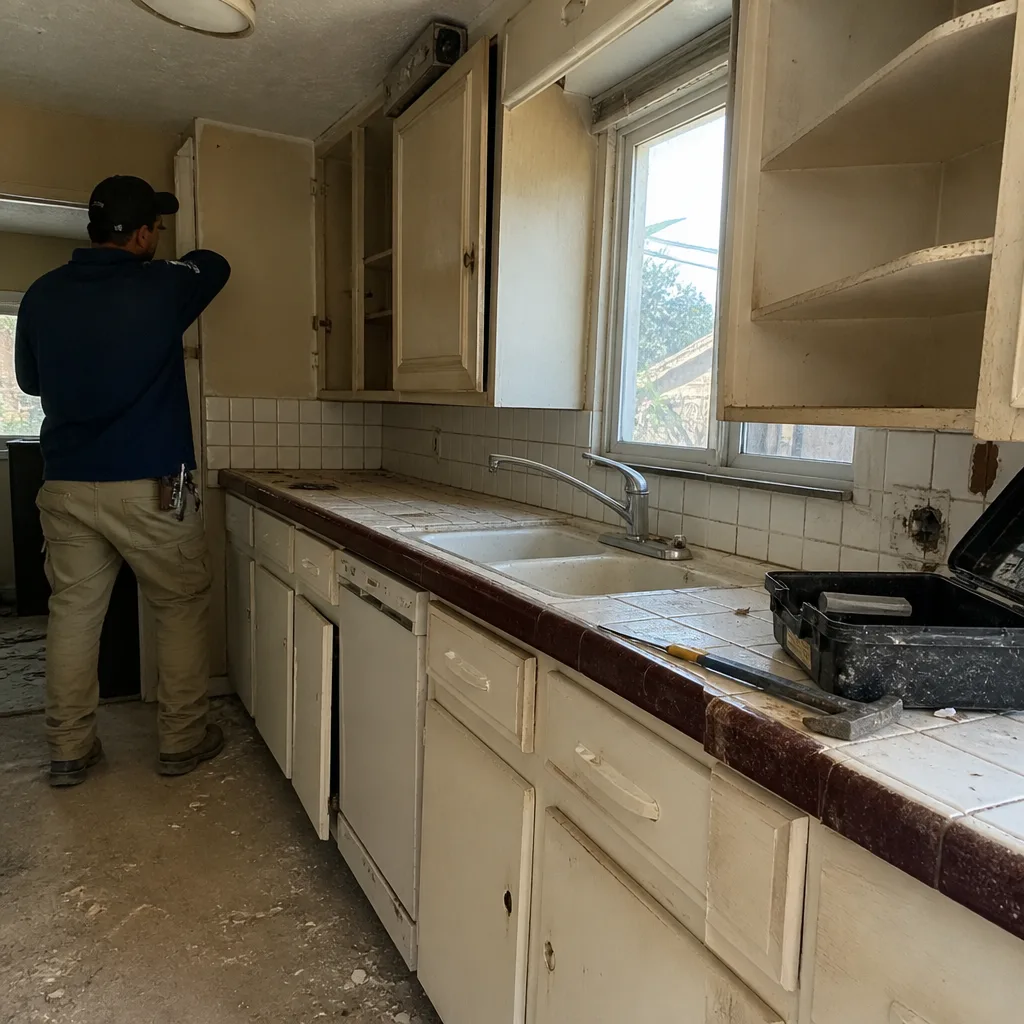 Before
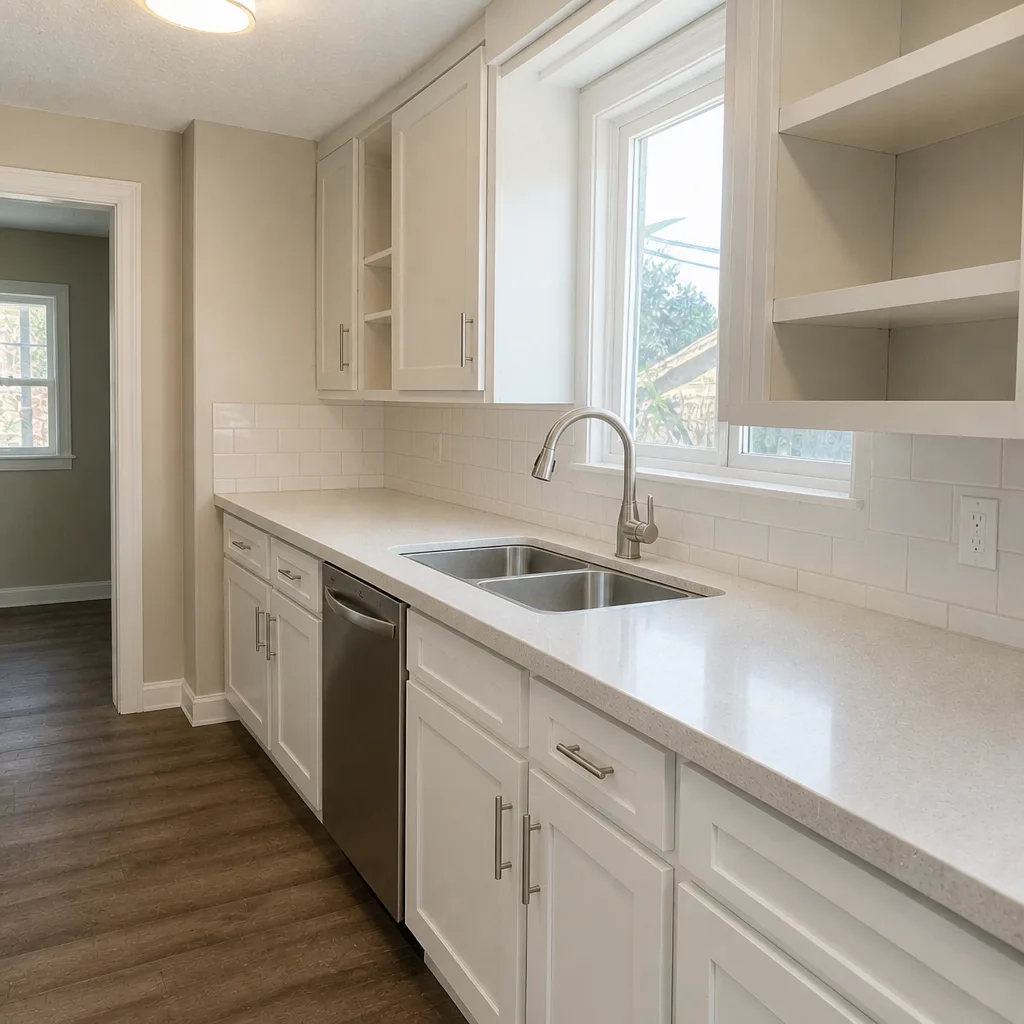 After
When to Call a Professional
Call for help when you find rot or soft wood near a window or door frame, when water appears inside the wall, when a door or window has moved out of square and won’t stay aligned, when the failure involves multiple windows or the whole opening, or when you need a warranty claim evaluated against an installation issue. Also call if you’ve found the symptom and the diagnosis points at the frame rather than the window, because opening walls and reworking flashing is not a homeowner job. Groundwork Construction Co. of Los Angeles offers free estimates in Los Angeles. Call (888) 427-1733 and we’ll send a technician who can tell you whether you’re looking at a repair, a warranty claim, or a larger structural conversation.
Frequently Asked Questions
The sealed unit has failed and moisture has entered the space between the glass. That’s a product defect, and it won’t clear on its own. Los Angeles homes with strong sun exposure on south- and west-facing windows tend to see seal failure first because thermal cycling wears the seal. Check the IGU warranty before you pay for a repair. Call (888) 427-1733 for a free estimate if you want us to look at whether a unit replacement or a full sash replacement is the better call.
Expansive clay soils move with the seasons, and the frame moves with them, so a door that sticks in summer is often a house-movement symptom. If the reveal is uneven top to bottom, the frame has racked and the door needs to be adjusted at the opening, not sanded. Ours is a 730-Day Done Right Promise on any work we do. Call (888) 427-1733 to schedule a free estimate so we can diagnose the opening, not just the door.
Usually not. A draft is most often a weatherstrip, caulk, or rough-opening issue, which is a maintenance or installation matter, not a product defect. The exception is a failed seal that lets air pass through the glass unit itself. A quick incense test tells you where the air is entering. Call (888) 427-1733 and we’ll help you sort out which bucket your window falls into before you spend anything.
You can, but the reseal rarely restores the original insulation value and the repair often doesn’t last as long as a new unit. The more economical path is usually to replace just the failed insulated glass unit if the window is still within warranty or still in production. Call (888) 427-1733 for a free estimate if you’d like a second opinion on replace-vs-reseal before you commit.
No. One failed insulated glass unit is not a reason to refit every window in a Los Angeles home. Start with the failed unit, confirm the frame and sash are sound, and handle that window. Whole-house replacement makes sense when the failure is widespread or the frames are old and worn. Call (888) 427-1733 for a free assessment of the whole set so you’re not paying to replace windows that still work.
Because the entry point is usually the head flashing or an exterior caulk joint, not the glass. Hard wind-driven rain from the west pushes water into gaps that a light rain never reaches. The fix is at the joint, and it’s often flashing rather than the window itself. Call (888) 427-1733 to schedule a free estimate; our technician can trace the leak path and tell you whether it’s the window or the wall detail.
The Bottom Line
Diagnose the symptom before you spend a dollar. Most window and door problems come down to three categories: normal wear you can maintain, a product defect the manufacturer should cover, and an installation failure the installing contractor is accountable for. In Los Angeles, the added variable is ground movement and clay soils that make frames rack and doors stick, which means the real problem is often the opening rather than the product. Document the symptom, measure it, photograph it, and check your warranty before you call. That protects you from paying for a repair that should be covered. From foundation to finish line, a proper diagnosis is the first step toward a durable repair.
Groundwork Construction Co. of Los Angeles handles windows, doors, and the structural issues behind them with industry-leading brand partners, including Andersen and Marvin, and every job is backed by our 730-Day Done Right Promise. Call (888) 427-1733 to schedule your free project estimate. We answer live, 24 hours a day. Upfront pricing, no surprises. From roofing and Driveway & Pavers in Los Angeles to full window replacement, we put the diagnosis in writing before you commit a dollar.
Written by the team at Groundwork Construction Co. of Los Angeles.