
Last updated November 17, 2026
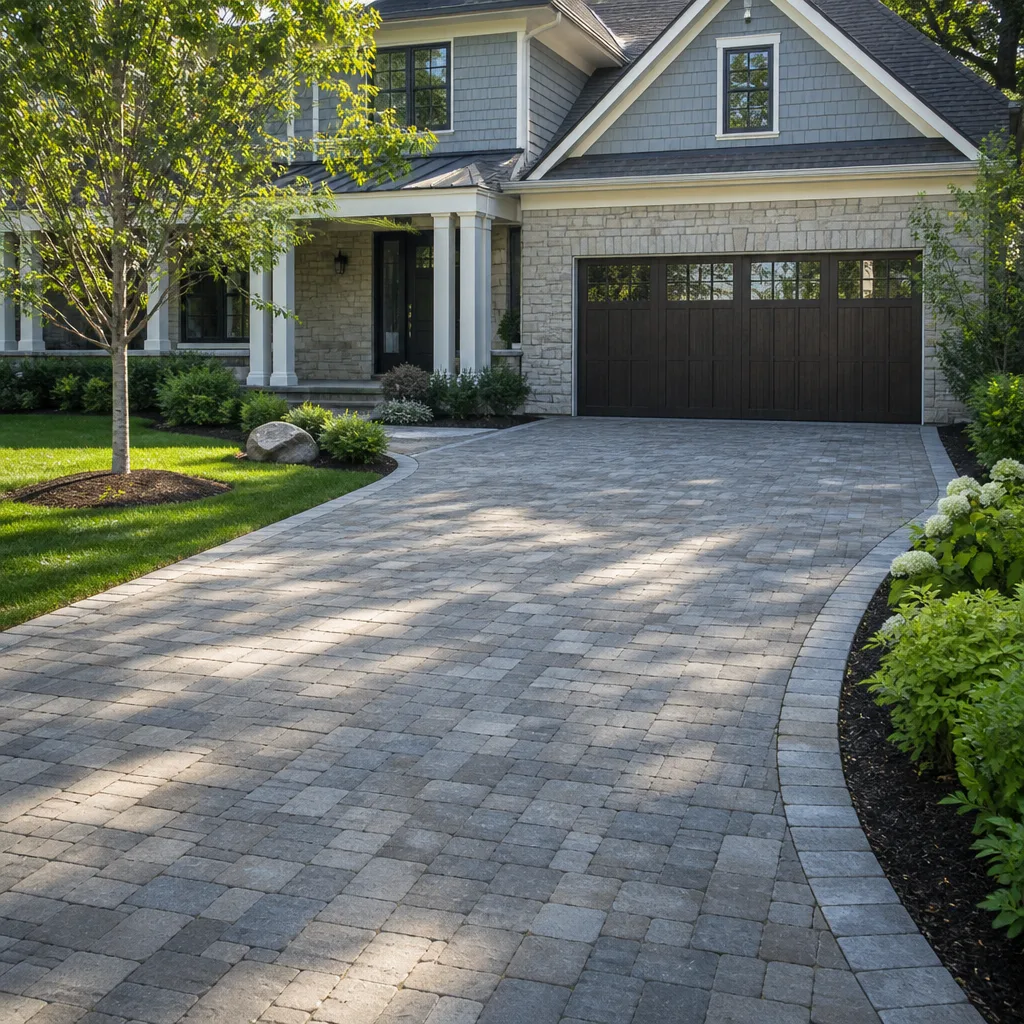 Driveway & pavers
 Kitchen remodeling
 Bathroom remodeling
 Home additions & ADU
 Roofing
 Windows & doors
 Fence
Free written scope consultation - allowances, timeline, and change-order rules on paper before a single trade is scheduled
Driveway & Pavers Maintenance Schedule: What to Do and When
Sealing your pavers every year isn’t protecting them. It’s potentially trapping moisture underneath and accelerating the efflorescence and spalling you’re trying to prevent. That’s the counterintuitive truth we’ve watched play out across Los Angeles driveways for years: the most over-maintained pavers are often the ones failing first, while a properly scheduled driveway in the same neighborhood outlasts a poured concrete slab by decades. The difference isn’t effort. It’s timing. This guide gives you the exact maintenance calendar we use, calibrated to Los Angeles’s dry summers, wet winters, and relentless UV, so you know what to do, when to do it, and what to leave alone.
Quick Answer
For most Los Angeles paver driveways, the correct schedule is: rinse and spot-clean quarterly, replenish joint sand once a year after the rainy season, and seal only every three to five years (or when a water-bead test proves it’s needed). The two biggest mistakes are sealing annually and ignoring joint sand. Skip the yearly sealant, watch the joints, and inspect your base and drainage every spring after the last significant rain. Do those three things and your driveway will hold up through decades of LA summers.
Styles & brands we work with
- Kitchen remodeling
- Bathroom remodeling
- Home additions & ADU
- Roofing
- Windows & doors
- Driveway & pavers
- Fence
Table of Contents
- Why Los Angeles Needs Its Own Maintenance Calendar
- The Month-by-Month Paver Maintenance Calendar for Los Angeles
- Joint Sand: When to Replenish and How to Spot Degraded Polymeric Sand
- The Water-Bead Test: Know If You Actually Need to Seal
- Cleaning LA’s Specific Surface Contaminants Without Damaging Pavers
- The Post-Rainy-Season Inspection Checklist
- How and When to Seal (Without Trapping Moisture)
- Spot Repairs, Sanding, and When to Call It
Why Los Angeles Needs Its Own Maintenance Calendar
Generic paver advice assumes four seasons, freeze-thaw cycles, and a wet spring. Los Angeles doesn’t work that way, and a maintenance schedule built for the Midwest or the Northeast will get your driveway into trouble here. We have two real seasons: a long dry stretch from roughly May through October, and a wet window from November through March. Everything else is high UV, low humidity, and occasional Santa Ana wind events that coat surfaces in grit and debris.
That pattern changes what your pavers face. Dry summers mean the base stays stable, but UV degrades polymeric joint sand faster than most homeowners expect, and it dries out sealant prematurely. Wet winters are when water finds every weak point in the base and drainage. And year-round smog residue settles on horizontal surfaces in a way that doesn’t happen in cleaner-air markets.
That’s why the calendar below follows the LA weather clock, not a generic one. If you want the full picture of how a driveway is built here in the first place, our overview of Driveway & Pavers in Los Angeles covers base prep, materials, and the installation details that make maintenance easier.
What LA Homeowners Are Actually Dealing With
- Hard water from irrigation and hose runoff that leaves white mineral stains on darker pavers.
- Smog residue that builds up on horizontal surfaces and dulls color over months.
- Oil drips in parking areas, which behave differently on porous pavers than on concrete.
- Expansive clay soils in pockets of the San Fernando Valley and older LA neighborhoods, where drainage failures show up fast.
- UV degradation of polymeric sand and sealant, which wears differently in full-sun driveways than shaded ones.
None of these are emergencies. But each has a right time on the calendar, and doing them at the wrong time wastes money or makes the problem worse.
The Month-by-Month Paver Maintenance Calendar for Los Angeles
Here’s the actual schedule we recommend. It’s built around the rainy season instead of the calendar year most guides use. Read it once, then keep it. Most of the work is quick; the expensive mistakes come from doing the right task at the wrong moment.
- January to February (mid-rain season): Let the driveway alone. Inspect after each heavy storm for standing water, but don’t seal, don’t power-wash, and don’t add sand to wet joints. Water needs to drain freely.
- March to April (post-rain): The most important window of the year. Do a full inspection, clean out debris and grit, top off joint sand, and check drainage. If you only do one thing all year, do this.
- May (pre-summer): A good time to seal if the water-bead test says it’s needed. Sealant cures best in dry, moderate conditions before the heat sets in.
- June to September (dry season): Light upkeep only. Rinse monthly, spot-treat oil and mineral stains as they appear, sweep debris. Skip sealing in peak heat; it cures unevenly.
- October (before the rains): Clean out drainage paths, clear planting debris from the edges, and check that water will move away from the house. This is your pre-wet-season prep.
- November to December (start of wet season): Watch water behavior. Any pooling that lasts more than a few hours after a storm is a signal to inspect.
What a Realistic Annual Workload Looks Like
Most Los Angeles driveways need about four to six hours of spot work over the year, plus one inspection. That’s it. The paver surface does most of its own maintenance. What it can’t do is rebuild joint sand or fix a base that’s lost drainage, and those are what the schedule is there to catch. Homeowners who treat this like quarterly car maintenance get decades out of a paver driveway; homeowners who do nothing until something’s wrong are the ones calling us about reinstallation.
Joint Sand: When to Replenish and How to Spot Degraded Polymeric Sand
Joint sand is the single most important part of your driveway after the base, and it’s the one most homeowners neglect. Joint sand is what locks the pavers together, keeps them from shifting under car tires, and stops water from shooting down into the base every time it rains. When it’s healthy, the driveway is a system. When it’s gone, the pavers start working individually, and that’s how edges sink and joints widen.
In Los Angeles, polymeric joint sand typically needs replenishing once a year when it’s exposed to full sun and traffic. Shaded driveways often go two years. The trick is knowing the difference between degraded sand and sand that just looks dirty.
How to Tell Degraded Polymeric Sand from Dirty Sand
- Degraded: The top layer is chalky or powdery, or the joint has visibly hollowed out by a quarter-inch or more. Water flows into the joint instead of shedding off it.
- Degraded: Sand pulls out in soft grains when you press it with a fingernail. Tufts of grass or weeds are taking root in joints (a sign of open voids).
- Just dirty: The sand is still firm and level, water still beads, but the surface has taken on gray or brown discoloration. Cleaning resolves this.
- Just dirty: Light surface haze after a rain that dries clear. No stable joint loss.
If the joints have hollowed out, don’t just top them with more sand on top of the old layer. The right process is to clear the joint to about half its depth, blow out grit and dust, and refill with the same grade of polymeric sand. Do this after the rains (March to April), not before. Filling joints in the wet season just means the sand gets pushed out by the next storm.
One note on safety: joint sand replenishment in a driveway is straightforward, but if a joint has widened by more than half an inch or pavers are visibly rocking, that’s usually a base issue, not a sand issue. Don’t just top it off and hope. That’s a call-the-professional moment. If the problem is more than a spot repair, we cover options in our Groundwork Construction Co. of Los Angeles home overview of our full-service work.
The Water-Bead Test: Know If You Actually Need to Seal
Most homeowners who ask us about sealing don’t need to seal. They’ve been told to seal every year by someone, or they’ve copied a neighbor’s schedule. The water-bead test tells you the truth in about 30 seconds and saves you $300 to $800 a year.
How the Water-Bead Test Works
- Pour a quarter-cup of plain tap water onto a representative section of the driveway, ideally mid-surface where traffic and sun exposure are typical.
- Watch what happens for the next 30 to 60 seconds.
- Water beads and rolls off: The sealant is still active. You do not need to reseal this year.
- Water darkens the surface but rolls slowly: The sealant is wearing thin. Plan to reseal within the next 6 to 12 months.
- Water soaks in within a few seconds: The sealant is gone. Seal before the next rain season, ideally in May.
Do this test in three or four spots. Driveways often wear unevenly. The tire tracks dry fastest, and the edges hold up longer. If one section is gone and the rest is fine, you can seal the depleted section rather than the whole driveway.
The Trap: Sealing Too Often
Sealing a paver driveway more often than every three to five years traps moisture underneath the coating. In a wet LA winter, that water has nowhere to go but up through the pavers, and that’s what produces the efflorescence (the white chalky bloom) and, eventually, spalling and sealant flaking. Annual sealing is not maintenance. It’s expensive, and it’s actively harmful in a climate that alternates between very dry and quite wet.
A properly sealed driveway in Los Angeles typically needs resealing every three to five years. Less if the driveway is shaded or sheltered, more if it’s in full sun and heavy traffic. What actually needs annual attention is joint sand and cleaning, not sealant.
Cleaning LA’s Specific Surface Contaminants Without Damaging Pavers
Los Angeles pavers collect three surface contaminants that behave very differently, and the wrong cleaner on any of them can etch the surface or drive the stain deeper. Learn to spot each one and treat it early. Small treatments quarterly cost far less than a full paver restoration later.
Oil and Grease Drips
Oil drips from parked cars in the summer heat will set into paver pores if left. Treat fresh oil within a day or two with a paver-safe degreaser (pH neutral, no lye or acid), let it sit 10 to 15 minutes, agitate with a soft brush, and rinse with a hose. For old, set-in oil stains, use a poultice rated for pavers and let it draw the oil for 24 hours before rinsing. Never use a pressure washer at full blast, which drives the oil deeper and can erode joint sand.
Hard Water Stains
White mineral rings from irrigation and hose runoff are common in Los Angeles where water runs hard. A diluted white-vinegar solution (about 1 part vinegar to 4 parts water) applied to the stain and rinsed within 5 to 10 minutes usually lifts them. Longer than that risks etching. Never soak a paver overnight in vinegar.
Smog Residue and Surface Grime
The gray film on driveway pavers in Los Angeles is a mix of dust, pollen, and smog particles, and it settles into texture on horizontal surfaces. A gentle quarterly rinse with a hose and a stiff broom gets most of it, and it’s what keeps a seal coat looking new when it’s there. A mild pH-neutral paver detergent two or three times a year handles the rest. Save full pressure washing (at moderate pressure, wide fan, no closer than 12 inches) for once a year in late spring.
Efflorescence (the White Bloom)
The chalky white film that appears after a wet winter is dissolved mineral salts rising through the pavers as moisture evaporates. It’s usually cosmetic. A dry-bristle brush and a 50/50 white vinegar rinse handles mild cases. If it keeps coming back season after season, that’s a drainage signal and warrants a professional inspection, not a stronger acid. Strong acids on a paver driveway can etch the surface permanently.
The Post-Rainy-Season Inspection Checklist
This is where small issues become structural ones, and where a thorough annual inspection saves thousands compared with a base rebuild. Set aside a Saturday in March or April. Walk your driveway from the street to the garage with this list, and note anything off before you do anything else.
The Annual Checklist
- Drainage and pooling: Any spot that still holds water 4 hours after a rain is a drainage problem. Note it.
- Rocking pavers: Step on the pavers across the middle and edges. Any that rock are losing bedding support.
- Joint integrity: Check that all joints are firm. Run a fingernail across a representative joint; it should hold shape.
- Edge restraint: The polyurethane or concrete edging at the perimeter shouldn’t crack, pull away, or allow pavers to shift sideways.
- Efflorescence: Note the white bloom. If it’s recurring, note the location and pattern.
- Level changes: Look along the paver surface for any hollow or dip that’s deeper than about a quarter-inch.
- Drain channels and grates: Clear leaves, grit, and anything else from channel drains and grates.
- Planting edges: Check that tree roots and planting beds haven’t intruded into the paver base.
What to Do Next
Two or three rocking pavers, minor sand loss, and one soft spot near a downspout are usually fixable as a spot repair. If you have multiple rocking zones, a recurring dip, or water pooling on more than one section, the base is telling you something. Don’t seal over it. That traps water and makes the problem invisible, and then bigger. Get a professional look. The team at our fence and driveway-facing work regularly sees driveways in the same Los Angeles neighborhoods, and the fix is almost always cheaper the earlier it’s caught.
How and When to Seal (Without Trapping Moisture)
Sealing is a real tool when the driveway earns it, and a mistake when it doesn’t. The rule is simple: seal to protect pavers that need it, never as a default annual ritual. If the water-bead test says the sealant is depleted, and it’s been three to five years, seal. If the test says it’s fine, stop.
How Sealing Should Be Done
- Clean first. The driveway must be clean and dry. Reseal over grime and you lock the grime in.
- Top off joint sand. Any joints that need sand should be topped before sealing, not after.
- Confirm the forecast. Plan for 24 to 48 hours of dry weather. Sealing in LA’s wet shoulder seasons wastes the product.
- Apply sparingly. Paver sealant needs to penetrate, not flood. Two thin coats are better than one heavy coat.
- Let it cure. Keep vehicles off for 24 to 48 hours, depending on product and temperature.
Sealant Types and What to Pick
There are essentially three options: film-forming acrylic sealant that adds a sheen, penetrating sealer that soaks in and leaves a matte finish, and matte or wet-look topcoats. For a Los Angeles driveway with heavy sun, we recommend a breathable penetrating sealer. It lets water vapor escape, which avoids the moisture-trapping problem that film-forming sealants create in a climate with a wet winter.
The other decision is when to seal. Late April through May, before the dry summer heat, is the ideal window. Sealing in July and August cures too fast, and uneven curing causes blotchy patches. Sealing in November and December risks rain before the cure, which wastes the product and leaves a streaky finish. Late spring is the window.
Spot Repairs, Sanding, and When to Call It
Most paver driveway work is maintenance, but occasionally you’ll have a job that’s beyond maintenance. Knowing the difference saves money and prevents the small fix from turning into a full reinstallation.
Fixes a Homeowner Can Handle
- Joint sand top-off: Straightforward if joints are clear and dry. Filling, tamping, and watering to activate polymeric sand is a manageable DIY task in a few hours.
- Spot cleaning: Oil, mineral, and smog stains respond well to proper treatment early.
- Debris and drain clearing: Clearing grates and channels at the end of the rainy season.
- Weed pulling in joints: A sign of missing sand, so address both the weed and the void.
Fixes That Need a Professional
- Rocking pavers or multiple settled zones: Base issue, not a surface fix.
- Recurring pooling or drainage failing: Needs regrading or drainage work.
- Efflorescence that returns every year: Underlying moisture failure.
- Edge restraint failure or heaving: Base or perimeter rebuild.
- Full reseal or topcoat restoration: Doable on your own but the results depend on clean prep and product, and a bad seal job is expensive to undo.
If a small patch of pavers needs to come up, that’s a real repair but usually not a full reinstallation, and it’s much cheaper than waiting. When it’s a bigger job, we regularly pair driveway work with landscaping and whole-property improvements, including Home Additions & ADU in Los Angeles projects where the driveway, hardscape, and home need to be coordinated. Our Fence Installation in Los Angeles team handles hardscape edge coordination on neighboring properties too.
Common Mistakes to Avoid
- Sealing every year. This is the number one mistake we see in Los Angeles. More sealant traps moisture, and moisture produces efflorescence and spalling. Three to five years is the right cycle.
- Top-of-joint sand over degraded sand. Just adding sand to joints that have hollowed never bonds to the failing layer. Clear the joint and refill.
- Power washing at full pressure. Full-pressure washing blows out joint sand and can pit pavers. Moderate pressure, wide fan, 12 inches minimum.
- Using muriatic acid or strong cleaners on efflorescence. Yes, it can whiten joints, and it will also etch paver surfaces permanently. Skip it.
- Ignoring water pooling after a rain. A puddle that survives 4 hours after a storm is a drainage problem, and it’s what kills the base first.
- Sealing before rain. In a Los Angeles shoulder season, a forecast rainstorm during cure leaves streaks that are hard to undo.
- Treating oil stains after they’ve set. Fresh oil needs attention the same week. Set-in oil needs a poultice and patience.
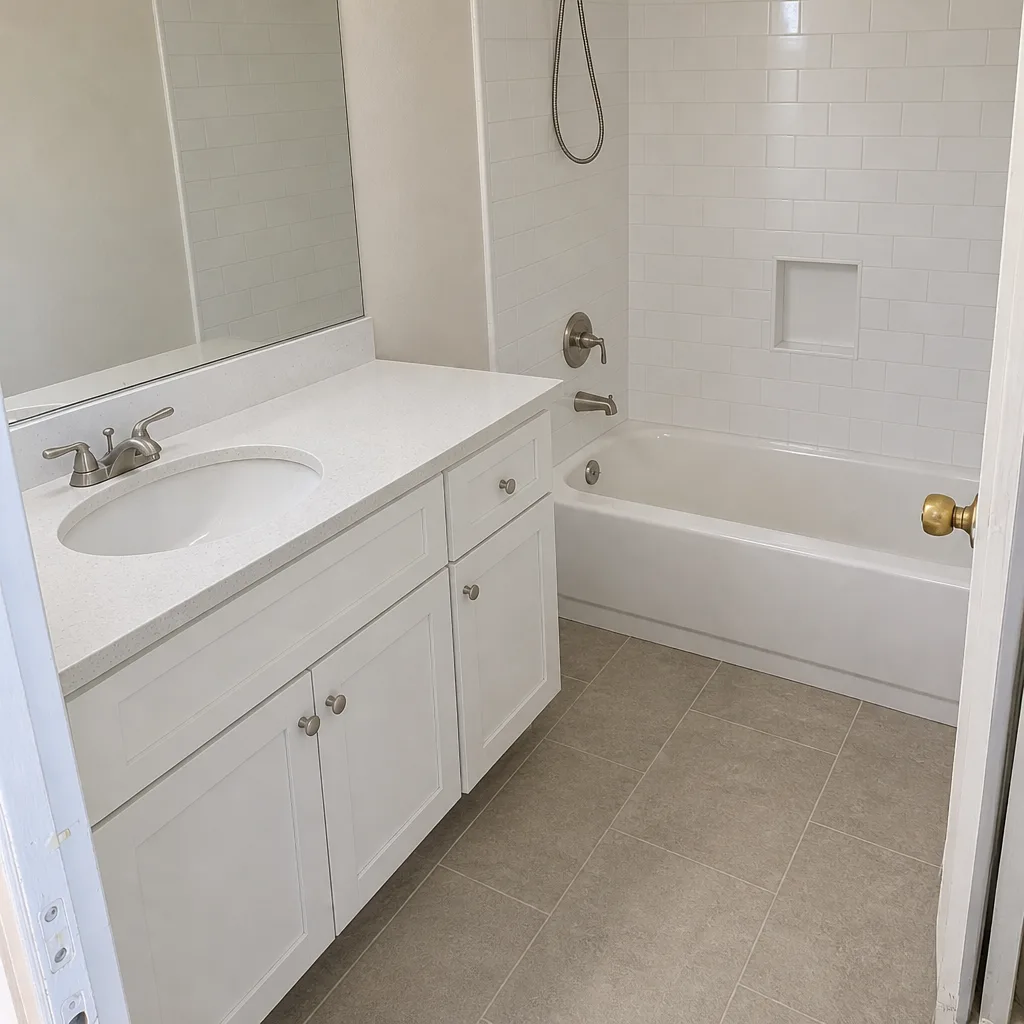
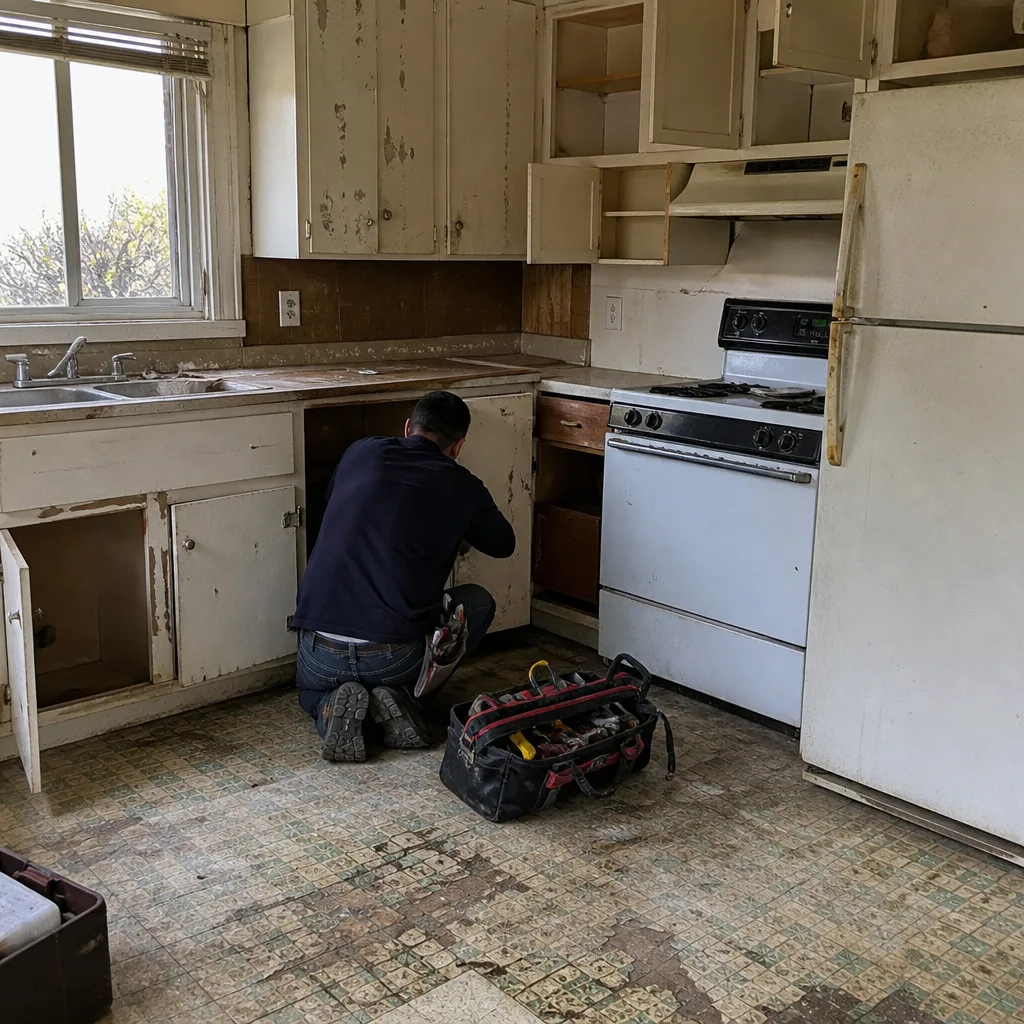
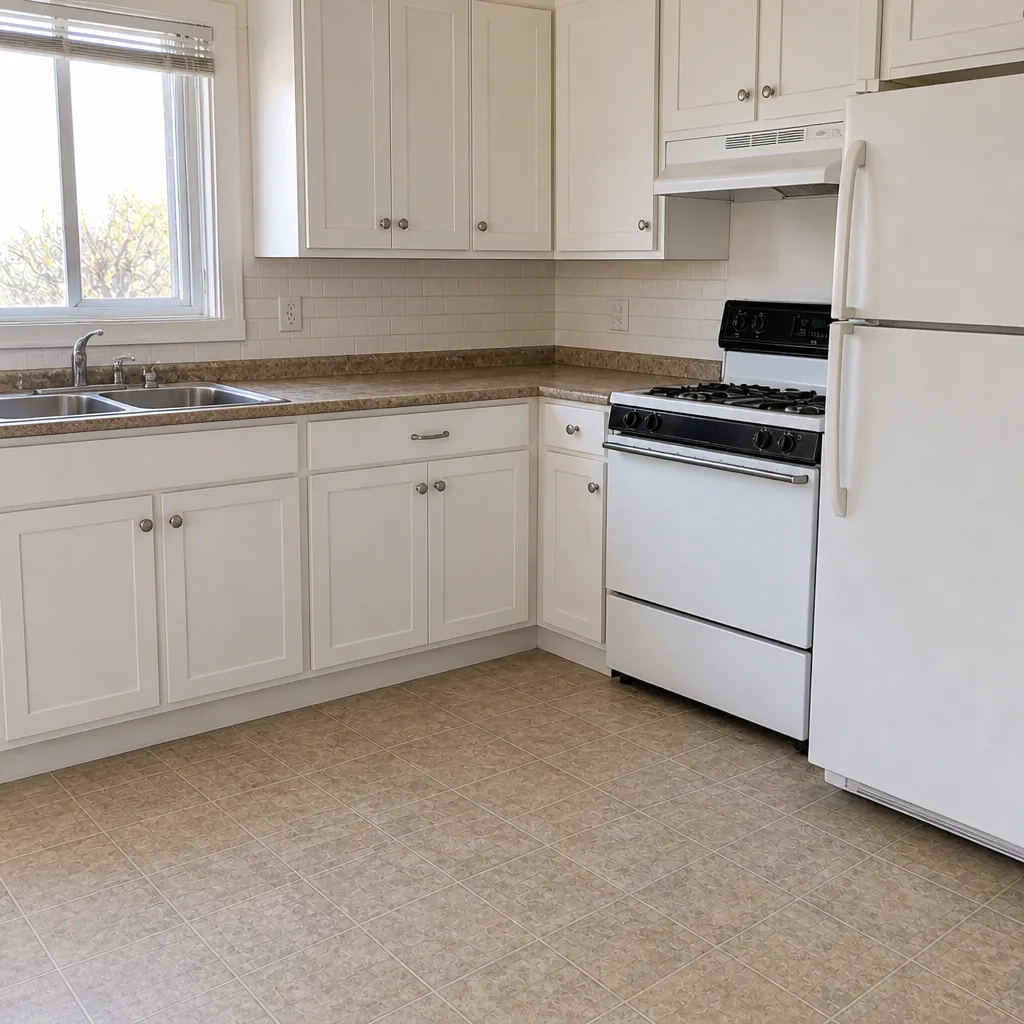
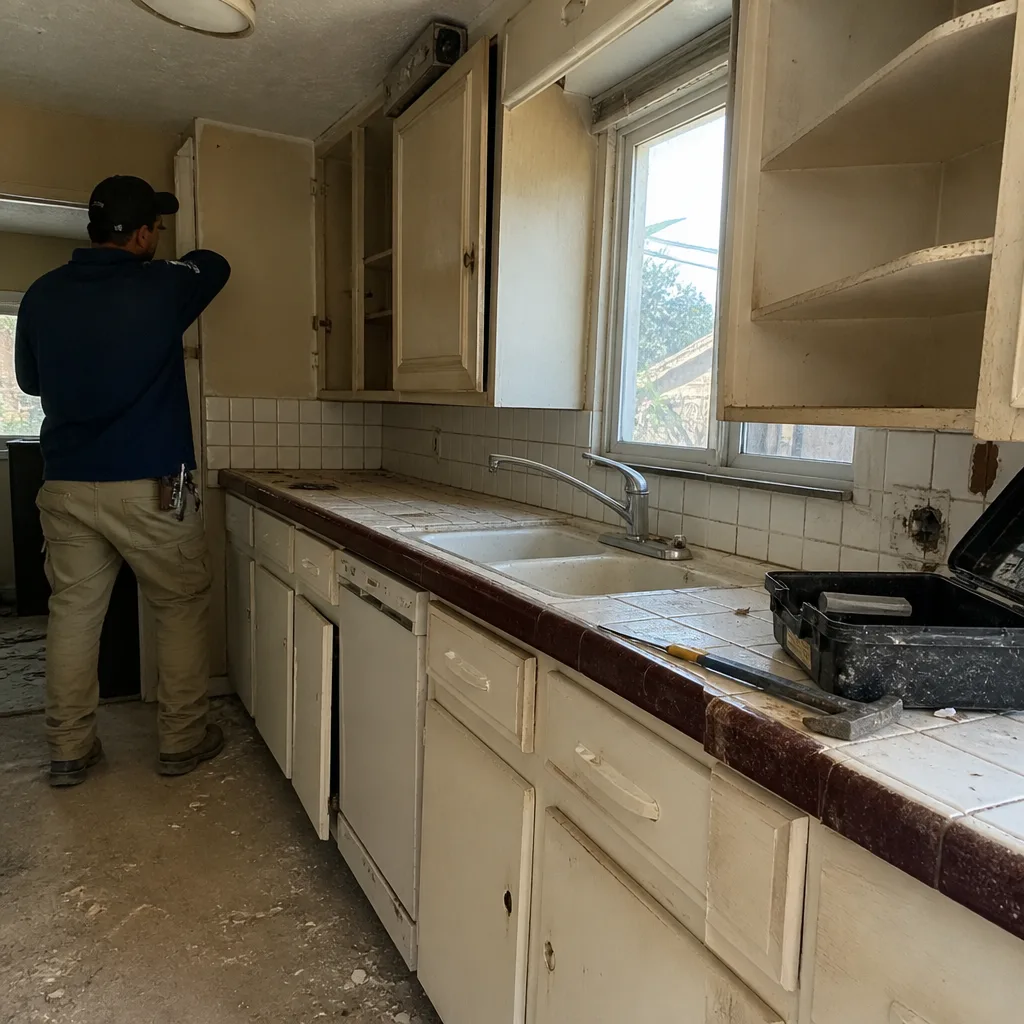
See the difference
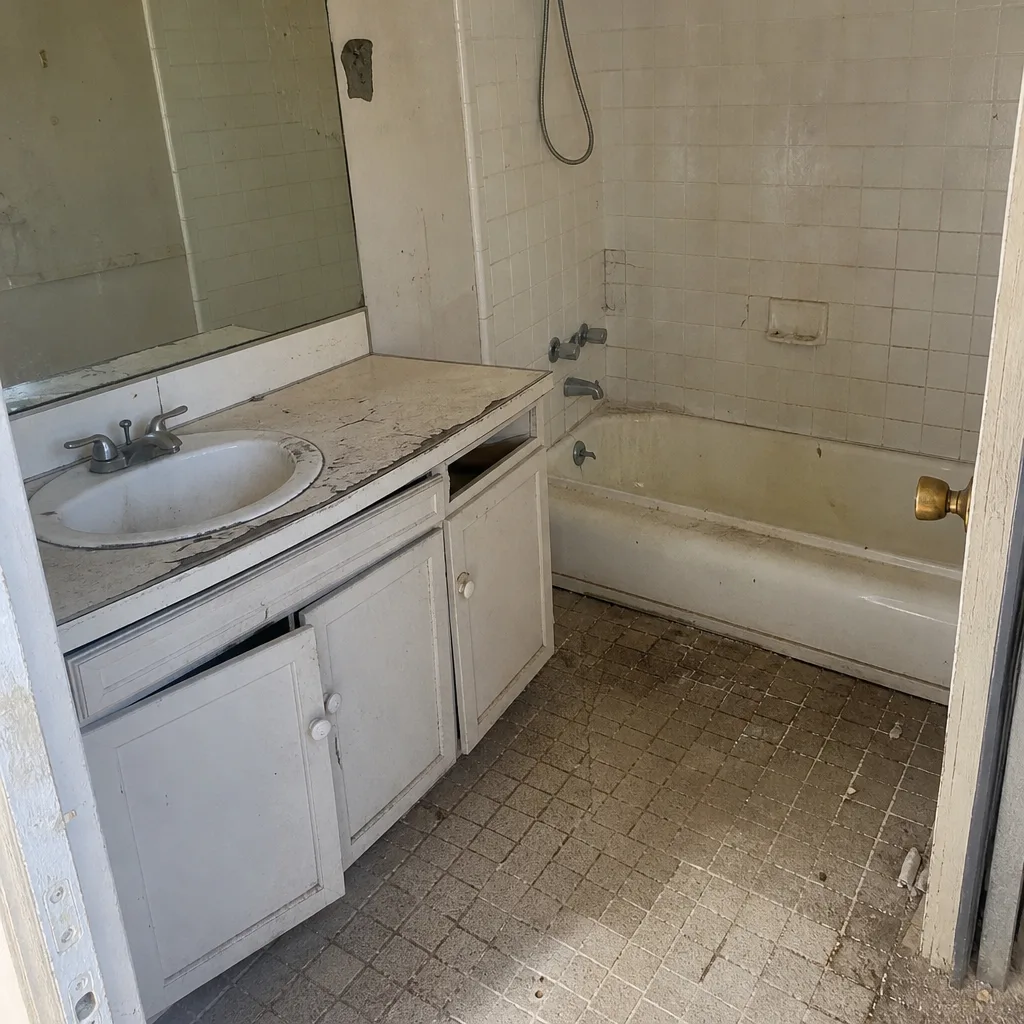 Before
 After
 Before
 After
 Before
 After
When to Call a Professional
Call a professional when the driveway is telling you about a problem you can’t safely address on your own. The specific triggers: multiple rocking pavers, water pooling in more than one area, recurring efflorescence, an edge restraint that’s pulling away, or any dip in the surface that’s grown instead of shrunk over a season. Those are base and drainage issues, and they get more expensive the longer they sit. If the driveway is only a few years old and one section has settled, that’s worth having checked before the warranty window on the original install means anything. For a paver driveway in Los Angeles, our team does free site visits, and the call is free. Groundwork Construction Co. of Los Angeles offers free estimates in Los Angeles; call (888) 427-1733. Calls are answered by a live person, 24/7, and every estimate is in writing with line-item pricing, so you’re not guessing at what the fix will cost.
Frequently Asked Questions
About every three to five years, and only when the water-bead test shows the old sealant has worn off. Los Angeles’s dry summers and wet winters actually accelerate sealant wear in full sun, but sealing more often than every three years traps moisture and speeds up efflorescence. Do the bead test each spring and let the driveway tell you. If it soaks in fast, it’s time; if it beads, it isn’t. Call (888) 427-1733 for a free seal assessment and a written quote.
Once a year, usually in March or April, right after the last significant rain of the season. Full-sun driveways often need annual top-off; shaded driveways can go two. The sign is hollowed joints, sand that pulls out with a fingernail, or weeds taking root. If the joints are firm and full, you can skip that year. If a joint is hollowed more than half an inch or pavers are rocking, it’s a base issue, not a sand issue. Call (888) 427-1733 for a free estimate.
Yes, at moderate pressure with a wide fan nozzle, held at least 12 inches from the surface, ideally once a year in late spring. High pressure blows out joint sand, pits paver surfaces, and pushes oil and grit deeper into the pavers. If you’re cleaning oil or mineral stains, treat them first with the right cleaner and rinse with a hose. Skip the pressure washer entirely in the rainy season. For surface restoration work in Los Angeles, call (888) 427-1733 for a free quote.
That’s efflorescence, mineral salts rising to the surface as moisture evaporates through the pavers. It’s typically cosmetic and shows up after a wet Los Angeles winter. A dry brush and a dilute white-vinegar rinse handles mild cases. If it returns every year, it’s a sign of water moving through the base, not a stain problem. Strong acids damage the paver surface, so don’t reach for them. Our team can diagnose the underlying drainage, and estimates are free; call (888) 427-1733.
Do the water-bead test: pour a quarter-cup of water on a mid-surface section and watch it for 30 to 60 seconds. If it beads and rolls off, the sealant is still active and the driveway just needs cleaning. If it darkens and soaks in within a few seconds, the sealant is gone and it’s time to reseal. Clean first, then test, because grime can imitate the look of a worn sealant. Call (888) 427-1733 for a free inspection and a written recommendation.
Yes, for most Los Angeles homeowners, and the math is straightforward. A properly maintained paver driveway outlasts a poured concrete slab by a significant margin, since pavers tolerate ground movement and spot repairs. The maintenance isn’t much: about four to six hours of work a year plus one annual inspection. Concrete cracks at control joints and needs full-slab replacement when it fails. Pavers need a bad paver replaced, not the whole driveway. Call (888) 427-1733 for a free estimate on a new installation.
The Bottom Line
A paver driveway in Los Angeles is a low-maintenance surface if you follow the right schedule and a high-maintenance one if you don’t. The three rules: seal only every three to five years (and only after the water-bead test says so), replenish joint sand annually after the rainy season, and do a proper inspection every spring. Seal too often and you’ll trap moisture and cause the efflorescence and spalling you’re trying to prevent. Skip the joint sand and the pavers work loose. Follow the calendar above and a paver driveway will still be holding up decades after a concrete alternate has been ripped out and replaced. Any genuine base, drainage, or edge failure deserves a professional look, and the sooner the better. For a paver driveway install, repair, or a full project plan, we’ve got a team ready to walk it with you.
Ready to Move From Maintenance to a Real Plan?
If the calendar above has shown you it’s time for more than a spot repair, or you’re planning a new paver driveway, our team does free project estimates and design consults. Groundwork Construction Co. of Los Angeles combines a curated lineup of premium hardscape brands with no-hassle upfront pricing: the number you see is the number you pay. Every project is backed by our 730-Day Done Right Promise, and our technicians are background-checked, uniformed, and experienced, with up to 12 years in the trade. Current offers include $1,000 off projects over $10,000, 0% financing for 18 months, and a free project estimate and design consult. Call (888) 427-1733 to schedule yours, and talk with a live person any hour of any day.
Written by the team at Groundwork Construction Co. of Los Angeles.