
Last updated November 16, 2026
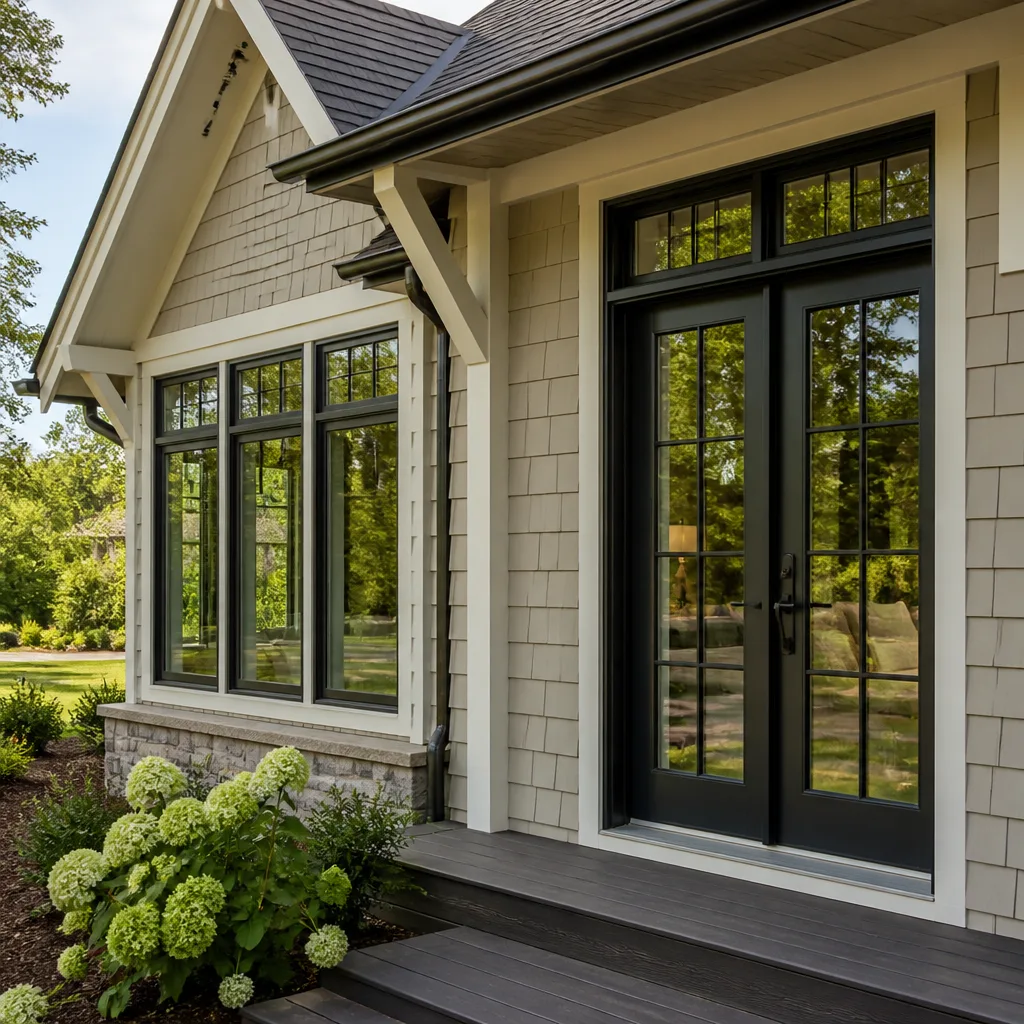 Windows & doors
 Kitchen remodeling
 Bathroom remodeling
 Home additions & ADU
 Roofing
 Driveway & pavers
 Fence
Free written scope consultation - allowances, timeline, and change-order rules on paper before a single trade is scheduled
DIY vs Professional Windows & Doors: What’s Safe to Do Yourself
Hanging a door incorrectly looks fine for about 18 months. Then the frame shifts, the weatherstripping gaps, and the water that’s been wicking into your wall framing since day one starts showing up as interior staining. By the time you see it, you’re not fixing a door anymore. You’re rebuilding a wall. In our experience across Los Angeles, windows and doors carry a sharper DIY risk cliff than almost any other home project, and it has nothing to do with how handy you are. This guide puts the line exactly where it belongs: which tasks are genuinely safe to do yourself, which aren’t, and why.
Quick Answer
You can safely DIY hardware swaps (handles, locks, hinges, closers) and weatherstripping replacement on existing windows and doors. Everything that involves removing a unit from the rough opening – full window replacement, door slab replacement, patio door swaps – belongs to a licensed professional, especially in Los Angeles stucco construction where incorrect flashing causes hidden water intrusion, voids manufacturer warranties, and requires permits.
Styles & brands we work with
- Kitchen remodeling
- Bathroom remodeling
- Home additions & ADU
- Roofing
- Windows & doors
- Driveway & pavers
- Fence
Table of Contents
- Why Windows and Doors Have a Sharper DIY Risk Cliff Than Other Projects
- What’s Genuinely Safe to Do Yourself
- What You Should Never DIY (And Why)
- Why Stucco Exteriors Raise the Stakes in Los Angeles
- The Permit Reality in Los Angeles
- How DIY Installation Voids Manufacturer Warranties
- The Cost Comparison That Accounts for Failure Risk
- Where Quality Materials Actually Come From
Why Windows and Doors Have a Sharper DIY Risk Cliff Than Other Projects
Most home projects fail loudly. A bad tile job shows a crack. A bad paint job shows a lap mark. A bad window install fails silently for two to five years, and then it doesn’t fail on the window – it fails in the wall next to the window, which is the most expensive real estate in your home to repair.
Here’s the mechanism. Every exterior window and door has a water management system: a sill pan, a weather-resistive barrier (the house wrap or felt behind your stucco), flashing tape that laps over the rough opening, and a head flashing above that directs water out and down. Get any of those four layers out of sequence and the unit still sets, still caulks, still looks finished. Water finds the gap anyway. In Los Angeles, where we go eight months without rain and then get a storm cycle that dumps two inches in a day, the leak has been dormant all summer and shows up in January as a brown ring on your drywall.
Contrast that with a kitchen cabinet install. If it’s wrong, you see it. You call someone. You fix it. The consequences are cosmetic and immediate. With a window, the consequences are structural and delayed, which is exactly the combination that makes DIY risky – the feedback loop is longer than your patience window.
We’ve walked into homes in neighborhoods like Sherman Oaks and Mar Vista where a DIY slider had been in place a few years and the entire bottom plate behind it had gone soft. Nobody noticed because the interior was painted beadboard. That’s the pattern: cosmetic cover, structural problem, expensive reveal. For the broader picture of how we handle window and door work end to end, see our Groundwork Construction Co. of Los Angeles home page. And if the project is part of a larger remodel, the same discipline applies to Home Additions & ADU in Los Angeles, where every exterior penetration gets engineered for water.
What’s Genuinely Safe to Do Yourself
We’re not going to tell you that every window and door task belongs to a professional. That would be dishonest and it wouldn’t help you. There’s a real, useful category of work you can do yourself with basic tools, no permit, and no warranty consequences. Here’s the honest list.
Safe DIY: Hardware and Trim-Level Work
- Door handles and locksets. Swapping a deadbolt or knob on the existing bore is a 30-minute job with a screwdriver. Just match the backset (usually 2-3/8″ or 2-3/4″).
- Hinges. Replacing worn hinges on an existing hung door is fine. Replacing a hinge on a door that’s sagging is diagnostic, not a fix, and you should read the next section.
- Door closers and storm door hardware. Adjustments and replacements are straightforward.
- Weatherstripping. Replacing the foam, felt, or bulb seal on existing frames is safe and effective. This is the single highest-value DIY task on the list because it stops drafts and dust infiltration immediately.
- Window screens. Re-splining a screen or replacing a mesh panel is entirely DIY.
- Caulking exterior joints you can reach safely. Re-caulk around existing trim if the paint has failed. It’s not a substitute for flashing, but it maintains an existing install.
- Window film, shades, blinds, and curtain hardware. Purely cosmetic and reversible.
Borderline: Adjustments That Reveal Bigger Problems
Adjusting a door strike plate, adjusting rollers on a sliding window, or tightening the operator arm on a casement window are all DIY-safe. But if you find yourself doing the same adjustment twice in a year, the unit or the frame has moved, and moving frames mean water and structure. That’s not a hardware problem.
How to Weatherstrip a Door: A Safe Step-by-Step
- Inspect the gap. Close the door and look for daylight along the top and both sides. Use a dollar bill: if it slides out with no friction, the gap is wider than the seal can close.
- Remove the old seal. Pull out the existing weatherstripping from the kerf (the groove in the jamb). If it’s tacked on, pull the staples.
- Clean the kerf. A vacuum and a damp rag are enough. Debris prevents the new seal from seating.
- Choose the right profile. Kerf-in bulb seal for most jambs, magnetic for metal doors, foam tape only as a temporary fix.
- Install from the corners up. Press the seal into the kerf with your thumb. Do not stretch it. Cut at each corner and run the next length.
- Test the seal. The dollar bill should drag. The door should latch with light pressure but not require a shove.
- Adjust the threshold if the bottom gap is large. Most thresholds have screws that raise or lower the sweep.
That’s the ceiling of DIY window and door work, and it’s a genuinely useful ceiling. It keeps drafts out and lets you sleep at night. It stops at the rough opening.
What You Should Never DIY (And Why)
Below this line, the work needs to be done by a licensed professional – not as a preference, but because the failure modes are expensive and the legal responsibility is real. Here’s the full list with the reason attached to each.
- Full window unit replacement. Removing a unit from the rough opening destroys the existing flashing and requires re-flashing the entire opening. Getting the level, plumb, square, and flashing sequence right in one pass is a trained skill.
- Door slab replacement (hang a new slab into an existing frame). This looks straightforward and isn’t. The reveal has to be uniform on all three sides, the hinge prep has to align perfectly, and the weather seal has to seat with the correct compression. Uneven reveal is where water gets in.
- Pre-hung exterior door replacement. The full frame comes out, which means the rough opening behind it has to be re-flashed and re-sealed. Same risk category as a full window replacement.
- Patio door and slider replacement. Sliders are heavy, sit in a threshold pan that must drain correctly, and if the pan fails, the water goes straight into the subfloor.
- Enlarging or altering a rough opening. When you increase the size of an opening, you’re dealing with a header – a structural beam sized by an engineer or a licensed contractor, with a permit. Never a DIY job.
- Anything that requires patching stucco. Stucco is a multi-coat system and correct patching includes lath, scratch, brown, and finish coats with a bond break. Getting the texture to match is a craftsman’s job.
- Any work above the first story, or on a steep roof-accessible opening. Height work carries a fall hazard. Ladders and roofs are the leading cause of serious home injury. If the window is on a second story or over a hard surface, call a professional – not because the install is harder, because the ladder is.
We’ve seen every one of these done wrong by a homeowner. The unifying pattern is that the work looks done. The caulk bead is straight. The trim is tight. What’s underneath isn’t, and you won’t know for eighteen months.
Why Stucco Exteriors Raise the Stakes in Los Angeles
Los Angeles is a stucco town. The dominant cladding on single-family homes from the 1920s through the 2000s is three-coat stucco over wood lath or paper-backed wire lath. That matters for window and door installation in a very specific way: stucco has no give, it’s applied rigid to the substrate, and the only defense against water at a window opening is the flashing built into the wall behind it.
The Three-Coat Problem
When you replace a window in a stucco wall, you’re not just removing a window. You’re cutting into a system that includes:
- The weather-resistive barrier (WRB) – typically Grade D building paper or a modern house wrap under the lath.
- The metal lath or wire mesh that the stucco keys into.
- The scratch, brown, and finish coats – three layers of cement that have to be cut back and rebuilt around the new flashing.
- A weep screed or casing bead at the window edge that gives water an exit path.
Get the WRB sequence wrong – say, the new flashing tape laps over the WRB instead of under it – and water gets directed behind the paper. In a climate with 15 inches of annual rain, that won’t show up for a year. In a Los Angeles winter storm, it will saturate the sheathing behind the wall in a single weather event. In our experience across the San Fernando Valley and Westside, we’ve pulled windows installed three years earlier and found the framing black from the bottom corner up.
Stucco-Related Details DIYers Miss
- Flashing sequence. Water flows downhill. The WRB laps over the flashing at the sides and under the flashing at the top. Every layer must shed onto the layer below.
- Sill pan. A sloped sill pan under the window, or a properly shingled sill flashing, is non-negotiable. Without slope, water pools.
- Backer rod and sealant joints. The joint between the window frame and the stucco needs to move with thermal expansion. A solid caulk bead that cures hard cracks in a year.
- Matching the finish texture. L.A. has dozens of stucco finishes – Santa Barbara smooth, heavy sand float, lace, dash. Getting the patch to blend is a specific skill and a visual failure if you miss.
None of this is impossible to learn. All of it takes practice on someone else’s house before you try it on yours. If the exterior is stucco and the window is being replaced, we don’t consider it DIY territory. For related exterior work that follows the same water-managed logic, take a look at Driveway & Pavers in Los Angeles and Fence Installation in Los Angeles – drainage and attachment details matter everywhere on the exterior.
The Permit Reality in Los Angeles
This is where the conversation stops being about skill and starts being about the law. The City of Los Angeles Department of Building and Safety has specific rules about when a window or door replacement needs a permit and, by extension, when the work must be done by a licensed contractor. Here’s the plain-language version.
When a Permit Is Required
- Any replacement that changes the size of the opening. A larger or smaller window or door is a structural change – the header and framing have to be sized and inspected.
- Window replacement that requires new framing or structural repair around the opening.
- Adding a new window or door to an existing wall, anywhere in the structure.
- Replacement of an egress window or door in a sleeping room – the size and operation are regulated by code.
- Any replacement in a designated historic district or on a property with a historic resource designation – the Los Angeles Conservancy and the Office of Historic Resources matter here.
- Alterations that affect energy compliance when the project triggers Title 24 requirements for the whole scope.
When a Permit Is Typically Not Required
- Like-for-like replacement of a window or door with the same size, same operation, same location, without framing changes, is generally treated as a repair and doesn’t require a permit under City of L.A. code.
- Hardware, locks, weatherstripping, and trim – no permit anywhere.
Why the Permit Line Matters for DIY
Permitted work in Los Angeles has to be performed by a licensed contractor or by the property owner themselves (a homeowner can pull a permit on their own residence, in limited circumstances, for owner-occupied work). That looks like a DIY opening, but it isn’t quite. The owner-builder exemption generally doesn’t cover a rental property, doesn’t cover a second unit you’re not living in, and it carries the full liability if the install fails later – including in a sale, when the buyer’s inspector finds unpermitted work and asks for it retroactively. Unpermitted window replacement frequently surfaces at escrow, and it can stall or kill a sale in a hot L.A. market.
The practical, non-lawyer’s rule of thumb we use with homeowners: if the rough opening is being touched, check the permit requirement. If the size changes, changes the operation type (like a fixed window becoming an awning), or touches a historic property, talk to the Department of Building and Safety before you buy the unit, not after. If the answer is yes, and you’re not the owner of record, you need a licensed professional on the job. That’s a legal boundary, not a preference.
We can’t cover a specific permit scenario without seeing the property, but if you’re standing in front of a window wondering whether a permit attaches to the replacement, a single call is worth it. Our team works with the L.A. permit process on window and door projects across the city. Call (888) 427-1733 and we’ll tell you straight.
How DIY Installation Voids Manufacturer Warranties
Most homeowners don’t realize the manufacturer’s warranty – including the lifetime warranty on the sealed glass unit – is conditional on professional installation. It’s almost universal language in window and door warranty documents: the warranty covers defects in materials and workmanship under normal use, and installation by anyone other than a licensed contractor voids the labor portion and, in many cases, the entire warranty.
What “Glass Unit” Warranty Actually Means
Framing aside, the single most expensive component of a modern window is the sealed insulating glass unit (IGU) – the two panes with an argon fill and a low-E coating, sealed with a spacer. If that seal fails, the window fogs between the panes. This is a material defect, and it’s covered by a lifetime warranty from major manufacturers like Andersen and Marvin. Replacement of a fogged IGU commonly runs a few hundred dollars per unit through a warranty claim and can run three to four times that if you’re paying out of pocket. Consumers who install themselves and later try to claim on the seal have a hard time, because the manufacturer’s position is that field conditions during unlicensed install can cause the seal failure. If the install is documented as a licensed contractor install, the claim is straightforward.
Water Intrusion Is Usually Excluded Even on Professional Installs
Read carefully. Even the best window warranty usually excludes water intrusion into the wall assembly – that’s the installer’s responsibility, not the manufacturer’s. Which means your real coverage for water damage comes from the installing contractor’s workmanship warranty, and that’s the piece DIY doesn’t have at all. This is why we put every window and door install under our 730-Day Done Right Promise – if the workmanship fails within two years, we make it right. No DIY install comes with a two-year workmanship guarantee. The warranty math favors a professional install whenever the replacement cost of a single failed unit approaches the installer’s margin, and it always does.
For a broader look at manufacturer warranty structures across the trades, our guide to Roofing in Los Angeles covers the parallel dynamic on shingles and flashing, where the same warranty-void-by-installation logic applies.
The Cost Comparison That Accounts for Failure Risk
The DIY math most homeowners run is: contractor quote minus material cost equals savings. That math is wrong, because it leaves out the statistical cost of failure. A more honest comparison accounts for the probability that a DIY install fails, and the cost when it does. Here’s how the numbers tend to break out in the Los Angeles market as of this writing (approximate ranges, not quotes).
Line-Item Cost Comparison: Window Replacement
- Professional installed cost, standard double-hung or slider, mid-range unit: roughly $700 to $1,500 per window, depending on size, glazing, and finish.
- DIY material cost for the same unit (no warranty coverage, no install labor): roughly $350 to $700 per window purchased direct or through a big-box store.
- Apparent DIY savings: roughly $350 to $800 per window.
- Stucco patch and paint after a DIY install (if the homeowner doesn’t do it themselves): roughly $250 to $600 per window.
- Realistic DIY savings after patch and paint: roughly $100 to $400 per window.
- Cost to remediate a failed install (remove, re-flash, repair framing, reinstall, re-stucco): typically $1,800 to $5,000 per window when water damage is present.
- Cost of a single fogged IGU claim denied due to DIY install: $250 to $600 per unit, frequently more.
The Risk Multiplier
Now weigh it. Even a 15% failure rate on DIY window installs (and in our experience that’s on the low end for stucco exterior work) turns the nominal $350 per-window savings into a negative expected value once you factor the remediation cost and the lost warranty. At five windows, the expected cost of one failure at $3,000 wipes out every dollar of savings on the other four. And you still have to live in the house while the remediation is happening.
The math flips the other way on hardware and weatherstripping. DIY weatherstripping saves $100 to $200 per door and has essentially zero failure risk. Same for lock and hinge swaps. That’s why the DIY line is sharp – the tasks on the safe side have zero downside, and the tasks on the unsafe side have catastrophic downside. There’s very little in the middle.
When homeowners do choose us for window and door replacement in Los Angeles, we lead with the total cost of ownership: upfront pricing with no change orders, no-hassle numbers that don’t move, and the 730-Day Done Right Promise guarding the part manufacturers won’t – the install itself. If the project runs into a broader scope, our Bathroom Remodeling in Los Angeles and Kitchen Remodeling in Los Angeles teams work from the same pricing discipline.
Where Quality Materials Actually Come From
An under-appreciated part of the DIY vs professional debate is that the two paths don’t get the same materials. Contractors with manufacturer relationships have access to lines and warranty registration channels that direct-purchase homeowners often don’t. This isn’t a sales argument – it’s a practical note about what actually shows up at your house.
When we install a Marvin or an Andersen unit on a Window & Doors project, the unit is registered in the manufacturer’s system with a documented installation, which is exactly what you need if the glass seal fails five years from now. The energy-rated glazing options, the hardware finish options, and the warranty registration all exist on the professional channel. The same dynamic applies to kitchen and bath when windows and doors are part of a larger scope: our cabinet lines (KraftMaid, Wellborn) and countertops (Cambria) are channel-restricted for a reason – the manufacturer wants the installation and the warranty in the same accountable hands.
On a broader exterior scope, this is also why window and door replacement is more reliable as part of a single-contractor project that includes cladding, trim, and paint. Splitting the work between a DIY window install and a professional stucco patch invites the finger-pointing problem: the stucco guy says the window leaked and the window guy says the stucco held water. One accountable party removes that failure mode entirely.
Common Mistakes to Avoid
- Assuming “like-for-like” means “no permit.” Like-for-like replacement can avoid a permit, but only if size, operation, and framing are truly unchanged. Any variation is a permit item, and doing it unpermitted can undo a sale later in Los Angeles.
- Caulking over old flashing instead of re-flashing. A fresh bead of caulk over a failed flashing joint looks like a repair but traps water instead of letting it drain. In a stucco wall this is the single most common cause of rot we find.
- Buying the unit before measuring the rough opening. Measure the rough opening, not the old window. The 1/2″ to 3/4″ clearance around a replacement window is not optional.
- Installing a window without a sill pan or sloped sill flashing. No slope means no drainage. Water pools at the sill and wicks into the framing from below.
- Compressing insulation into the frame gap. Right gap, wrong fill. Use backer rod and expanding window-and-door foam (low-expansion, not the door-and-window rated polyurethane used for headers). Over-expanding foam bows the frame.
- Ignoring the operation direction on replacement doors. A door that swings in vs. out changes the rough opening depth, the threshold, and the exterior trim. Ordering the wrong swing is a $1,000-plus mistake in Los Angeles where delivery lead times are long.
- Trusting weatherstripping alone to fix a draft when the frame has moved. Weatherstripping compensates for a gap that stays stable. If the frame has shifted, the seal will fail in a season. That’s a hung door problem, not a strip problem.
See the difference
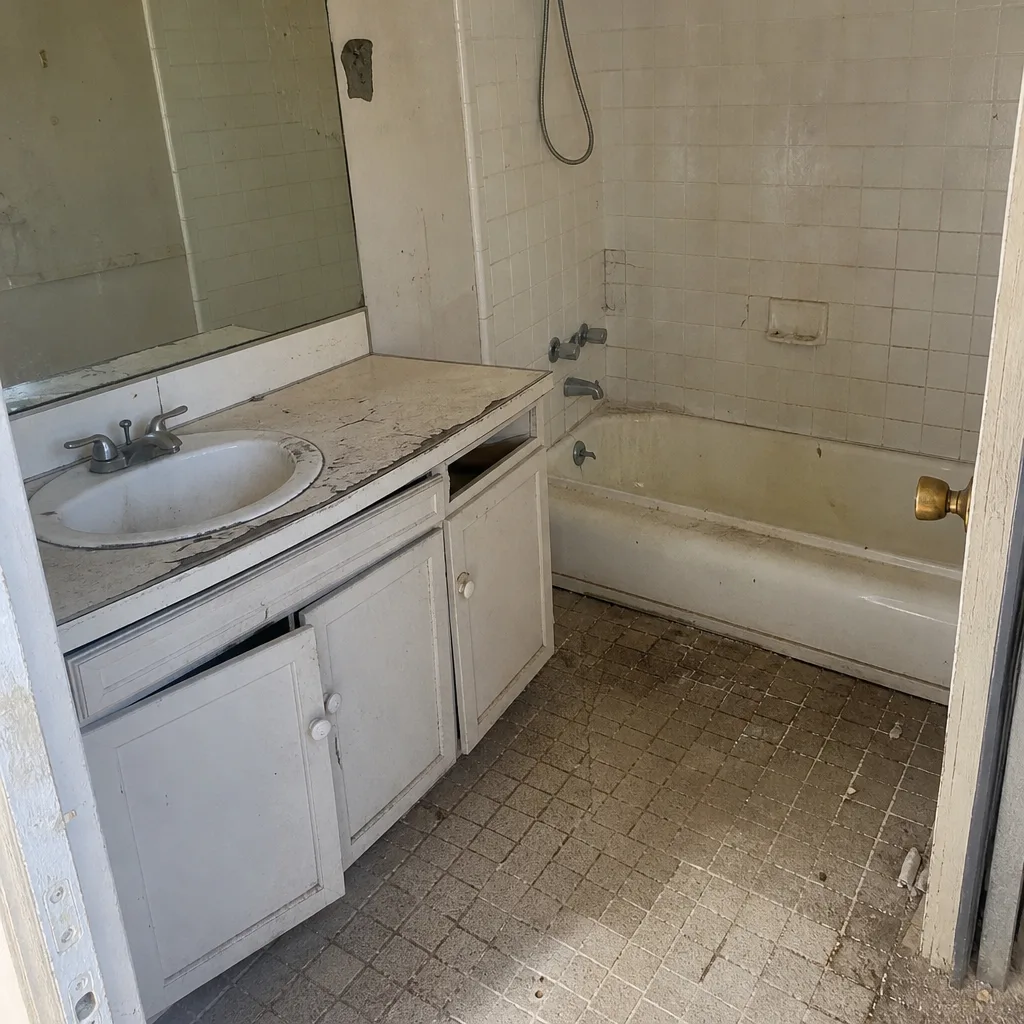 Before
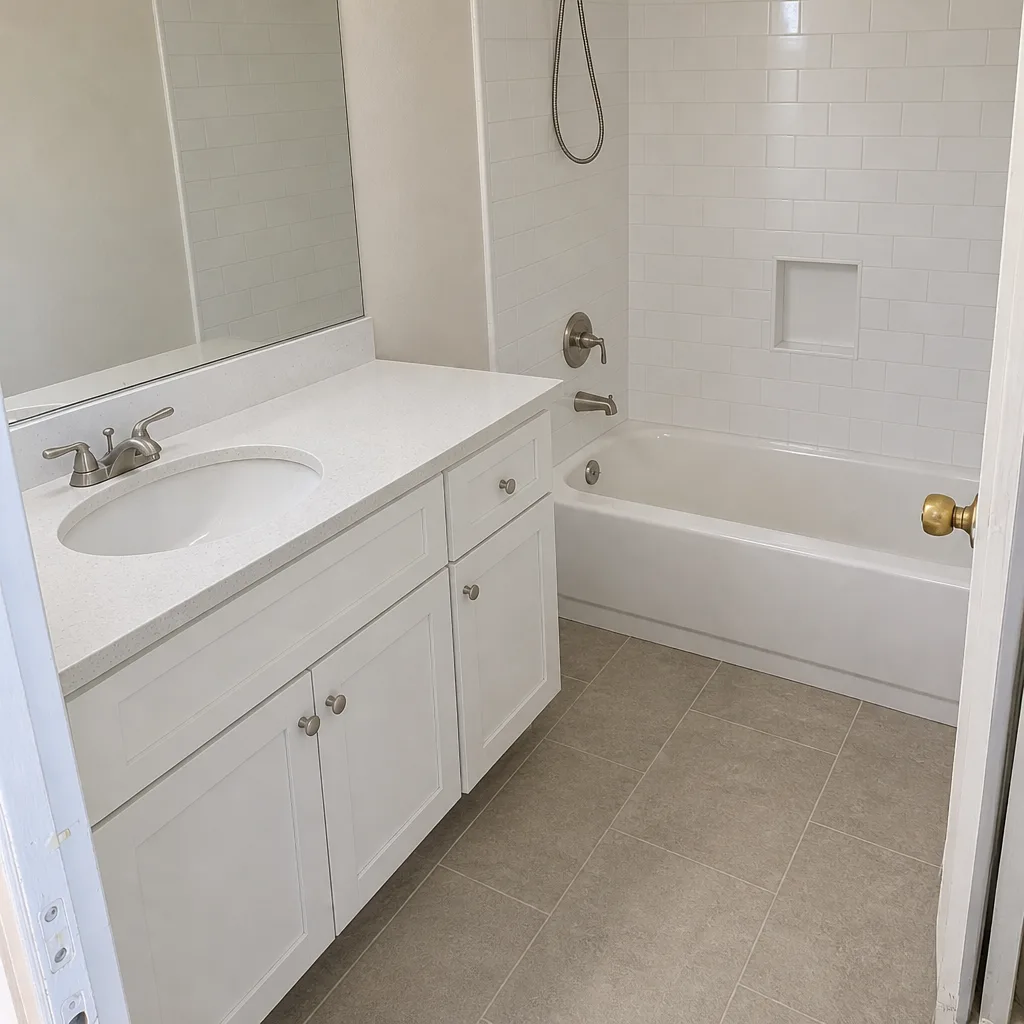 After
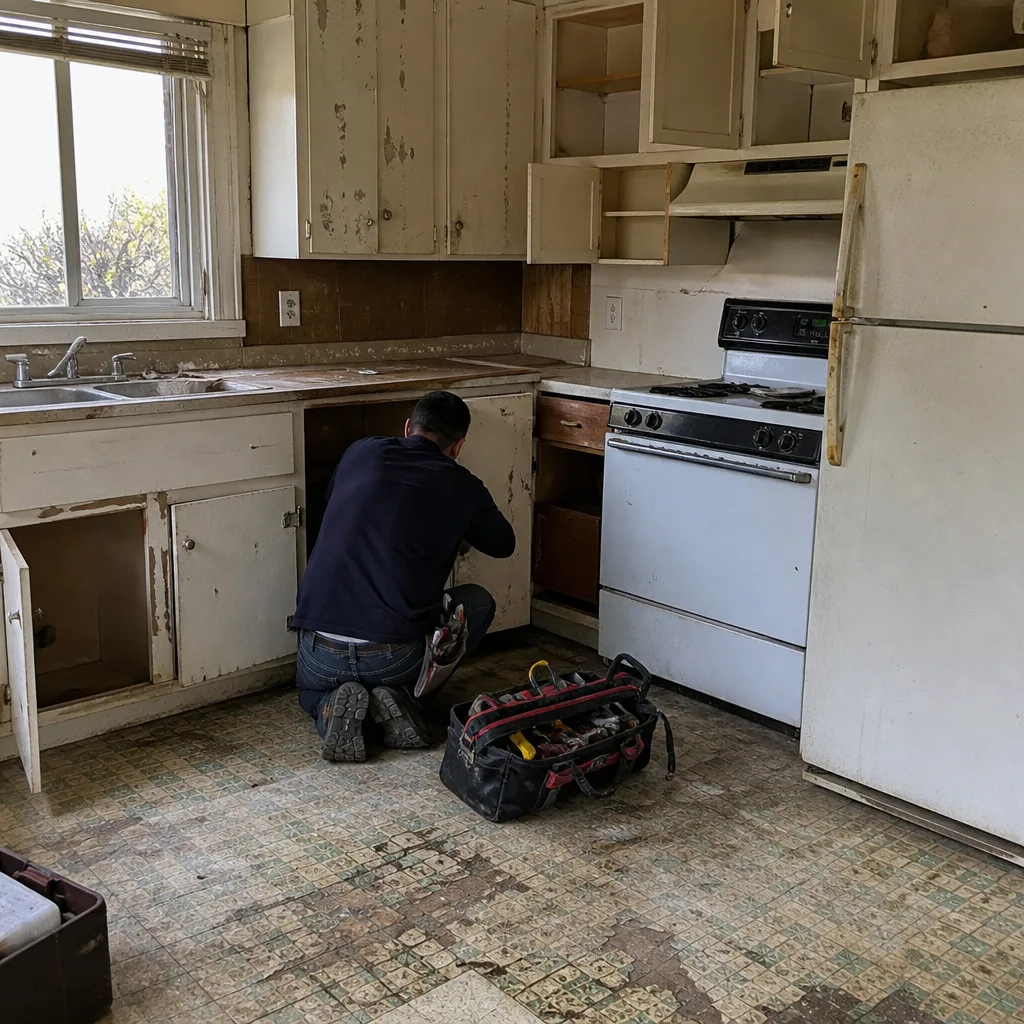 Before
 After
 Before
 After
When to Call a Professional
Call a licensed professional whenever the rough opening is part of the work. That means full window replacement, door slab replacement, pre-hung door swaps, patio and slider replacement, and any alteration to the size of an opening. Call if the property is a rental or is owned by anyone other than the person doing the work, if the home is in a historic district, if the exterior is stucco, or if the opening is above the first story. Call if a door or window has been adjusted twice in a year and it’s still not latching cleanly, because that’s a signal of movement in the frame. And call if you’re unsure about the permit – it’s a five-minute conversation that can save five figures later.
Groundwork Construction Co. of Los Angeles offers free estimates for window and door projects across Los Angeles – call (888) 427-1733 and a live person will answer, any hour. We’ll walk the openings with you, tell you what’s actually a DIY task and what isn’t, and put the project scope in writing if you want us to handle it. No-hassle upfront pricing, and every install is covered by the 730-Day Done Right Promise.
Frequently Asked Questions
You can replace a window yourself only in the narrow case where the replacement is truly like-for-like (same size, same operation, same location, no framing change), the work is on a home you own and occupy, and the exterior is a simple cladding you can re-flash and patch correctly. In Los Angeles, that last condition almost never applies to stucco exteriors, which is the dominant cladding type. For anything else – larger opening, changed operation, historic district, rental property, second story – a licensed professional is required. Call (888) 427-1733 for a free estimate if you’re not sure which side of that line your project sits on.
Like-for-like replacement without framing changes generally does not require a permit in the City of Los Angeles, but any change to the size of the opening, any new window or door cut into an existing wall, and any structural repair around the opening does. Historic districts and egress windows in sleeping rooms also trigger permit and code compliance requirements. If you’re unsure, call the L.A. Department of Building and Safety directly, or call us at (888) 427-1733 and we’ll tell you what we look at when we evaluate a project.
Yes, in most cases. The major window manufacturers – Andersen and Marvin among them – condition their warranty on documented professional installation, and while the glass unit seal is covered under the material warranty for professional installs, that coverage is routinely denied when the install was not by a licensed contractor. Water intrusion into the wall assembly is almost never covered by any manufacturer warranty regardless of install method, so the water-management protection you actually have is the installer’s workmanship warranty, not the manufacturer’s.
Professional installed cost for a standard mid-range window in Los Angeles runs roughly $700 to $1,500 per window as of this writing. DIY material cost for the same unit runs roughly $350 to $700, so the apparent savings are $350 to $800 per window before patch, paint, and warranty loss. Once you account for realistic stucco patch costs of $250 to $600 per opening and the probability of a failure remediation running $1,800 to $5,000 per window, the true savings usually shrink to a number that doesn’t justify the risk. Call (888) 427-1733 for a written, fixed-price estiimate on your specific openings – estimates are free.
Replacing the slab of an exterior door in the existing frame is a genuinely difficult task that looks easy, and we don’t recommend DIY. Once the frame itself needs to come out (pre-hung replacement), the rough opening has to be re-flashed, which is a professional task. Door hardware, hinges, weatherstripping, and thresholds are all safe to do yourself. If you’re replacing the whole door and frame, or the door swings out over a step or landing, call (888) 427-1733 – a free estimate will tell you what the project actually involves.
Replacement window leaks are almost always flashing failures, not caulk failures: the sill pan is sloped wrong, the flashing tape laps in the wrong direction, or the head flashing doesn’t shed water over the WRB. Because of that, the fix is rarely at the surface and almost never a DIY caulk repair – you usually have to remove the unit to re-flash the opening correctly. If you have an interior stain near a window, the fastest way to know what you’re dealing with is a call. Estimates are free: (888) 427-1733.
The Bottom Line
The line on DIY windows and doors is clearer than it looks. Hardware, hinges, weatherstripping, and caulk on healthy frames are all safe to do yourself, and doing them saves real money. Full unit replacement, slab replacement, patio and slider swaps, and anything that touches the rough opening belongs to a licensed professional – especially in Los Angeles stucco construction, where a correctly flashed opening is the only thing standing between your wall framing and a slow leak, and where manufacturer warranties and permit rules both run through the licensed installer. The DIY savings on the risky side of the line are smaller than they look and the failure cost is larger, which makes the math decisive. If the project is at the rough opening, or you’re not sure, get an estimate before you buy the unit.
If you’re ready to price out window or door work on your home in Los Angeles, give us a call at (888) 427-1733 for a free project estimate and design consult. Our technicians have up to 12 years of experience, they arrive in uniform and background-checked, and every install we do is backed by the 730-Day Done Right Promise. The call is answered by a live person, 24/7 – no voicemail, no waiting for Monday. We’ll tell you honestly which parts of your project are DIY-safe and which aren’t, then put the professional scope in writing with upfront pricing that doesn’t move.
Written by the team at Groundwork Construction Co. of Los Angeles.